


⚡ Quick Answer: Can You Use Embroidery Thread for Sewing
Yes, a home sewing machine may stitch with machine-embroidery thread, but whether the result suits a project depends on the thread, fabric, stitch and intended use. It is often easiest to start with visible topstitching or decoration. For seams that carry strain or need frequent washing, choose thread specified for that job unless the thread maker and machine manual support another choice. Check the manual, match the needle to the thread and fabric, and test on a matching scrap before sewing the project.
Embroidery thread is sold on a promise: the shine, the colour, the stitch you can see from across the room. Sewing thread is sold on a different promise, which is that the seam holds. Almost every argument about whether the two can be swapped comes from treating that as one question, and it is really three. Can the machine feed it, will the fabric take it, and must the result stand up to its intended care?
This guide answers all three, in the order that costs you the least time. It starts with what the stitch has to do, because that single decision settles most of the rest, then moves to the weight on the label, the fibre, the needle, the tension, the spool, the jobs it does well and the failures you will actually meet. If the problem is a thread that keeps snapping rather than a thread choice, sewing machine thread breaking works through that from the broken end backwards.
Step 1: Decide What the Stitch Has to Do
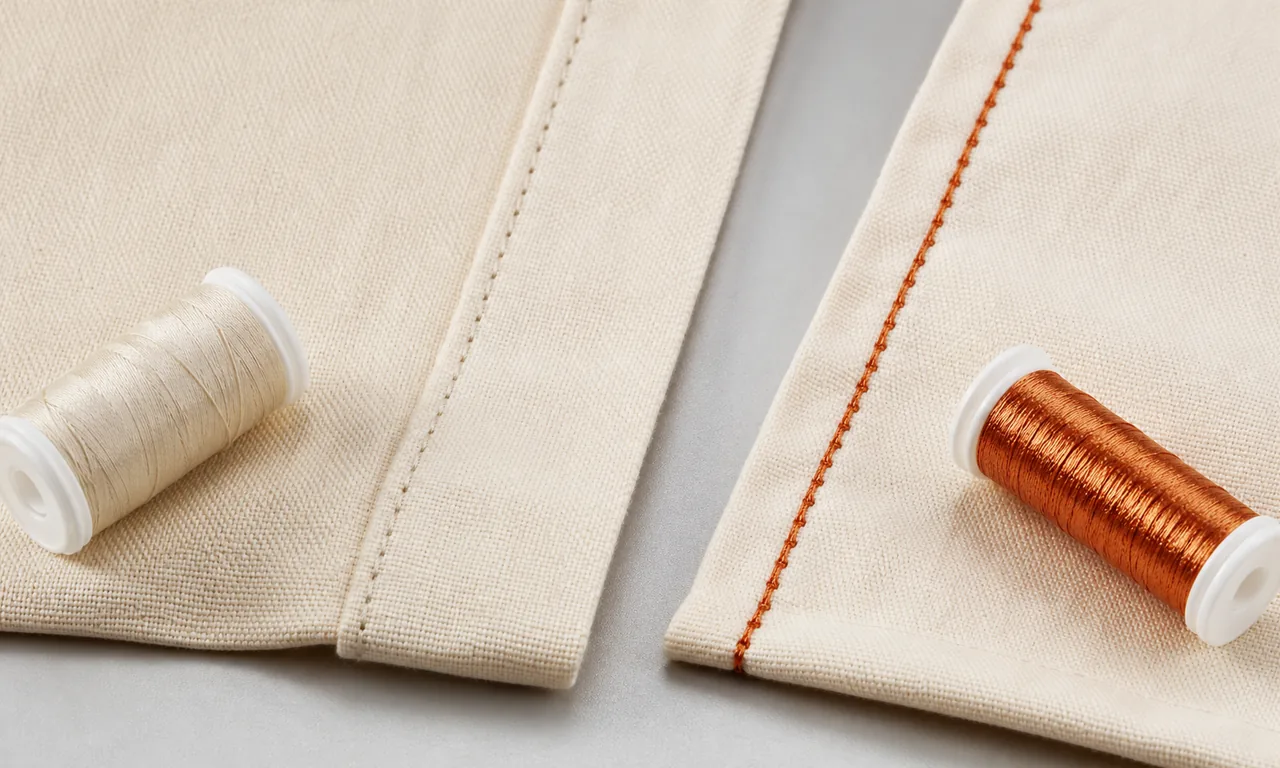
Start by deciding what the stitch must do. A construction seam carries load and may be stretched, rubbed or washed; a decorative stitch is chosen for its appearance. Those jobs can call for different thread properties, so do not decide from the word “embroidery” alone. Check the spool label and product guidance for fibre, size and intended use.
Machine-embroidery thread is commonly used for visible topstitching, monograms, appliqué and decorative stitches. For a structural seam, a stretch garment or an item that will be heavily used or laundered, use thread recommended for that application unless the maker specifically rates the alternative for it. Test the actual fabric, layers and stitch on a scrap first.
Treat frequent hot washing, bleaching, high abrasion and stretch as reasons to check the thread maker’s care and use information before sewing. A shiny polyester sewing thread may be an option where a decorative finish and laundering both matter, but the label still controls. A child’s garment, pet item, bag handle or other safety- or load-sensitive seam needs thread specified for that use. Lower-strain edges such as pocket tops, hems and trims may be suitable for decorative thread after a successful sample.
A structural seam and a decorative stitch have different jobs. If a decorative sample puckers, frays or fails its care test, adjust it or choose another thread. For a load-bearing seam, use thread specified for the expected strain and care.
Step 2: Read the Weight on the Label
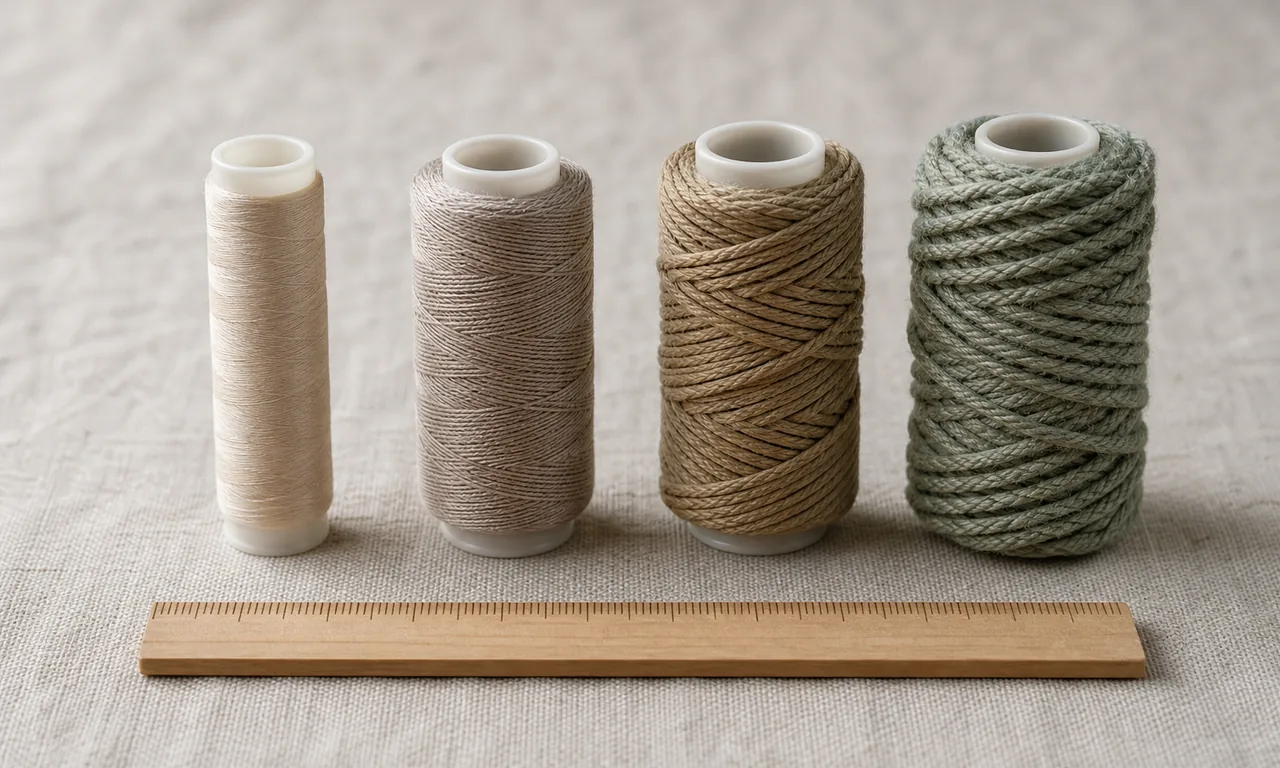
If a spool uses the common “wt” length-per-mass system, the number runs in reverse: a lower number denotes a thicker thread. Superior Threads defines 40 wt as 40 kilometres of thread weighing one kilogram, so 30 wt is thicker than 40 wt and 60 wt is finer. Labels such as Tex, denier or a manufacturer’s product number use different systems. Confirm which system the spool uses and compare like with like rather than converting by guesswork. Superior Threads explains the measurement systems and their limits.
Weight is useful, but it is not the only label detail: fibre, construction and manufacturer recommendations matter too. Two spools carrying similar-looking numbers may not be the same size if the numbers use different systems. Compare the actual thread and follow its maker’s needle and machine guidance.
| Example wt label | Relative thickness | Common uses, if approved |
|---|---|---|
| 60-90 wt | Fine | Some bobbin, fine-detail or quilting applications |
| 50 wt | Fine | General sewing, where the product and machine allow |
| 40 wt | Medium | Common machine-embroidery and decorative applications |
| 30 wt | Medium-heavy | Bold decorative stitches, when compatible |
| 12-28 wt | Heavy | Hand work or bold visible stitches, subject to product guidance |
For example, Brother recommends 40-50 wt embroidery thread on top and 60 wt bobbin thread for embroidery on the combination-machine models covered by its support answer. That is not a universal rule for every machine or project. Check Brother’s model list and your own manual before applying a weight or needle recommendation. The table above is an illustrative guide to common wt-labelled products, not a conversion chart; thread and machine makers’ instructions take precedence.
Step 3: Choose the Fibre by Where the Item Will Live
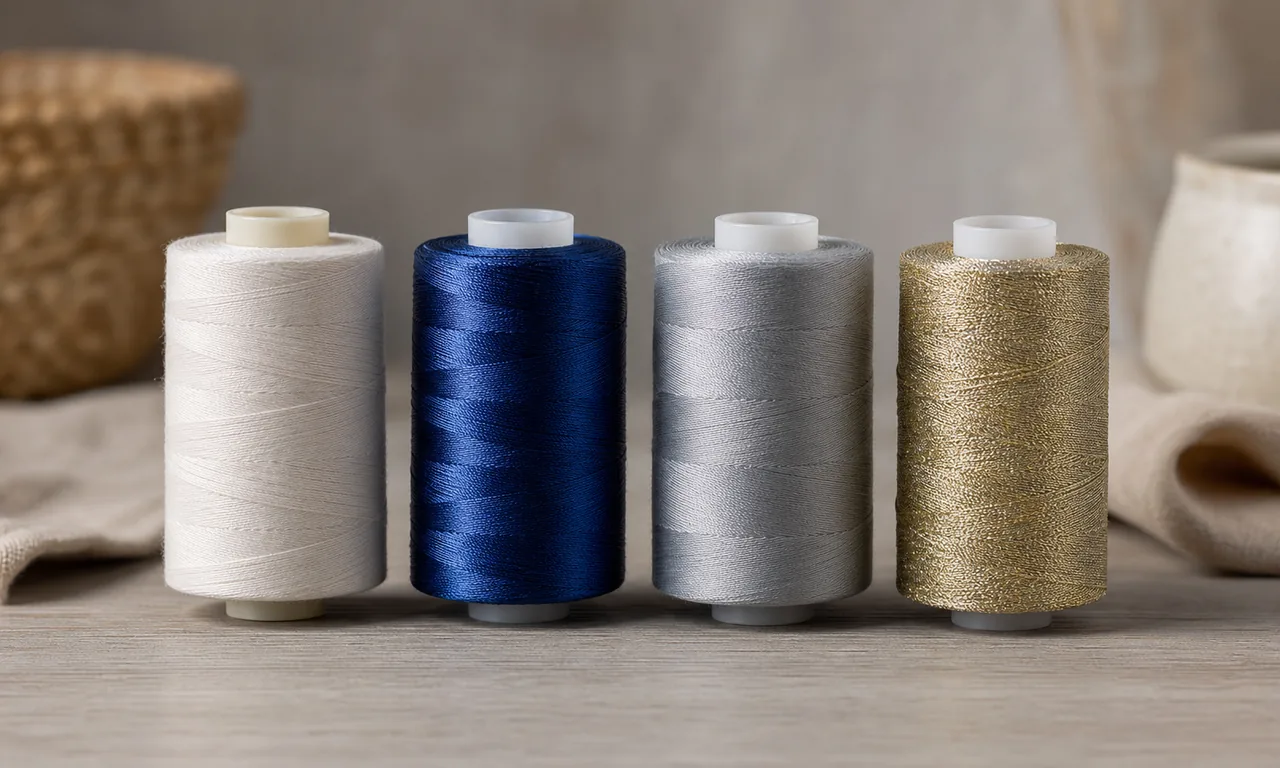
Fibre influences appearance and care, while thread size is one factor in needle and feed compatibility. Product construction and the maker’s care instructions matter too.
- Rayon is a common glossy machine-embroidery fibre. Its finish and care requirements vary by product. Check the manufacturer’s washing and wear guidance before using it on an item that will be washed often, bleached or exposed to abrasion.
- Polyester machine-embroidery threads are available in glossy finishes, but strength, colourfastness and care performance are product-specific. Read the spool or manufacturer specifications and test a sample after the intended care routine instead of assuming every polyester thread behaves alike.
- Cotton embroidery thread generally has a less glossy appearance than rayon or polyester products, but its size and construction still vary. Choose it for the visual and care properties stated by its maker, not from fibre name alone.
- Metallic and other specialty threads can have a coating or construction that needs a compatible needle and controlled handling. Follow the thread maker’s instructions and the machine manual; stop if the thread catches or shreds.
The video below shows one creator comparing two particular threads on one machine. It can illustrate appearance and stitching on that setup, but it does not establish performance for every fibre, brand or machine.
This is one creator’s demonstration, not a universal sewing-machine test. The presenter says his force-gauge comparison was not fully scientific; do not treat its measurements as ratings for other fibres, brands or machine setups.
Bobbin-thread choice is machine- and task-specific. Brother’s guidance for its listed combination models recommends 60 wt bobbin thread during embroidery; use the bobbin thread and bobbin type specified in your own manual. Do not assume that a finer thread or a heavier top-and-bottom pairing will balance on every machine.
Step 4: Match the Needle to the Thread, Not to the Fabric Alone
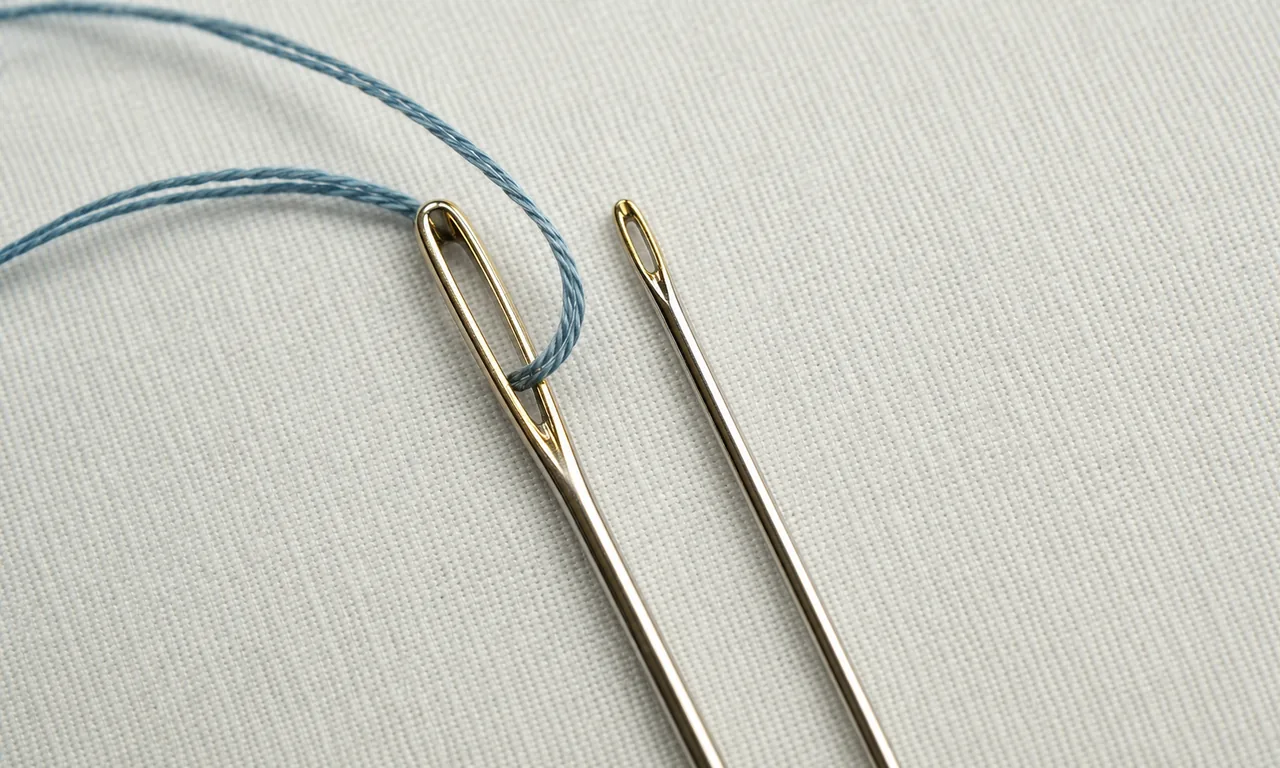
Needle compatibility matters. An eye that is too small for the thread, a damaged needle or a mismatch with the fabric can contribute to shredding, skipped stitches or puckering. SCHMETZ describes its embroidery needles as having an enlarged eye and groove for specialty threads. Use the needle maker’s and machine maker’s recommendations, then test the same thread and fabric layers on a scrap.
| Thread | Needle | Why |
|---|---|---|
| Fine thread, including some 60 wt products | Use the machine and thread maker’s chart | Weight labels differ; match the actual product and fabric. |
| 50 wt sewing thread | Use the manual’s general-sewing chart | Choose for thread, fabric, stitch and machine together. |
| 40 wt machine-embroidery thread | Embroidery needle listed for the machine/thread | Use the makers’ size chart and test the exact combination. |
| Heavy decorative thread | Manufacturer-approved topstitch or specialty needle | Use the size and point suited to the fabric and machine. |
| Metallic or specialty thread | Needle specified by thread and machine makers | Do not assume one size or needle type fits all products. |
Needle designs vary by use. SCHMETZ describes its embroidery needle eye and groove for specialty threads and its topstitch needle’s elongated eye for heavier threads. The suitable type and size still depend on the thread, fabric, machine and stitch. A metallic-specific needle may suit some products, but consult the thread and machine makers first. A universal needle is not automatically wrong or suitable; test the actual combination.
Use an undamaged needle of the type and size recommended for the thread, fabric and machine. Replace a bent or damaged needle, and follow the machine manual for the replacement interval. SCHMETZ’s needle guide explains embroidery and topstitch needle features; Brother’s model-specific chart also advises testing the actual fabric layers.
The thread should pass through the needle eye without catching. If it frays, stop and check the thread path, needle eye and guides for damage; a frayed end is a clue, not a diagnosis. Do not assume a larger needle is always right, because the needle must also suit the fabric and machine.
Step 5: Test Tension, Stitch and Speed
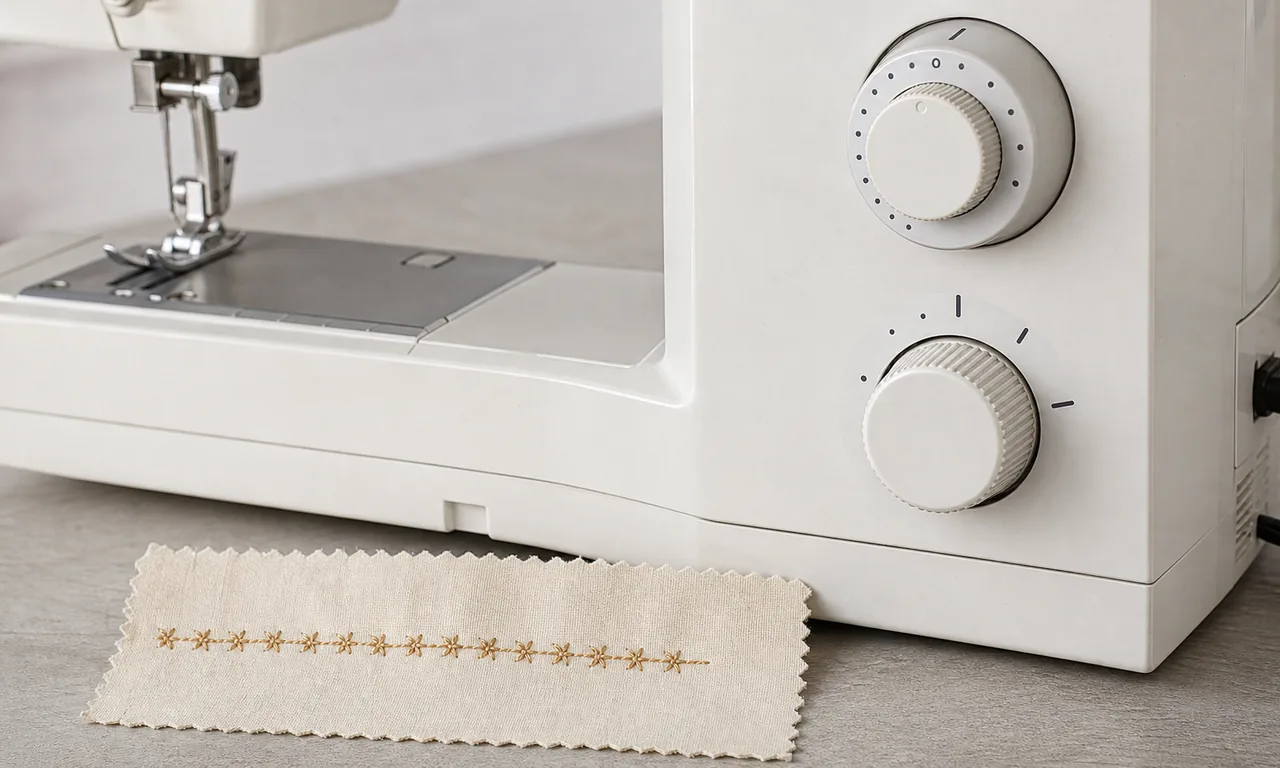
Before changing settings, rethread as the manual directs and make a test seam on matching scrap. Start with the machine maker’s recommendations for the thread and fabric.
If the stitches look unbalanced, first rethread exactly as the manual directs and sew a test seam on a matching scrap. If the manual allows tension adjustment, make a small change to the upper tension, test again and compare both sides. There is no single dial number that applies to every machine, thread or fabric.
Choose a stitch and length appropriate for the fabric and the intended finish, using the machine manual as the starting point. If a specialty thread catches or frays, stop, check the needle and thread path, and try a controlled test at a lower speed only if the manual permits it. Do not pull the fabric through the machine.
Inspect the top and underside of the test seam. Loops, puckering or breakage can have several causes, including threading, needle choice, thread path, bobbin seating or tension. Rethread and check the manual before changing bobbin-case tension; seek service if a new, correctly installed needle and a clean thread path do not resolve a persistent fault.
Step 6: Support the Spool and Check the Wound Bobbin
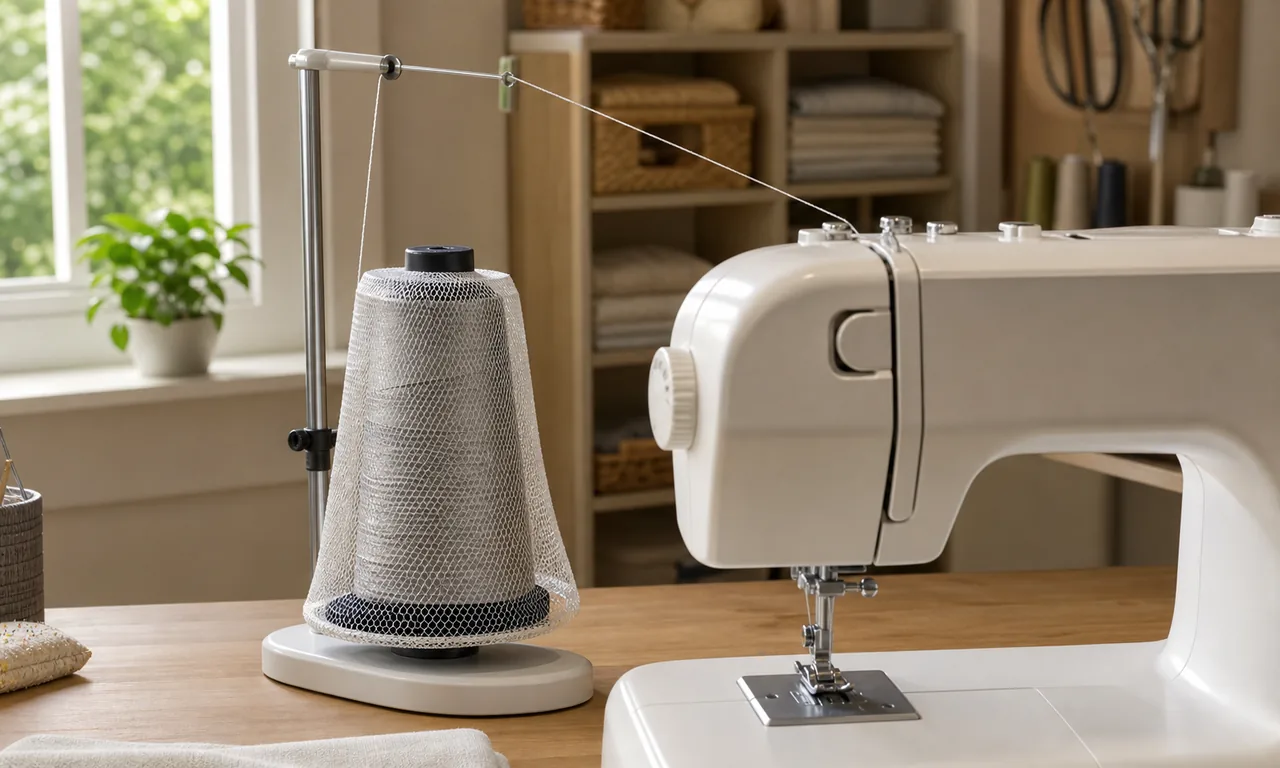
The spool’s shape and the machine’s thread path can affect feeding. Use the spool holder, vertical pin or thread stand recommended by the machine manual for that spool type. Watch the thread through a slow test and stop if it snags, balloons off the spool or pulls sideways.
A stand, net or guide may help with a particular feeding problem, but none is required for every setup. Use only an accessory compatible with the machine and spool, and test the thread path before sewing.
- Thread stand: A separate stand may help a cone feed from above if the machine maker permits that arrangement. Keep the thread path clear and test slowly.
- Spool net: A net may reduce unwinding on some spool shapes. Follow the spool and machine guidance, and stop if the thread catches.
- Thread guide: Use an approved guide only if it is compatible with the machine; confirm placement in the manual and test before sewing.
Use the bobbin type and winding procedure specified for the machine. If the manual permits the chosen thread in the bobbin, wind and seat it exactly as directed; do not deliberately wind it loose or adjust the case spring by guesswork. For embroidery, some manufacturers specify a fine bobbin thread, but the recommendation is model-specific.
Step 7: Use It on the Six Jobs It Does Well
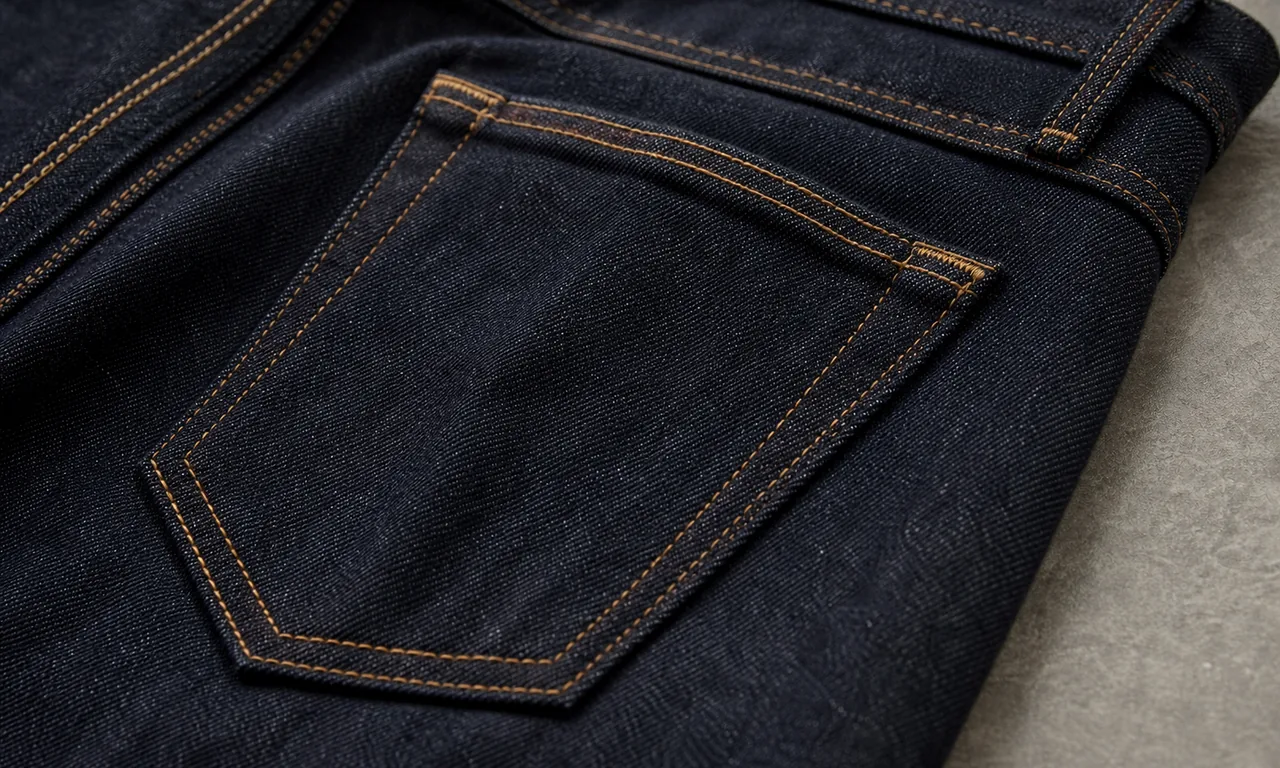
These are examples where machine-embroidery thread may suit appearance-led work, provided the product, machine and fabric are compatible.
Topstitching and monograms. Visible edges on denim, canvas, coats or bags can suit a decorative thread when the thread maker and machine manual support it. Choose the weight, fibre and needle for the fabric, then test abrasion and laundering on a sample. Do not use a decorative thread in a load-bearing seam solely because it looks strong.
Appliqué, decorative stitches and visible quilting. These are appearance-led uses where a contrasting or heavier thread may provide the coverage you want. Check the design, needle and machine recommendations; test the stitch on the same fabric and stabilizer before sewing the finished piece.
Hand finishing with stranded embroidery floss is different from machine sewing with machine-embroidery thread. For hand stitches, separate only as many strands as the project calls for and use a hand needle that accepts them.
This short video demonstrates hand floss and hand-sewing techniques; it does not test a sewing machine, needle-size chart or tension setting. Use it only for the hand-work portion and ignore any implication that it establishes machine settings.
Some machines support decorative bobbin work, but the thread, bobbin case, tension and sewing orientation are model-specific. Follow the manual’s bobbin-work procedure and test on a scrap; do not loosen a bobbin-case screw unless the manufacturer instructs you to.
Step 8: Fix the Five Failures You Will Actually Meet
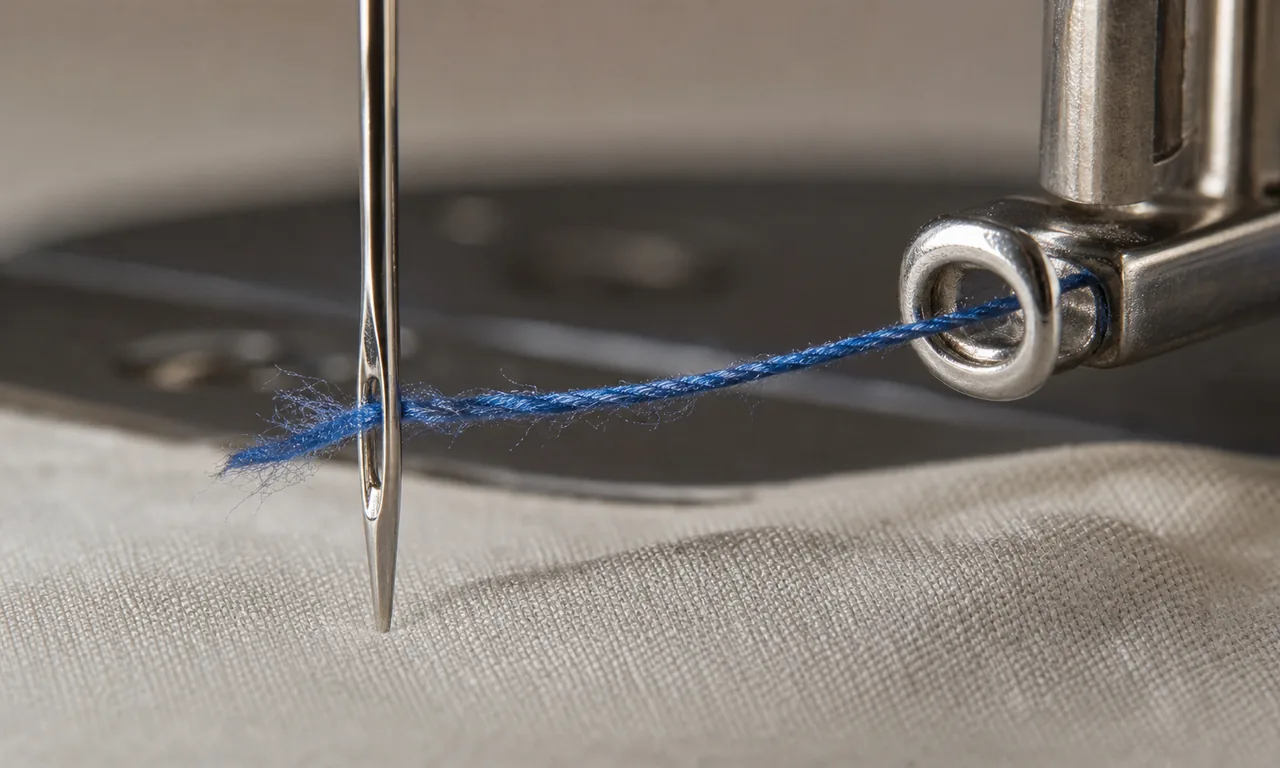
These five common symptoms can have several causes. Use the table for low-risk first checks, not as a diagnosis or a substitute for the machine manual.
| What you see | What it means | The fix |
|---|---|---|
| Thread shreds and frays at the eye | Possible friction at the eye or along the thread path | Stop, inspect and rethread; choose a compatible undamaged needle from the manual. |
| Skipped stitches, gaps in the line | Threading, needle or fabric compatibility may be involved | Rethread as the manual directs; inspect the needle and test the actual fabric combination. |
| Loops and knots underneath | Threading, bobbin seating or tension balance may be involved | Rethread and check both sides; adjust only as the manual allows. |
| Needle snaps or bends | Needle, fabric layers or pulling may be involved | Stop; use the manual’s needle/fabric chart and do not pull the fabric. |
| Puckering around the stitches | Thread, fabric, stabilizer or tension may be mismatched | Test a suitable combination on scrap and follow the product instructions. |
Use the symptom table as a first-check list, not a diagnosis. Start with low-risk checks: stop the machine, rethread as the manual directs, inspect the needle and check bobbin seating. If the machine jams, the needle strikes the plate, or the thread path remains rough, stop and consult the manual or a qualified technician. Do not keep changing settings or force the handwheel.
A clean break can also have several causes. Check for a rough or damaged needle, guide or thread path only as the manual permits. If the source is not visible or the thread keeps breaking after the basic checks, stop and arrange service rather than probing the hook or plate with a tool.
When Embroidery Thread Is the Wrong Answer
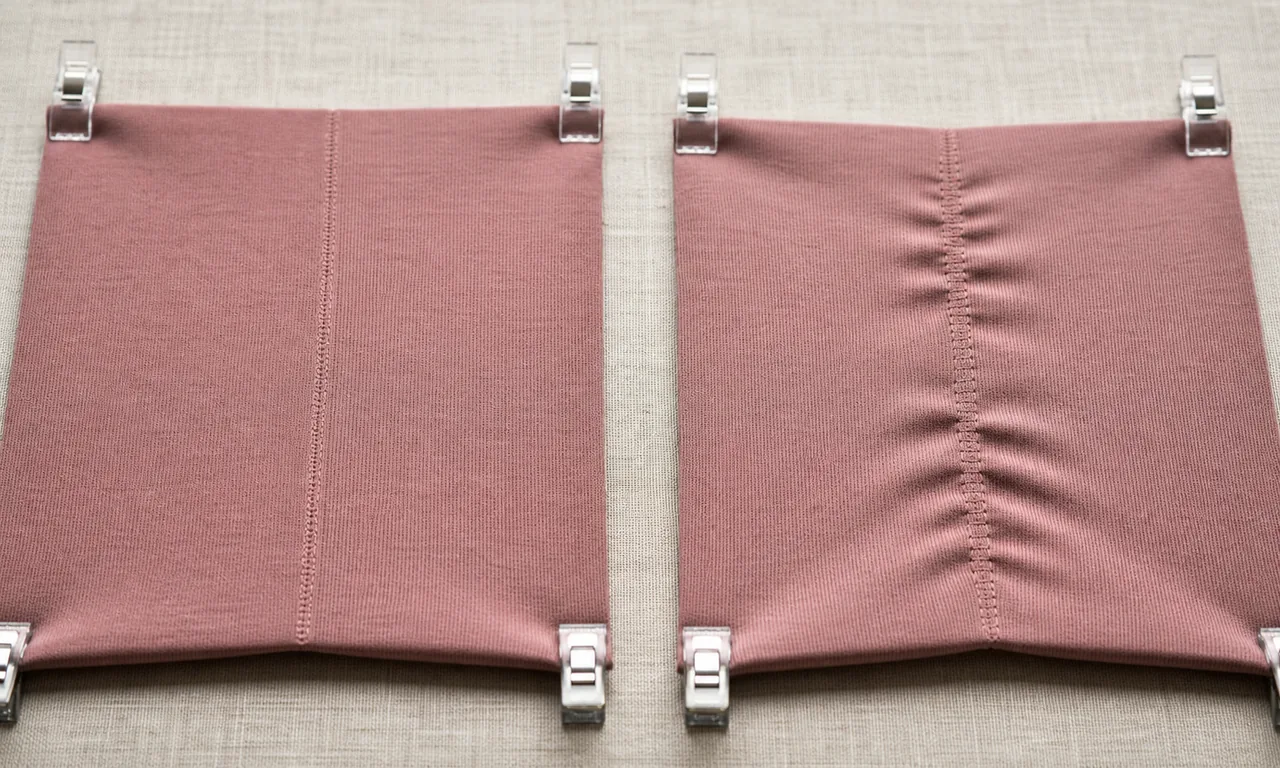
Some uses call for thread specified for the application rather than a decorative substitute. Check the fabric, seam load, stretch and care instructions before choosing.
Stretch knits and load-bearing seams call for particular care. The thread must suit the fabric stretch, seam construction and expected wear. Choose a thread specified for that use and test a sample; do not assume a decorative thread will stretch or carry the same load as a construction thread.
Frequent hot or harsh washing, very fine fabrics and long runs are reasons to check the thread and fabric care instructions closely. Use a thread whose maker specifies the intended care and application. Fine fabrics may pucker with a thread or needle that is too large, so test a representative scrap rather than relying on a universal weight rule.
If the project is embroidery rather than sewing, the thread question changes shape completely, and can you embroider polyester covers fabric choice and stabiliser for that side of the work. When a finished piece needs the embroidery taken back off, how to remove embroidery is the practical guide.
Frequently Asked Questions
Can you use embroidery thread in a regular sewing machine?
Often, yes, if the thread and machine are compatible. Start with the machine manual and thread maker’s instructions, choose a needle for the thread and fabric, and test on a matching scrap. Use it for visible decorative work only when the sample and intended care support it.
Can I use hand embroidery floss in my sewing machine?
Hand embroidery floss is not the same as machine-embroidery thread. It is designed for hand use and may not feed reliably through a machine. Do not put it on a machine unless the floss maker and machine manual support that use; for hand work, use a hand needle and the number of strands appropriate to the project.
Is embroidery thread stronger than sewing thread?
There is no universal answer. Strength depends on the thread’s fibre, construction, size and product specification. A decorative thread should not be assumed suitable for a load-bearing seam; use thread specified for the seam and expected care, or verify the alternative with the manufacturer and a representative test.
Can I use embroidery thread in the bobbin?
Only if the machine and thread makers permit it for that task. Bobbin type, thread weight and winding procedure vary by model. For example, Brother lists 60 wt bobbin thread for embroidery on certain combination machines; check your own manual rather than treating that as a universal setting.
Why does my embroidery thread keep breaking?
Possible causes include an unsuitable or damaged needle, incorrect threading, a snag in the thread path, bobbin seating or tension. Stop, rethread as the manual directs, inspect the needle and test on scrap. If it continues, stop sewing and seek model-specific support rather than changing bobbin tension by guesswork.
What weight of embroidery thread works best for sewing?
There is no single weight for every machine or fabric. Compare labels using the same measurement system, then follow the thread maker’s and machine manual’s recommendations for the actual fabric and stitch. Test the combination on scrap before sewing the project.
Do I need a special bobbin for embroidery thread?
Use the bobbin type and thread specified for your machine. Some embroidery machines recommend a fine bobbin thread, but the correct product and settings are model-specific. Do not alter the bobbin-case spring unless the manufacturer’s instructions require it.
Can I use embroidery thread for an entire garment?
Do not decide from the thread name alone. For structural seams, stretch areas and garments that need frequent laundering, choose thread specified for that fabric and use. Use decorative thread only where its product guidance and a representative test support the expected strain and care.
Will embroidery thread damage my sewing machine?
A compatible thread used as the manual directs should not require force. Stop if the machine jams, the needle strikes the plate or the thread catches repeatedly. Turn the machine off and follow the manual; do not force the handwheel or adjust timing yourself.
Why does embroidery thread pucker my fabric?
Puckering can result from a thread, needle, stitch, stabilizer or tension mismatch. Test the same fabric layers with the manual-recommended needle and stitch, then change one permitted setting at a time. Follow the stabilizer and thread maker’s instructions.
What is the difference between 40 weight and 60 weight embroidery thread?
In the common wt length-per-mass system, 60 wt is finer than 40 wt. Other labels such as Tex and denier work differently, and product sizes can vary. Confirm the system on each spool and compare the manufacturer’s specifications rather than assuming labels are interchangeable.
Can I use embroidery thread on a serger or overlocker?
Only if the serger and thread makers permit that thread in the intended position and stitch. Serger threading, speed and tension are model-specific. Use the manual’s recommended thread and test on scrap; do not use decorative thread in a seam that must carry load unless it is specified for that use.
Conclusion
A sewing machine may handle machine-embroidery thread when the thread, needle, fabric and machine are compatible. It is often chosen for visible decorative work. For seams that carry strain or face demanding care, use thread specified for the application unless the maker’s guidance and a successful sample support another choice.
Start with the spool label and machine manual, choose a compatible needle for the thread and fabric, then sew a sample. If the machine manual permits a tension or speed change, make one small change at a time and inspect both sides. Stop if the needle strikes, the thread catches repeatedly or the machine binds.
If a correctly installed needle, careful rethreading and the manual’s basic checks do not resolve the problem, stop and consult the manufacturer or a qualified technician. Do not keep adjusting the bobbin case or probing the hook.
What are you making, and is the embroidery thread for a seam or for something that will be seen?
About This Guide
Written and edited by Mithu for Craftsing. This guide summarizes thread-label, needle and machine-manual guidance for choosing embroidery thread in sewing projects. Thread and machine recommendations vary by product and model, so test on a matching scrap and follow the manufacturer’s instructions.
All images in this article were created using AI.