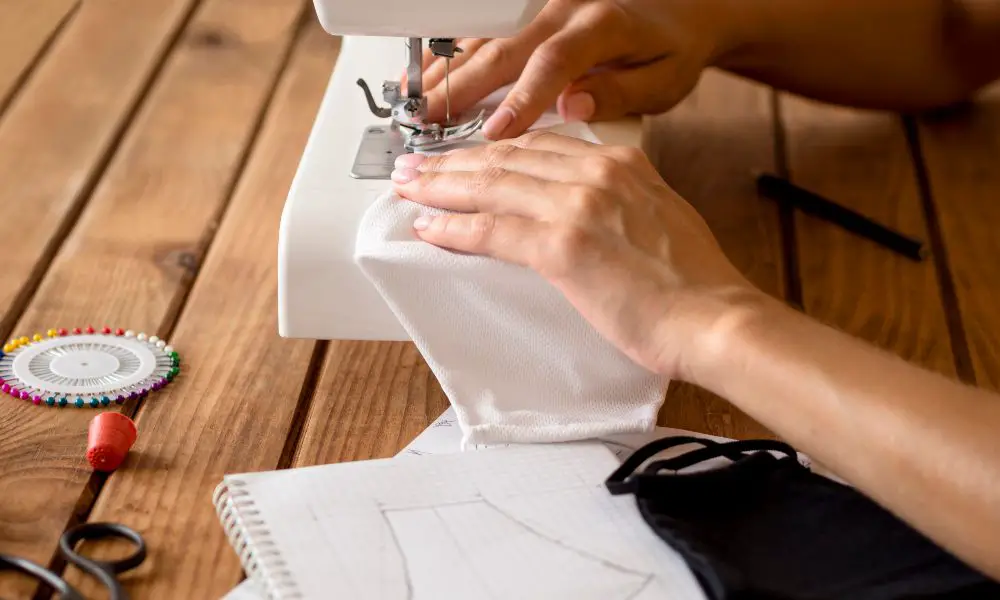
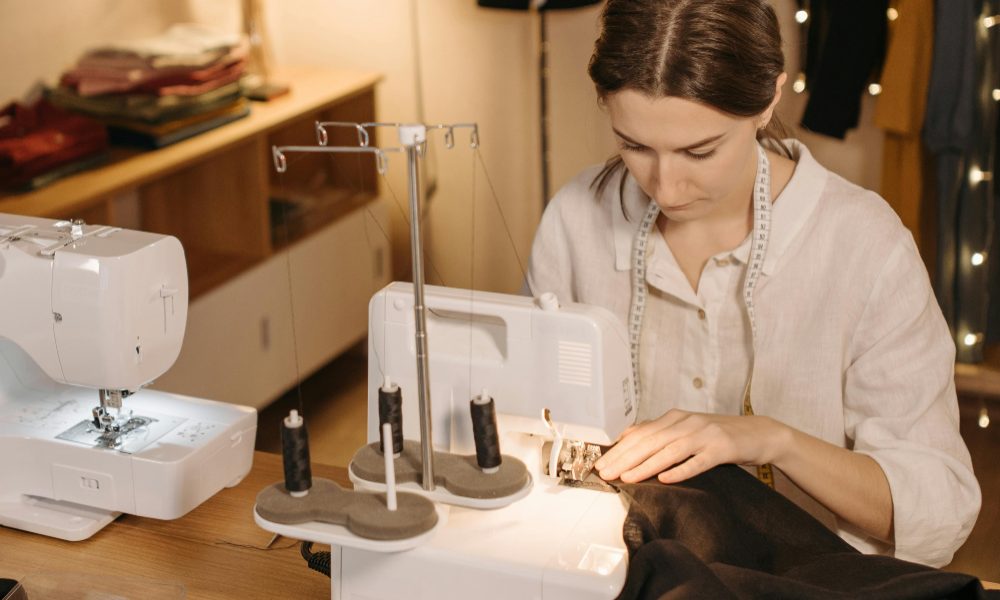
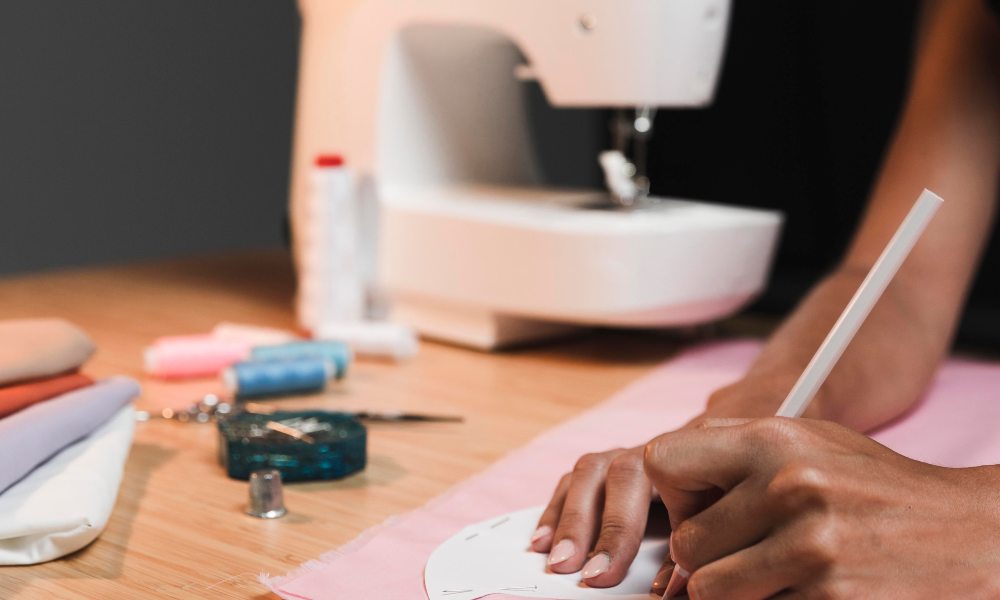
In the realm of sewing, achieving a polished and professional finish often hinges on the intricate details. One such detail that can elevate your projects to new heights is the art of “how to mitre corners sewing.” Whether you’re crafting quilts, table linens, or home decor pieces, mastering the technique of mitered corners will add a touch of sophistication that sets your creations apart.
Understanding Mitered Corners
A mitered corner, or mitered corner, is a seamless joining of two fabric edges at a 90-degree angle, creating a neat and visually appealing finish. This technique is widely employed in quilting, sewing borders and bindings, as well as various sewing projects where crisp corners are desired.
Mitered corners offer several benefits over traditional seam treatments. They eliminate bulky corners, resulting in a smoother and more streamlined appearance. Additionally, mitered corners prevent the fabric from fraying or unraveling, ensuring the longevity of your sewing projects.
Preparing for Mitered Corners
Before embarking on the journey of mitering corners, it’s essential to gather the necessary supplies. You’ll need fabric, bias tape (if desired), a sewing machine, thread, scissors, and marking tools. Accurately calculating seam allowances and border widths are crucial to achieving a flawless mitered corner.
Cutting fabric pieces with precision is paramount. Ensure that your fabric pieces are squared and trimmed to the desired dimensions, as any inconsistencies will be magnified in the final mitered corner.
Step-by-Step Guide to Mitering Corners
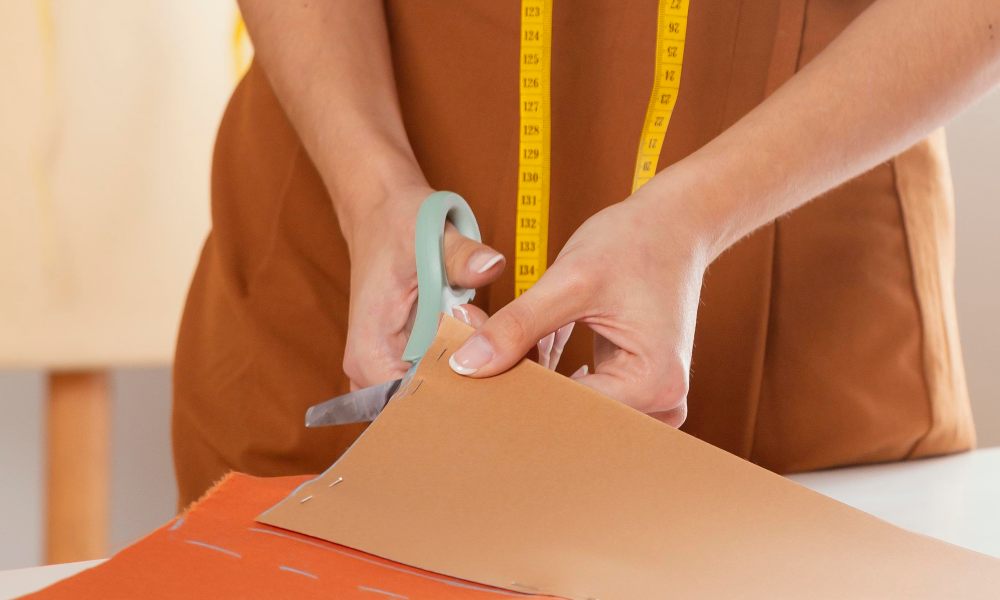
- Marking the Miter Lines: Using a ruler and a fabric marker or pencil, mark the miter lines on the wrong side of the fabric. These lines will serve as a guide for sewing the mitered seams.
- Sewing the Mitered Seams: Align the marked miter lines and stitch along them using a consistent 1/4 seam allowance. Backstitch at the beginning and end of the seam to reinforce the stitching.
- Trimming Excess Fabric: After sewing the mitered seams, carefully trim the excess fabric, leaving a small seam allowance (approximately 1/4 inch).
- Pressing the Mitered Corners: Using an iron, press the mitered corners flat, ensuring that the seam allowances are folded in the desired direction. This step is crucial for achieving a refined, professional result.
Mitering Corners with Bias Tape
To enhance the overall look, think about using bias tape to neatly cover the exposed edges of your mitered corners. Bias tape not only enhances the aesthetic appeal but also provides durability and reinforcement.
- Attaching Bias Tape: Align the bias tape along the raw edge of the mitered corner, ensuring that the folded edge of the tape extends slightly beyond the fabric edge.
- Folding and Stitching: Fold the bias tape over the raw edge, encasing it neatly. Stitch along the crease line, securing the bias tape in place.
Mitering Corners for Borders and Bindings
Mitered corners are essential when working with borders and bindings, particularly in quilting projects. Follow these steps for a seamless and polished result:
- Mitering Corners for Quilt Borders: Sew the mitered corners as described above, ensuring that the border strips meet at a precise 90-degree angle.
- Mitering Corners for Binding a Quilt Top: After attaching the binding strip to the quilt top, miter the corners for a continuous and uninterrupted binding.
Tips and Tricks for Perfect Mitered Corners
- Avoid Bulky Corners: To prevent bulky corners, trim the seam allowances closely after sewing the mitered seams.
- Dealing with Knit Fabrics or Thick Materials: When sewing with stretchy or bulky fabrics, using a walking foot or a specialized sewing machine foot can help ensure smooth and even feeding of the fabric layers.
- Troubleshooting Common Issues: If you encounter puckering or distortion around the mitered corners, adjust the tension on your sewing machine or try using a slightly longer stitch length.
Mitered Corners in DIY Projects
The versatility of mitered corners extends beyond quilts and home decor items. Incorporate this technique into various DIY projects for a polished and professional finish:
- Sewing Mitered Corners on Napkins: Enhance your table settings with cloth napkins featuring beautifully sewn mitered corners, bringing an elegant touch to your dining experience.
- Mitered Corners for Table Runners and Placemats: Create stunning table runners and placemats with crisp, mitered corners for a cohesive and stylish look.
- Incorporating Mitered Corners into Home Decor Items: From throw pillows to curtains, mitered corners can add a touch of sophistication to various home decor projects.
FAQs:
What is the purpose of mitering corners in sewing?
Mitering corners is a technique that creates a seamless, neat finish at the intersection of two fabric edges. It eliminates bulky corners and prevents fraying, resulting in a polished and professional look for your sewing projects.
What supplies do I need for mitering corners?
To miter corners, you’ll need fabric, a sewing machine, thread, scissors, marking tools (ruler, fabric marker/pencil), and bias tape (optional). Accurate measurements and cutting are crucial for achieving precise mitered corners.
Can I cut corners on knit fabrics or thick materials?
Yes, you can cut corners on knit fabrics or thick materials, but it may require some adjustments. To ensure smooth and even fabric feeding, think about using a walking foot or a specialized sewing machine foot. Additionally, you may need to trim the seam allowances more closely to avoid bulky corners.
How do I troubleshoot puckering or distortion around the mitered corners?
If you encounter puckering or distortion around the mitered corners, try adjusting the tension on your sewing machine or using a slightly longer stitch length. Ensure that your fabric pieces are accurately cut and that the seam allowances are trimmed properly.
Can I use mitered corners for quilt borders and bindings?
Absolutely! Mitered corners are essential when working with borders and bindings in quilting projects. Please consult the steps provided in the article to understand how to create mitered corners for a seamless and continuous border or binding.
Conclusion
Mastering the art of mitering corners is a valuable skill that will elevate the overall appearance of your sewing projects. With practice and attention to detail, you can achieve flawless mitered corners that will leave a lasting impression. What mitered corner sewing project will you tackle next? Share your creations and experiences with us in the comments below!
***
Main image: freepik

