


How to Remove Embroidery From a Hat: The Complete 2026 Guide
Here is how to remove embroidery from a hat: turn the hat inside out, clip a few bobbin stitches on the back at a time with a seam ripper, then turn it right side out and lift the loose top threads with tweezers. Brush away loose fibers, trim backing that lifts freely, and stop if the fabric puckers.
When Removing Embroidery From a Hat Makes Sense
Embroidery on a hat is sewn with hundreds of stitches through the front panel, so removing it is about cutting those stitches cleanly rather than pulling the design off. Removal makes sense when the logo is outdated, the hat is a favorite you want to keep wearing, or you plan to re-embroider or cover the area. If the hat is cheap and the design sits on a panel you can simply cover, sewing on a patch may be faster; our custom patch guide explains that route.
Set expectations before you start: a faint outline of needle holes, often called ghosting, usually remains in the fabric, and on structured or wool caps it is often permanent. Decide in advance whether a clean-enough result is acceptable, or whether covering the spot is the better plan.
Tools You Need (and Tools to Avoid)
You need very little: a seam ripper, fine-point tweezers, small sharp scissors, a soft brush or lint roller, good light, and a rolled towel or hat form to hold the crown steady. A magnifier helps on dense or dark thread.
If you do not already own one, a quality Dritz Deluxe Seam Ripper is the single tool that makes this job controlled instead of risky: its sharp fine blade slips under bobbin threads on the back, and the rounded safety ball protects the cap fabric from accidental cuts. Pick up a Dritz Deluxe Seam Ripper before you start.
| Tool | Use it for | Caution |
|---|---|---|
| Seam ripper | Clipping bobbin stitches on the back | Keep the blade off the fabric |
| Fine tweezers | Lifting loose top threads from the front | Pull with the thread, never against it |
| Small scissors | Trimming free backing edges | Cut away from the hat cloth |
| Soft brush, lint roller | Clearing loose fibers at the end | No scrubbing on the front |
Avoid razors, craft knives and pulling threads by hand on the front; those cause cuts and enlarged holes. Skip heat guns, solvents and bleach on sewn embroidery, they are for heat-transfer vinyl, not stitched thread.
Step 1: Inspect the Hat and the Embroidery First
Turn the hat inside out and look at the back of the design. Machine embroidery shows a field of bobbin thread on the reverse; hand embroidery may show only a few knots and short floats. Check the hat type too: unstructured soft caps are more forgiving than structured caps with buckram, and mesh-back trucker hats expose stitches differently than wool or cotton twill.
- Note where the stitching enters seams, the sweatband or eyelets; those spots need extra care.
- Check the care label before any washing, steaming or ironing later.
- If the back is fully lined and sewn shut, removal may not be possible without opening the lining; decide whether that is worth it.
Step 2: Support the Crown and Expose the Backing
Place the crown over a rolled towel or hat form so the panel lies flat and supported, not stretched over a hard edge. Slide a piece of cardboard between the front panel and the lining so the blade can never reach the inside of the cap if it slips.
Keep any stabilizer that is still holding the fabric steady until the threads are free; removing support too early lets the panel pucker while you cut.
What Machine Embroidery Looks Like From the Back
Video note: this Brother support video shows how machine embroidery is set up and stitched, which is exactly what creates the bobbin thread you will cut on the back; it is not a removal tutorial. Channel: @BrotherSupportSewing.
Seeing how the machine lays down top thread and bobbin thread explains the whole method: the bobbin thread on the reverse is what locks each top stitch, so cutting a short run of bobbin stitches releases a whole row of top stitches at once.
Step 3: Clip the Backing Stitches a Few at a Time
Work from the reverse where the bobbin threads are visible. Ease the seam ripper under one exposed thread at a time, rounded safety end against the fabric, and cut only a short section. Then turn the hat over and check whether the top threads have loosened.
- Cut a few stitches, check the front, then cut a few more; small sections keep you in control.
- Keep the blade away from the cap cloth, panel seams, eyelets and the sweatband.
- Never push the ripper through the fabric or sweep it along a dense row of stitches.
- If the tool meets resistance or the fabric puckers, stop and reassess from both sides.
Step 4: Lift the Loose Top Threads From the Front
Turn the cap right side out and use tweezers to lift threads that have already been released. Pull gently in the direction the thread lies. If a thread resists, do not tug; go back to the reverse and clip the remaining bobbin stitches in that small area, because repeated pulling enlarges holes and distorts the panel.
On machine embroidery, once the white bobbin thread is cut in runs, most top stitches unravel with almost no force. Working without a seam ripper is possible but slower; our seam-ripper-free tricks covers those methods.
Step 5: Remove or Trim the Stabilizer Backing
Video note: this Brother support video covers hooping and the stabilizer backing used in machine embroidery, the layer you may need to trim away after the threads are out; it does not show removal itself. Channel: @BrotherSupportSewing.

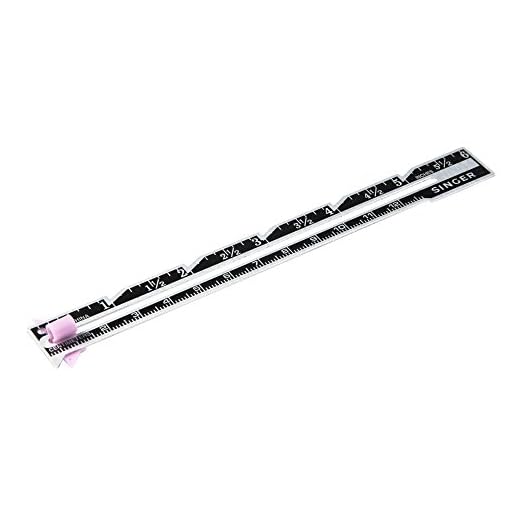

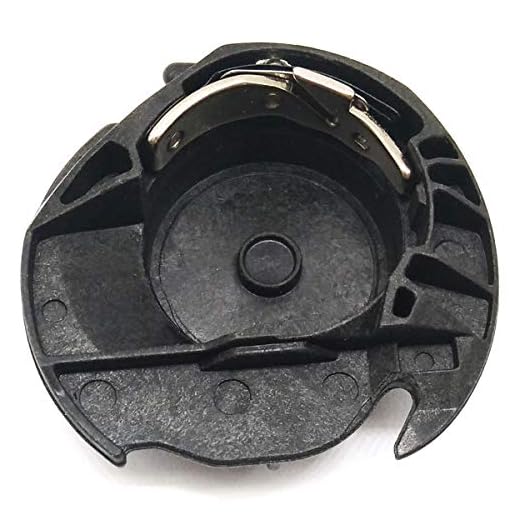
Once the embroidery threads are out, deal with the backing. Tear-away stabilizer usually peels or tears away cleanly; cut-away stabilizer stays and should only be trimmed close to the stitch line with small scissors, cutting away from the hat fabric. Remove only backing that lifts without force; if it is stitched in, adhered, or caught under a seam, leave it rather than scraping or applying solvent.
Step 6: Brush Away Fibers and Inspect the Result
Use a soft brush or lint roller to lift loose thread fragments, then inspect the panel in good light from both sides. If a thread remains trapped, return to the reverse and free it there instead of scraping the front.
Stop when only a faint stitch outline remains; that mark is often in the fabric itself, not leftover thread. Do not use heat, bleach, adhesive remover or aggressive rubbing to erase it; cap makers warn that direct heat can warp visors and affect adhesives, so follow the hat’s own care label for any washing.
Hat Types: Structured, Mesh, Wool and Vintage
| Hat type | Main risk | Approach |
|---|---|---|
| Structured cotton twill | Visible needle holes | Work slowly, accept faint ghosting |
| Trucker mesh back | Snagging mesh | Keep blade flat, avoid mesh panel |
| Wool or vintage | Felting, distortion | Minimal handling, no heat, no wash |
| Fully lined crown | Hidden backing | Stop if lining must be cut open |
The denser and more structured the cap, the more likely a faint outline stays. On wool and vintage caps, handle the fabric as little as possible and skip any heat or moisture; those materials show every needle hole permanently.
What to Do About Needle Holes and Stitch Shadow
A faint grid of tiny holes where the stitches were is normal, and on many cotton caps the holes close up noticeably after a wash done per the care label. Gently rubbing the area with a damp cloth or steaming from the back can relax the fibers, but only if the hat’s label allows moisture and heat.
If the shadow is still visible, the honest options are to cover it with a patch or new embroidery, or to accept it as part of the hat’s character. Chasing a perfectly invisible repair usually means more damage than the original stitches.
Cover It Instead: Patches and Re-embroidery
If removal leaves a visible mark, covering it is often the smartest move. A woven or embroidered patch sewn over the spot hides the ghosting completely and gives the hat a new look; our custom patch guide walks through making and attaching one. A local embroidery shop can also re-embroider a new design over the old area on many cap styles.
When to Stop and Ask a Professional
Stop and consult a professional embroiderer or tailor when the hat is valuable, vintage or sentimental, when the backing is sewn into the lining, when stitches run under the sweatband or visor, or when the fabric puckers, tears or distorts at any point. A pro can often open a lining cleanly, remove the design and close it back up invisibly, which is rarely worth doing yourself on a hat you care about.
- Valuable, signed or vintage caps
- Embroidery stitched into seams, sweatband or visor
- Any tearing, puckering or distortion while cutting
- Fused or adhesive-backed designs on delicate fabric
Frequently Asked Questions
Can you remove embroidery from a hat without damaging it? Usually yes on cotton twill caps, with a faint stitch outline often remaining. Wool, structured and vintage caps are more likely to keep a permanent ghost, so test expectations first.
Which side do I cut, the front or the back? Always start on the back where the bobbin threads are; cutting a few bobbin stitches releases the top stitches, which you then lift from the front with tweezers.
What if the embroidery is on the front but the back is lined? If the lining is sewn shut and the ripper cannot reach the backing without stretching the crown, stop; opening a lining is a job for a tailor.
Can I use a razor blade instead of a seam ripper? No. Razors and craft knives slip and cut the cap cloth; a seam ripper with a safety ball is made for exactly this job.
Will washing remove the needle holes? On many cotton caps, washing per the care label closes the holes noticeably. Never machine-dry or iron a cap unless its label allows it, heat can warp the visor.
Does this work for heat-transfer logos too? No. Heat-transfer vinyl is adhesive, not stitched; removing it needs different methods and often leaves residue that solvents may lift.
How do I remove the stabilizer backing left behind? Tear-away backing peels off; cut-away backing is trimmed close to the stitch line with small scissors, cutting away from the fabric. Never scrape or solvent it.
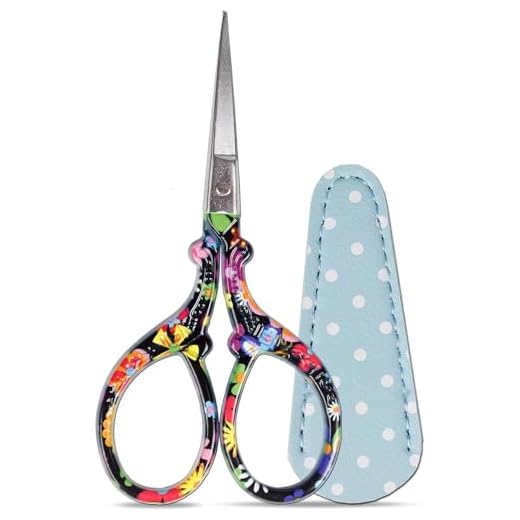


Is it better to just cover the logo with a patch? Often yes, especially on structured or vintage hats. A patch hides the ghosting completely and is faster than removal.
Conclusion
Removing embroidery from a hat is a slow, careful job: support the crown, clip a few bobbin stitches on the back at a time, lift the loosened top threads from the front, trim any free backing, and brush the panel clean. Work in small sections, never force a thread, and stop if the fabric puckers or the lining blocks access. A faint stitch shadow is normal and often fades with a label-safe wash; when it does not, a patch or new embroidery covers it neatly. For valuable or vintage hats, a professional is the safer choice.
About This Guide
This guide was prepared by the CraftSing editorial team and reviewed against current manufacturer guidance. For fabric, thread and needle compatibility when re-embroidering or patching a hat, see the manufacturer reference chart from Brother: Brother fabric and needle chart. Product mentions are based on publicly available ratings and specifications at the time of writing.
FTC disclosure: CraftSing may earn a commission when you buy through affiliate links on this page, at no extra cost to you. This does not influence our recommendations.
All images in this article were created using AI.