Have you ever made a mistake in your embroidery project and needed to remove stitches but couldn’t find your trusty seam ripper? While a seam ripper is undoubtedly helpful for ripping out embroidery stitches, there are other effective ways to remove embroidery when you don’t have one handy. Learn techniques and tools for erasing embroidery without a seam ripper.
A seam ripper, a stitch ripper, is a sewing tool specifically designed to remove stitches. The sharp, curved end easily slices through embroidery thread to “rip” it out. Seam rippers give you control and precision when undoing stitches on sewn projects. They’re essential when dealing with machine embroidery gone wrong. But seam rippers can damage delicate fabrics if you’re not extremely careful.
When you find yourself without a seam ripper, don’t despair! You can remove embroidery using everyday household items and some clever tricks. Here are tips for erasing embroidery and dealing with stubborn threads; no seam ripper is required.
Snip Stitches Carefully With Small Scissors
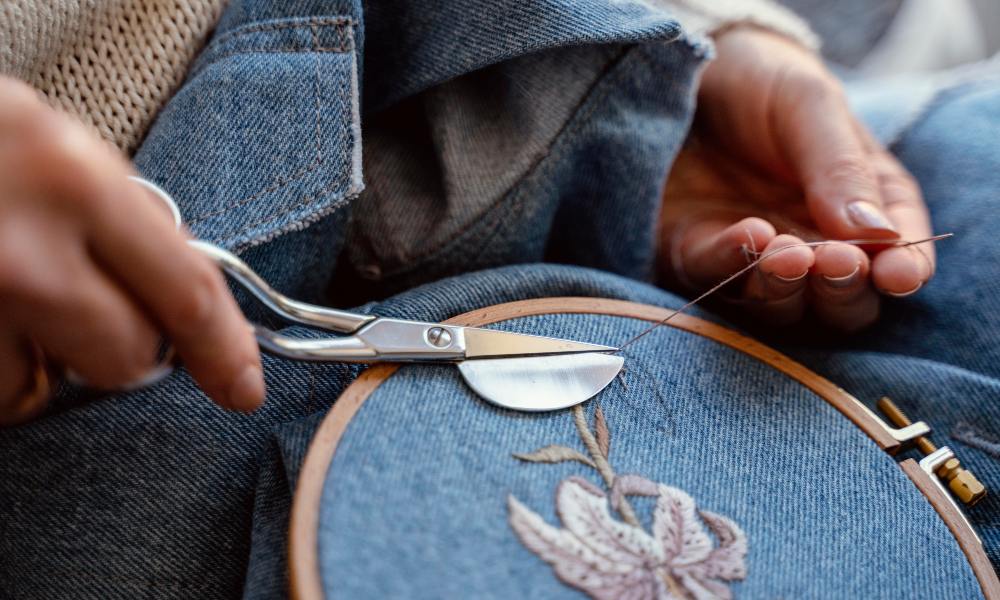
Invest in a good pair of small, sharp embroidery scissors. Short, pointed scissors allow you to trim excess threads and cut out stitches close to the fabric. This avoids leaving loose loops that can unravel or pull. Always keep your embroidery scissors only for cutting fabric and threads to maintain a sharp edge. For detail work, tiny snips give you surgical precision in tight spaces. Carefully snip each stitch against the fabric to avoid damaging the material underneath. With practice, you can cleanly remove embroidery with just sharp little snips.
Use Tweezers for Pulling Out Individual Threads

Tweezers act like tiny fingers, allowing you to grip threads and gently pull them out one by one. The pointed steel tips can grab onto threads in corners and other tricky spots. Use tweezers to remove only a few stray stitches or loose loops rather than ripping out entire sections of embroidery. Grab the loop end of the top thread and carefully pull to draw the bobbin thread up, too. Go slowly to avoid tearing the fabric or leaving thread tails behind. Tweezers give you control over this type of delicate, detailed work.
Erase Stitches With a Stitch Eraser
A stitch eraser has an abrasive material on the tip that physically wears away embroidery stitches. Lightly rub the eraser back and forth over unwanted stitches to seal them off. This removes threads without cutting into the fabric underneath. However, stitch erasers can damage delicate materials like sheer or lace fabrics, so use caution. They work best on cotton and other medium-weight fabrics. Gently erase mistakes made in machine or hand embroidery using this handy tool.
Slice Through Patches and Appliques With a Razor Blade
For removing embroidered patches, motifs, and appliques, a fresh razor blade can help. Carefully slice through the stitches that attach the embroidery to the garment or fabric. Hold the razor blade flat against the stitching and gently “shave” the threads without cutting into the base material. Small razor blades allow you to see what you’re missing more precisely. Box cutter-style razor blades also work for this task. Just take care not to cut too deeply. This technique quickly detaches embroidered patches and trims close to the embroidery edges.
Eliminate Loose Threads With Adhesive
You can tackle pesky loose and stray threads using sticky tools like lint rollers and adhesive tapes. A lint roller picks up surface threads quickly for a tidy look. Roll it across the embroidered area to remove any unsecured threads and fuzz. Tear off the used sheet and repeat until the surface is clear of debris. Removable stitchery tapes can also lift threads; press the sticky tape against the embroidery and peel it away slowly. The adhesive grabs and pulls out loose threads stuck to it. Use these sticker tools for basic thread trimming and removal jobs.
Rethread Loops to Bury Thread Tails
If you have a bunch of open bobbin or top threads left from ripped-out embroidery, don’t clip them! Rethread these loose loops back into their original needle paths to bury the tails inside the fabric. Use a hand-sewing needle to draw the threads through the embroidery holes where they initially went. Give a gentle tug to hide the thread ends under the stitches on the right side. You can make loose threads disappear with only a needle and thread end. No knots or sewing are required!
Carefully Trim Away Satin Stitch Embroidery
Removing satin stitch embroidery takes extra care since the threads are so close together. Use highly sharp, pointed scissors to cut away the stitching precisely. Make tiny snips next to the threads as you move along the edge. Cutting too profoundly risks cutting the fabric underneath, so go slowly. Concentrate on lifting the stitches to slice between them and the fabric. Hold the scissors upside down with the lower blade against the satin stitching for the best control. You can lift off satin embroidery stitches with patience without harming the foundation.
FAQs
What can I use instead of a seam ripper to remove embroidery?
You can use trim, sharp scissors, tweezers, a stitch eraser, a razor blade, or adhesive remover instead of a seam ripper to remove embroidery stitches.
How do I remove an embroidered patch without damaging the fabric?
Carefully slice through the stitching, attaching the patch using a new razor blade. Avoid cutting into the fabric by holding the blade flat against the stitches.
What is the best way to remove machine embroidery?
To remove sections of machine embroidery, use sharp scissors to snip each stitch closely against the fabric. Go slowly to avoid damaging the material underneath.
How can I get rid of embroidery on a delicate or sheer fabric?
On delicate fabrics, use tweezers to pluck out threads individually. Avoid using anything abrasive or destructive.
What is the easiest way to remove loose embroidery threads?
Quickly remove surface threads using lint rollers or stitchery tapes. The adhesive grabs onto the threads for easy removal.
Conclusion
As you can see, removing embroidery doesn’t have to mean reaching for a seam ripper every time. With some clever tools and proper techniques, you can erase stitches, undo embroidery mistakes, trim loose threads, and more. When tackling your next embroidery removal challenge, embrace alternatives like small scissors, tweezers, stitch erasers, adhesive removers, and rethreading needles.
What are your favorite tips and tricks for erasing embroidery without a seam ripper? Share your advice in the comments for removing stitches in a pinch!
***
Main image: freepik.com