Have you ever marveled at the intricate stitching on a leather wallet or bag and wondered if you could recreate that seamless artistry? Sewing leather by hand might seem daunting, but it’s a skill within reach with the proper techniques and tools. Imagine the satisfaction of crafting your personalized leather goods imbued with your unique touch. Buckle up, and let’s delve into the world of hand-stitched leather!
Assembling Your Leather-Stitching Arsenal
Before you embark on your leather-stitching journey, you must gather the essential tools and materials. This section will guide you through selecting the perfect components for your leather-stitching arsenal.
Choosing the Right Leather
Not all leathers are created equal, and the type you choose will significantly impact the ease of stitching and the final product’s durability. For beginners, it’s best to start with vegetable-tanned leather, which is softer and more pliable than its chrome-tanned counterpart. Opt for a 2-4 ounces thickness, as thinner leathers can be challenging to work with, while thicker pieces might be too rigid for hand-stitching.
Essential Tools for Hand-Sewing Leather
- Awl: This pointed tool punches holes in the leather, guiding the needle’s path. Look for an awl with a diamond-shaped point to create clean, precise holes.
- Stitching Pony or Clamp: These devices securely hold the leather, freeing your hands for stitching. A stitching pony resembles a small vise, while clamps can be attached to a sturdy surface.
- Edge Beveler: This tool creates a sloped edge on the leather, allowing for a smoother and more professional finish.
- Mallet: A rubber or wooden mallet is used to flatten and shape the leather and set the stitches in place.
- Cutting Tools: Invest in a high-quality leather knife or shears to ensure clean, precise cuts.
Thread and Needle Selection
The thread and needle you choose will play a crucial role in the strength and appearance of your stitches. For hand-sewing leather, look for waxed thread, which is more robust and less prone to fraying than unwaxed varieties. Linen, nylon, or polyester threads are all excellent choices.
As for needles, opt for specialized leather needles with a sharp, diamond-shaped point and a reinforced eye. These needles are designed to pierce tough leather fibers without bending or breaking.
Mastering the Saddle Stitch: A Timeless Technique
The saddle stitch is a classic and versatile method that creates a durable and visually appealing seam. This section will guide you through the intricacies of executing this time-honored technique.
Understanding the Saddle Stitch
The saddle stitch, or the stitch-in-the-ditch, is a double-needle stitch that creates a raised, decorative seam on one side and a recessed seam on the other. This technique is often used to construct wallets, belts, and other leather goods where strength and aesthetics are paramount.
Step-by-Step Guide to Executing the Saddle Stitch
- Prepare your leather pieces and mark the stitch line with an awl or a marking tool.
- Secure the leather in your stitching pony or clamp, ensuring a firm grip.
- Thread your needle with a generous waxed thread, leaving a 6-inch tail at the beginning.
- Start stitching from the secured end, punching holes with the awl, and guiding the needle through each hole.
- For the saddle stitch, follow a pattern of stitches across and back, creating two parallel lines of stitches.
- Maintain consistent tension and spacing between stitches for a professional look.
- At the end, secure the thread with a knot or backtracking a few stitches.
Tips for Achieving Perfect Tension and Uniformity
- Use beeswax or a specialized leather wax to coat the thread, increasing its strength and reducing friction.
- Adjust the tension by gently pulling the thread after each stitch, but be careful not to over-tighten.
- Keep your stitches evenly spaced using an awl or a pricking iron to mark the hole placements.
- Practice on scrap leather pieces before tackling your final project to develop a consistent stitch length and tension.
Beyond the Saddle Stitch: Exploring Alternative Stitching Methods

While the saddle stitch is a staple in the leather-stitching world, other techniques can add variety and unique flair to your projects. This section will introduce you to a few alternative stitching methods to expand your repertoire.
The Versatile Backstitch
The backstitch is a simple yet sturdy stitch that creates a continuous line of stitches on the surface of the leather. This technique is often used for decorative purposes, such as embellishing the edges of leather goods or creating intricate patterns.
To execute the backstitch, follow these steps:
- Punch holes along the desired stitch line using an awl or pricking iron.
- Begin by passing the needle through the first hole from the back to the front.
- Bring the needle back through the next hole, creating a stitch on the surface.
- Repeat this process, passing the needle through the next hole and back through the previous one.
The Decorative Blanket Stitch
The blanket stitch is a decorative edging stitch that adds a touch of elegance to leather projects. This stitch is often used to finish the edges of leather goods, such as wallets, bags, or book covers.
To create the blanket stitch:
- Start by punching a line of holes along the edge of the leather, spaced evenly apart.
- Bring the needle up through the first hole from the back to the front.
- Loop the thread under the edge of the leather and pass the needle back down through the next hole.
- Repeat this process, creating a series of interlocked loops along the edge.
Combining Stitches for Unique Designs
Don’t be afraid to experiment and combine different stitching techniques to create unique and personalized designs. For example, you could use the saddle stitch to construct the main body of a leather bag and then incorporate the blanket stitch along the edges for a decorative touch. Or, try using the backstitch to create intricate patterns or monograms on the surface of the leather.
Finishing Touches: Burnishing and Edge Dressing
It is time to take your leather project to a professional level by adding the finishing touches once the stitching process is complete.
The Art of Burnishing Leather Edges
Burnishing is compressing and polishing the edges of leather to create a smooth, uniform finish. This technique enhances the appearance of your project and helps seal and protect the leather fibers.
To burnish leather edges:
- To produce a slight slope on the leather’s border, you can employ a skiving tool or an edge beveler.
- Apply a small amount of gum tragacanth or edge dressing to the beveled edge.
- Using a burnishing tool (often made of wood or bone), firmly rub the edge in a circular motion.
- Apply pressure and heat by rubbing vigorously until the edge is polished and glassy.
Applying Edge Dressings for a Professional Finish
Edge dressings are specialized products that help to protect and enhance the appearance of leather edges. These dressings come in various colors, allowing you to match or complement the leather’s natural hue.
To apply an edge dressing:
- Clean and prepare the leather edges by removing any excess glue or debris.
- Apply a thin, even coat of edge dressing using a small brush or applicator.
- Allow the dressing to dry completely before handling or using the leather item.
- For best results, apply multiple thin coats rather than one thick layer.
FAQs
Can I sew leather using a regular sewing machine?
While it is possible to sew leather on a regular sewing machine, it requires specific needles, threads, and techniques. For best results, a heavy-duty sewing machine designed for thick materials like leather is recommended.
What is the difference between saddle and running stitch?
The saddle stitch is a double-needle stitch that creates a raised seam on one side and a recessed seam on the other, while the running stitch is a simple, continuous stitch along a seam line.
Can I use faux leather for hand-stitching projects?
Yes, faux leather can be a suitable alternative to genuine leather, especially for beginners or those looking for a more affordable option.
How do I prevent my stitches from looking uneven?
To achieve uniform stitches, use an awl or pricking iron to mark evenly spaced holes, maintain consistent tension on the thread, and practice on scrap leather pieces before tackling your final project.
What is the best way to store leather projects and prevent cracking?
Store leather projects away from direct sunlight and extreme temperatures. It is suggested that a leather conditioner or beeswax be used to prevent the leather from drying out and cracking. Keeping the leather supple is essential; applying these products regularly can help.
Conclusion
Sewing leather by hand is a rewarding and meditative journey that blends craftsmanship with patience. With your acquired techniques and knowledge, you’re now equipped to transform humble leather pieces into masterpieces. But the learning never stops – what new stitching styles or projects will you tackle next? Share your hand-stitched leather creations with us, and let’s inspire one another to push the boundaries of this timeless art form.
What aspect of hand-stitching leather are you most excited to explore? Leave a comment below, and let’s continue the conversation!
***
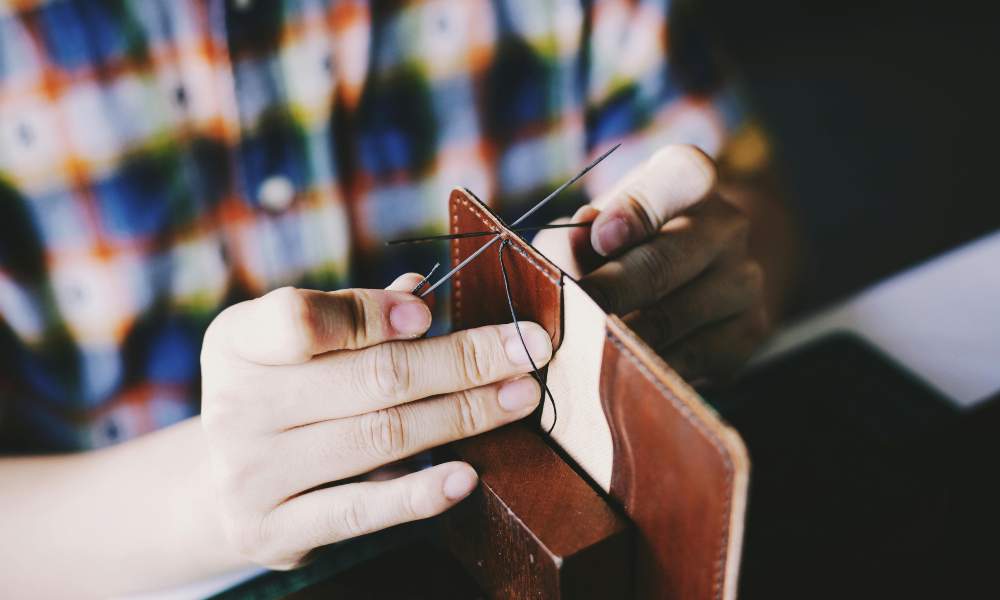
Main image: pexels
