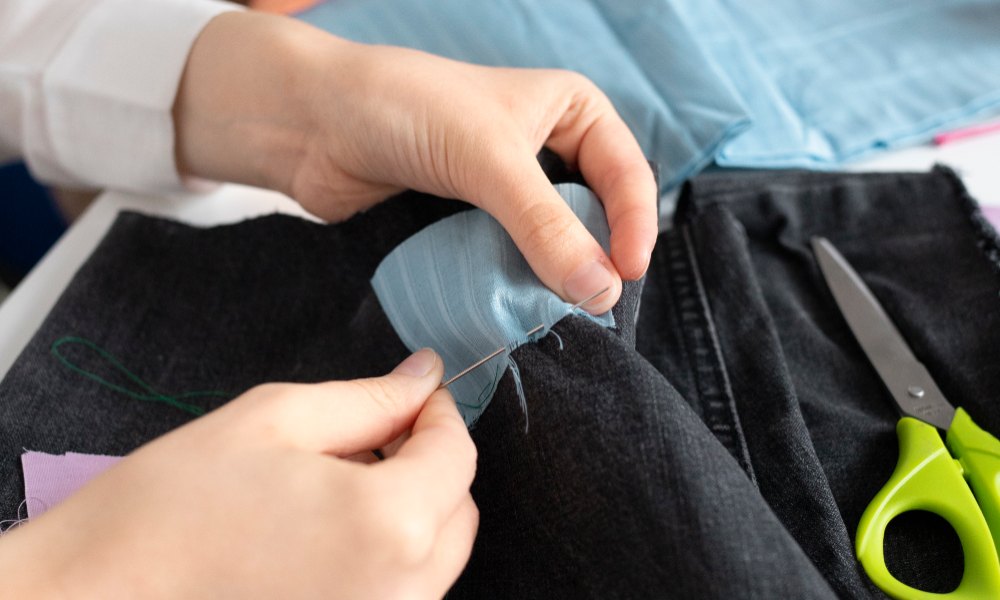
Hand sewing may seem old-fashioned in today’s electric how-to-hand sewing machines, but did you know it still has many devoted fans? The satisfaction of creating beautiful garments and crafts using just a hand-sewing needle and thread is unparalleled. Hand sewing allows for meticulous stitching and a personal touch that machines can’t replicate. You don’t know what you’re missing if you’ve never tried hand sewing stitching! Read on to learn all about the supplies, stitches, and techniques that will have you hand-sewing like a pro in no time.
Basic Supplies Needed for Hand Sewing
While hand sewing doesn’t require as many tools as machine sewing, having the right supplies makes the process much easier. Here are the hand-sewing essentials you’ll need:
Sewing Needles
Hand-sewing needles come in a variety of types and sizes. Sharp needles in sizes 5-10 are best for most hand-sewing projects. Make sure to choose the right size and type of needle for your fabric—too small, and the needle may shred the fabric; too large, and the holes will show.
Thread
Like needles, thread comes in many sizes and fibers. Cotton thread is suitable for most hand sewing. Choose a weight that matches the hand-sewing needle and keep colors fast so they don’t bleed onto your fabric layer.
Scissors
Sharp scissors are indispensable for hand sewing to trim threads and cut garment fabric. Smaller scissors allow for more control than large shears.
Pins and Pincushion
Pins hold fabric pieces in place temporarily while hand sewing seams. Glass head pins slide smoothly through fabric. A pincushion keeps pins organized and handy.
Measuring Tape
Whether following a sewing pattern or designing your creation, a measuring tape helps ensure accuracy. When measuring fabric, a pliable tape measure offers the most straightforward and easy-to-use solution.
Seam Ripper
Mistakes happen! A seam ripper quickly removes stitches without damaging fabric so that you can redo a seam.
Thimble
Worn on your middle finger, a thimble shields it from needle pricks while hand stitching. Essential for beginners!
Types of Hand Stitches
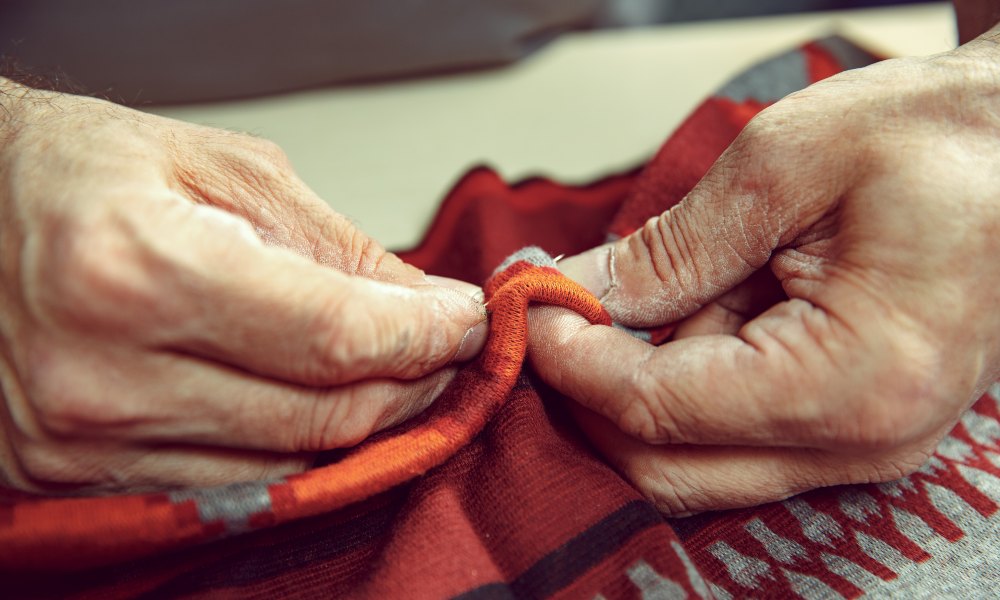
Mastering basic hand-sewing stitches is the key to successful hand sewing. Each stitch has specific uses. With practice, these stitches will become second nature.
Running Stitch
As its name implies, the running stitch is used for joining long seams quickly. Weave the needle in and out of the fabric in even stitches 3-4 mm long. Keep stitches loose enough to permit some fabric movement. The running stitch creates a dashed line of stitching often used for basting stitches.
Backstitch
The backstitch creates a solid line of stitching for seams that need durability. Sew a small stitch backward, then bring the needle up behind the previous stitch. The thread crosses over itself, so no gaps exist between stitches. The backstitch is ideal for seams in clothing, bags, and other items that need strength.
Slip Stitch
Making nearly invisible joins between folded edges is the slip stitch’s forte. On the inside of folded hems and bindings, catch only a few threads of one side to the other. The slip-stitch seam looks continuous from the outside. It nicely finishes edges like pillowcases and linens.
Blanket Stitch
Add decorative flair with the blanket stitch, perfect for finishing raw edges on blankets, napkins, and tablecloths. Working from left to right, create a diagonal stitch, then stitch vertically down into the fabric. Repeat, spacing stitches evenly. The blanket stitch creates a braided look along a hem edge.
Whip Stitch
For joining two finished edges together, the versatile whip stitch seamlessly combines them. Working from left to right, pass the needle through both layers to “tie” the edges together evenly. Keep stitches small and even. Use the whip stitch to seam edges, make softies, and attach appliques.
Ladder Stitch
Similar to the slip stitch, the ladder stitch invisibly joins folded edges such as a turned hem. Work from right to left, taking tiny diagonal bites of fabric from the hem edge, then straight across, catching only a thread or two of the garment. The finished stitching resembles a ladder.
Tips for Successful Hand Sewing
Mastering hand sewing requires practice and patience. Follow these tips as you hone your technique:
- Choose needles sized for your thread and fabric to prevent breakage and poking holes. Sharps work for most fabrics, while thicker needles suit leather and vinyl.
- Match lightweight, finer threads to tiny needles and heavier threads to thicker needles so thread passes smoothly through the fabric without shredding or tangling.
- Start with a knot or a few backstitches to secure threads. The end seems the same way, so they don’t unravel.
- Strive for uniform stitch length—10-12 tiny stitches per inch work for most seams. Keeping stitches even creates a neat look.
- Always keep the fabric taut by using an embroidery hoop, holding edges firmly, or pinning excess out of the way. Loose fabric results in uneven, loose stitches.
- Don’t pull threads too tight, or the fabric will pucker. Allow room for thread and fabric to move against each other.
- For beginners, wearing a thimble prevents painful needle pricks in the finger. This helps you learn with minimal discomfort and continue hand stitching.
Hand Sewing vs Machine Sewing
Both hand sewing and machine sewing produce durable, quality results, but the experience of each differs:
Pros of hand sewing:
- More control over stitches for neatness and design
- Portability to sew anywhere
- Quieter sewing without machine noise
- Ability to sew delicate fabrics that could get pulled into machines
- Satisfaction and relaxation from focused, creative handwork
Pros of machine sewing:
- Speed and efficiency for faster projects
- Consistent stitch length and tension
- Easier sewing of heavy fabrics like denim
- Ability to finish edges quickly with an overcast stitch
- Accessories like buttonholers to expand capabilities
Choosing between hand and machine sewing depends on your project, skill level, and creative goals. Many sewists enjoy both! Hand sewing shines for small projects, details, repairs, and relaxation. Bust out your machine for yards of straight seams in large or heavy projects. Ultimately, embrace the method that brings you joy.
Frequently Asked Questions
What are the basic supplies I need for hand sewing?
At a minimum, you’ll need needles, thread, scissors, pins, a thimble, and a measuring tape. Other useful tools include a seam ripper, pincushion, and embroidery hoop.
What size and type of hand-sewing needle should I use?
A sharp needle in sizes 5-10 will work well for most projects. Select a needle size that corresponds to the thickness of your thread. Finer needles are for lightweight threads, and thicker needles are for heavy-duty threads.
How do I start and end a line of hand stitching?
Secure the threads with a few backstitches or knots at the beginning and end to prevent unraveling. Keeping stitches even and fabric taut will also help your seams stay strong.
How tiny should my hand stitches be?
Aim for 10-12 tiny stitches per inch on average. Adjust stitch length based on your project, fabric, and desired appearance. Keeping them uniform looks best.
Should I use a hoop or frame for hand sewing?
Hooping the fabric in an embroidery hoop or portable frame provides stability and keeps the fabric taut for easier hand sewing with better results.
How do I avoid poking myself with the needle?
Wearing a thimble on your middle finger will protect it from needle pricks. Positioning your finger beside rather than directly behind the needle can also help avoid punctures.
When should I choose hand sewing over machine sewing?
Hand sewing excels for small projects, detailed work, special techniques, portability, and sewing delicate fabrics. Machine sewing is faster for long, straight seams and heavy fabrics.
What projects are most accessible for hand-sewing beginners?
Simple items like handkerchiefs, small pouches, tote bags, and basic clothing repairs are great starter projects to practice hand stitches.
Conclusion
As you can see, hand sewing is an invaluable skill that opens up endless creative possibilities. With a few basic supplies, patience, and practice using the core stitches, anyone can learn to hand sew successfully. Improving your technique just takes dedication. Soon, you’ll be hand-sewing accessories and garments you’ll be proud to wear. Does this inspire you to try hand sewing? Let us know what projects you plan to stitch by hand!
***
Main image: freepik

