Have you ever admired the crisp, impeccable hems on haute couture garments or vintage treasures? The secret lies in the art of hand sewing, a timeless technique that elevates the simplest garment to sartorial perfection. Want to learn the art of hand-sewing perfect hems? Keep reading to unravel this timeless technique!
What is a Hem?
A hem is a narrow fold or fabric edge that finishes a garment’s raw edge. It serves the dual purpose of preventing fraying and adding weight to the fabric, allowing it to drape beautifully. There are different types of hems, such as the double-fold hem, narrow hem, blind hem, and rolled hem, each offering a distinct look and serving various fabric types.
Tools and Materials Needed
Before you begin your hand-sewing journey, gather these essential tools and materials:
- Sewing needle and thread (choose a sharp, fine needle and thread that matches your fabric)
- Fabric scissors or thread snips
- Pencil or chalk for marking the hemline
- Iron and ironing board
Step-by-Step Guide to Hand Sewing a Hem
Prepare the Fabric
Begin by laundering and pressing your fabric to remove any wrinkles or creases. This step ensures your hem will lay flat and smooth. Next, determine the desired hem length for your garment, whether it’s a dress, skirt, trousers, or dress pants.
Mark the Hem Line
Using a pencil, chalk, or hera marker, carefully mark the hemline on the wrong side of the fabric. Ensure the line is straight and even around the garment, paying extra attention to curved or angled areas.
Make the First Fold

Create a neat crease by folding the fabric along the marked line. Press the fold with an iron to set the crease and help the fabric hold its shape.
Create the Second Fold
Fold the fabric again, encasing the raw edge within the second fold. This step creates a clean, finished edge and prevents fraying. Press the second fold with an iron to ensure a crisp, professional look.
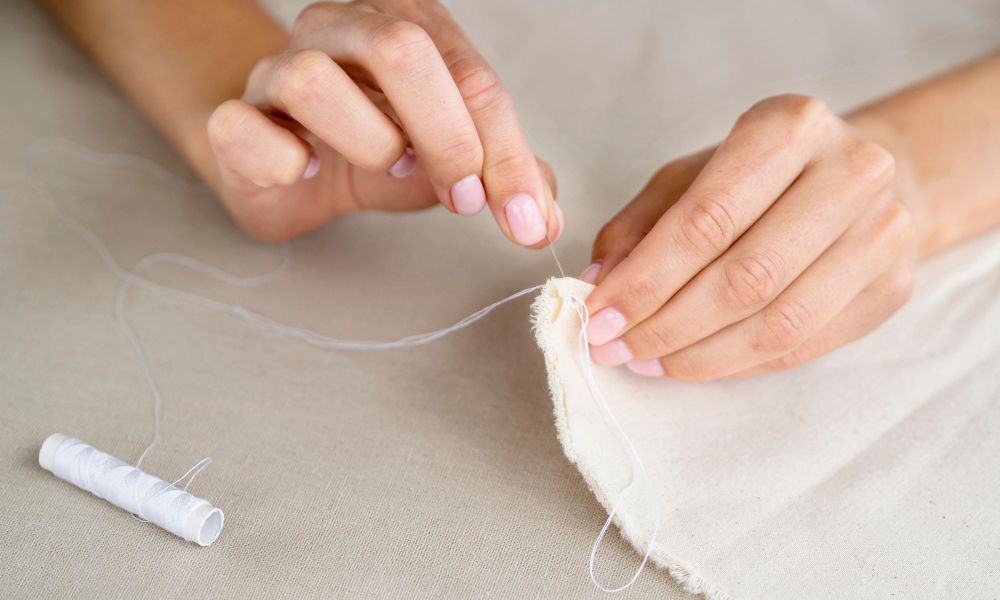
Begin Sewing
Now it’s time to start hand sewing. On one end of the thread, make a knot and then insert the needle through the fabric from the underside while keeping a small amount of thread tail. Choose your stitching technique based on the desired look and fabric type. Some popular hand-sewing techniques for hems include:
- Slipstitch: This invisible stitch is perfect for blind or narrow hems on lightweight fabrics.
- Blindstitch (or catch stitch): This method creates a nearly invisible hem on the right side of the fabric, making it ideal for sheer or delicate fabrics.
- Whipstitch: This sturdy stitch is excellent for heavier fabrics or areas that will experience wear, such as pant legs or trouser hems.
Finish and Secure the Hem
As you approach the end of the hem, backstitch or knot the thread to secure the stitches. Trim any excess thread for a neat, professional finish.
Tips and Tricks
- Dealing with curved or angled hems: For curved or angled areas, such as dress hems or armholes, create small folds or creases to ease the fabric around the curve.
- Handling different fabric types: Lightweight or sheer fabrics may require a slip stitch or blind stitch for an invisible finish, while heavier fabrics can handle a more visible running stitch or whip stitch.
- Troubleshooting common issues: Use a smaller needle and thread or adjust your tension if your stitches are too loose or uneven. If the fabric is puckering, ensure you’re not pulling the thread too tightly.
FAQs
Can I hand sew a hem on any fabric?
You can hand sew a hem on most fabric types. However, some fabrics may require different stitching techniques or special care. For example, lightweight or sheer fabrics may benefit from a slip stitch or blind stitch, while heavier fabrics can handle a more visible running or whip stitch.
How do I prevent puckering when hand-sewing a hem?
Puckering can occur if you pull the thread too tightly or the fabric is not flat. Ensure you’re using a loose, even tension when stitching, and press the fabric well before and during the hemming process.
Can I hand sew a hem on a curved or angled edge?
It’s possible to hand sew a hem on curved or angled edges, but it requires a bit more care and technique. It would help if you created small folds or creases to ease the fabric around the curve or angle.
How often should I knot or backstitch when hand-sewing a hem?
It’s generally recommended to knot or backstitch every 6-8 inches (15-20 cm) to secure the stitches and prevent the hem from coming undone.
Can I use a sewing machine instead of hand-sewing a hem?
It is possible to use a sewing machine to sew hems, especially for straight hems that require machine stitching. However, hand sewing offers more control and precision, especially for curved or angled areas, and is often preferred for delicate or sheer fabrics.
Conclusion
Learning the techniques of hand-sewing hems can significantly enhance your sewing projects by enabling you to create a polished and refined look on clothing, home decor, and other items. This skill can open up various possibilities for achieving a professional finish that will take your creations to the next level. With practice, patience, and attention to detail, you’ll soon create beautifully hand-sewn hems that elevate your creations to new heights. What’s your favorite type of hem, and why? Share your thoughts in the comments below!
***
Main image: freepik


