Have you ever struggled to get your sewing machine needle to move properly up and down? It can be endlessly frustrating when your needle just won’t cooperate during free motion quilting or while working on an important project. Fortunately, there are a few common culprits behind sewing machine needles failing to move as they should. Read on to discover the main causes of needles not moving up and down, along with potential solutions to get your machine stitching smoothly again.
A sewing machine’s needle relies on the precise timing and coordination of various internal mechanisms to move it in the proper up and down motion for stitching. When any part of this system isn’t working right, it can lead to problems with needle movement. Here are some of the most common causes to check when troubleshooting a needle that won’t move correctly:
Faulty Needle Bar and Connecting Mechanisms
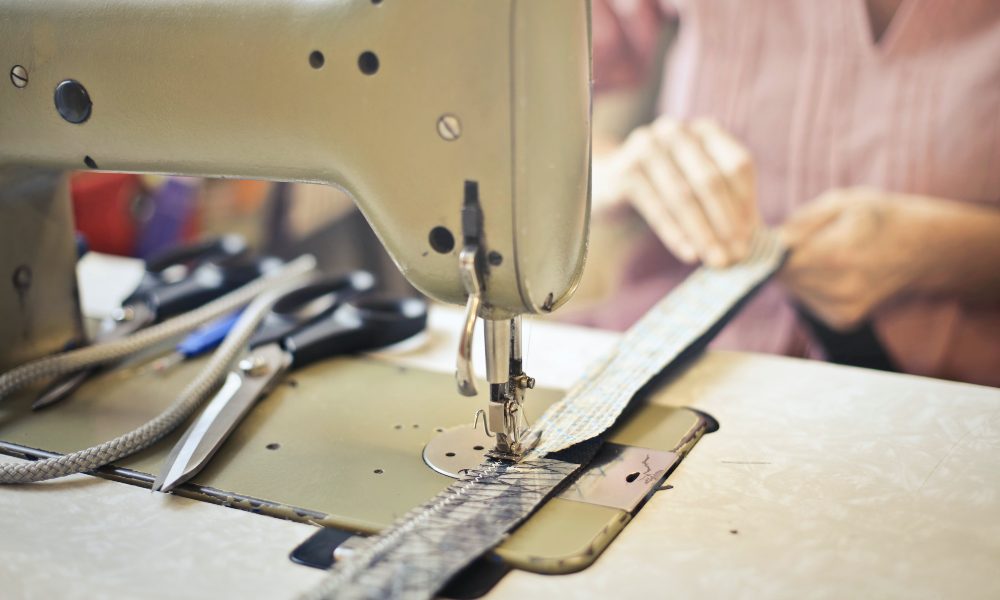
The needle bar is the upright metal piece that directly connects to the sewing machine needle. It moves up and down in time with the rotation of internal cams and gears that are powered by the motor and drive belt. Issues with any of these connecting components can disrupt the needle’s motion.
For example, a bent or damaged needle bar may not move smoothly. The connectors between the needle bar and drive mechanisms could be loose or disconnected. The cams or gears that transfer power from the motor could be worn out or have damaged teeth. Carefully inspecting the needle bar and surrounding mechanisms can reveal issues impeding the needle’s normal range of movement.
Bobbin and Bobbin Area Problems
While it may not seem directly related, problems in the bobbin area below the needle plate can also cause trouble with needle movement. Too much lint buildup around the bobbin case and mechanics can cause resistance and friction. Inserting the bobbin incorrectly or using the wrong style of bobbin for your machine can also jam the inner workings.
The needle plate around the needle hole may be bent or have burrs that interfere with the needle’s smooth travel. And if the feed dogs aren’t working well due to damage or clogs, they can fail to pull the fabric for the next stitch, causing repetitive needle jams. Thoroughly cleaning the bobbin area and checking for issues can help identify problems that translate to poor needle movement.
Broken or Loose Belts
The motor’s drive belts provide power to the mechanisms that move the needle bar up and down. Loose or broken drive belts are a common cause of needle movement problems. Symptoms include hesitation at the start of stitching, loss of power when beginning a seam, slowing down during stitching, or sudden jams mid-seam.
Inspect all the drive belts for damage, excessive wear, stretching, and proper tension. Replace any belts that are cracked, frayed, or overly loose with high mileage. Make sure they’re correctly routed and aligned on the pulleys. This helps transfer the motor’s rotation efficiently to drive the needle’s movement.
Poor Needle Installation

Something as basic as inserting the needle improperly can also be the culprit. Always make sure to insert needles fully and at the machine’s highest needle position. Setting them at lower positions or not inserting to the top can impede the needle bar’s full range of motion.
Using the wrong size or type of sewing needle for your fabric can also lead to potential jams. And be sure needles are straight without any bends or damage. Following your manual’s guidance for needle selection, installation at the top position, and frequent replacement helps prevent issues.
Other Potential Causes
While the issues above are the most common causes of problems with needles not moving properly, here are a few other things to check:
- Damaged or bent feed dogs that won’t pull the fabric correctly for the next stitch
- Problems with the presser foot that impact fabric feeding
- Gears or motor wearing out resulting in loss of power
- Misaligned assemblies or connectors that bind needle mechanisms
- Poor tension preventing effective stitch formation
Thoroughly inspecting the sewing machine top to bottom can help pinpoint additional trouble spots impacting needle movement.
Solutions and Preventing Future Problems
If your sewing needle isn’t moving right despite troubleshooting, here are some tips to get your machine back in working order:
- Clean lint and debris – A detailed cleaning may reveal and resolve hidden issues.
- Consult your sewing machine manual – Follow specific troubleshooting and service steps.
- Seek sewing machine repair help – A qualified technician can assess and fix complex problems.
- Replace worn parts – Swap damaged assemblies that are impairing function.
The specific solutions will depend on the make and model of your sewing machine and the cause of the problem. But methodically checking each possibility will help get your needle moving properly again.
FAQs:
Why does my sewing machine needle get stuck in the down position?
This is usually caused by lint buildup or damage in the bobbin area. Carefully clean the bobbin case and surrounding mechanisms. The needle plate may also be bent or have burrs interfering with needle movement.
What should I check if my needle is slowing down or stopping mid-stitch?
This symptom often points to a loose or damaged drive belt. Inspect the belts for excessive wear and proper tension. Replace any belts that are cracked or stretched out. Make sure belts are correctly routed on pulleys.
Why does my needle hesitate when I first start stitching?
Hesitation starting stitches indicates a problem with the drive belt or motor. The belt could be loose and slipping. Or the motor’s power may be weak due to wear. Check belts and motor function.
How can I prevent future problems with needle movement?
Regularly clean lint from the bobbin area. Replace needles often. Always insert needles fully at the highest position. Oil your machine as specified. And inspect for any damage or misalignments.
To prevent future problems, be sure to routinely clean and oil your sewing machine per the manufacturer’s instructions. Replace needles frequently, use the proper size and style for your fabric, and always insert fully at the highest position. Regular maintenance of your sewing machine ensures smooth needle movement and hassle-free stitching for years to come.
Have you been able to get your sewing machine needle moving properly again? Let us know the cause and solution in the comments! Sharing troubleshooting experiences helps the sewing community keep their machines happily stitching.
***
Main image: pexels


