Have you ever experienced the frustrating sound of your sewing machine needle constantly hitting the metal plate? This jarring sound interrupts your creative flow and brings sewing to a grinding halt. What causes this aggravating issue and how can you fix it? Read on to troubleshoot this common sewing machine headache.
What Causes the Needle to Hit the Plate?
Several culprits could be causing your needle to collide repeatedly with the metal stitch plate.
Bent or Blunt Needle
The first thing to examine is the condition of the needle itself. A bent, blunt, or damaged needle won’t enter the needle hole properly. Instead, it will strike the edges of the hole or plate. Always insert a new sharp needle of the correct size and type for your fabric.
Wrong Size Needle
Using the wrong size needle is another reason it may hit the plate. The needle must be suitable for the thickness and type of your fabric.
Incorrect Needle Position
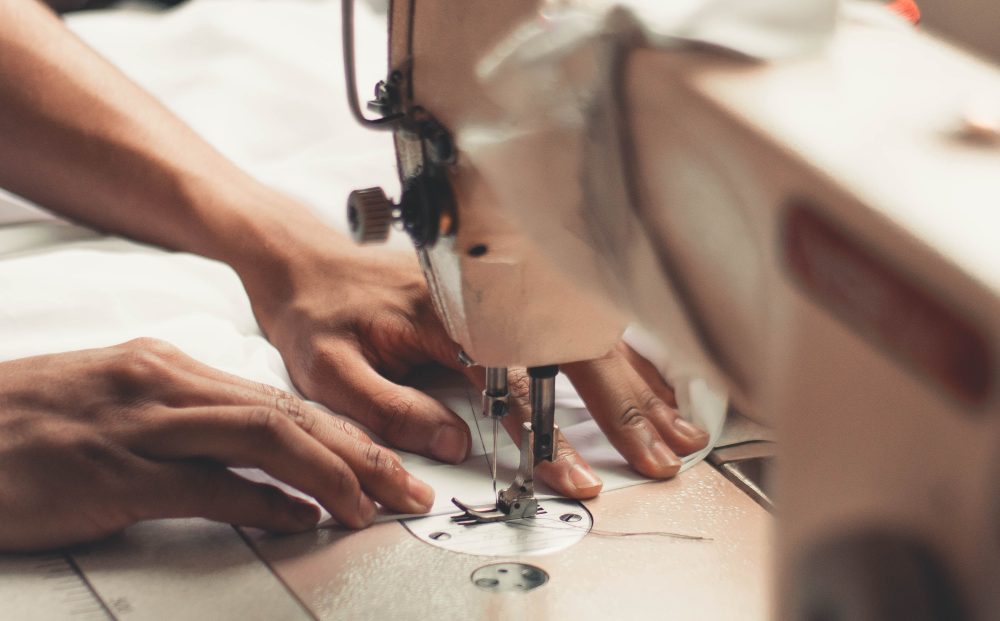
If the needle is not positioned precisely as specified in your machine’s manual, collisions can occur. The needle must be centered within the needle plate hole.
Loose Needle Clamp Screw
If the needle clamp screw is loose, the needle can drift out of position and make contact with the plate while sewing.
Damaged Needle Plate Hole
Beyond the needle itself, inspect the needle plate closely. The small hole that the needle passes through may become enlarged, damaged, or misaligned over time. If the hole is no longer perfectly round and smooth, stitches may be affected. The hole might need to be repaired or the plate replaced altogether.
Consequences of the Needle Striking the Plate
Constant collisions between needle and plate can lead to frustrating sewing problems including:
- Broken needles requiring frequent replacement
- Damage to the needle plate
- Thread breaks and shredding
- Skipping stitches
- Snagged and damaged delicate fabrics
- Distorted stitches
- Jarring vibration and noise
How to Fix the Problem
If you suspect the needle is striking the plate, don’t despair. By conducting a comprehensive examination and making the necessary modifications, it is possible to restore your device to its optimal performance.
Inspect and Replace Needle
Carefully examine the needle for any burrs, a bent shaft, or a blunted tip. Discard and replace any questionable needles right away. Be sure the replacement is new, sharp, and the correct size and type for your fabric.
Check Needle Position
Consult your machine’s manual for the proper needle position. Make sure it is centered within the needle plate hole. Tighten the needle clamp screw securely to prevent drift.
Examine Needle Plate
Look closely at the needle plate, especially around the needle hole. Look for any gaps, roughness, enlarged holes or other damage that could impede smooth needle penetration. If the hole is compromised, you may need to replace the plate.
Adjust Timing
Consult your sewing machine technician if timing adjustments are needed after replacing the needle plate. Proper timing is crucial for smooth stitch formation.
FAQs
What are the main reasons a sewing machine needle hits the plate?
The main causes are a bent, damaged, or wrong sized needle, an incorrectly positioned needle, a loose needle clamp, or damage to the needle plate hole.
How can I prevent needle collisions with the plate?
Always use new, sharp needles of the correct size and type. Check needle position and tighten the clamp screw. Inspect the needle plate hole for damage. Replace plates as needed.
Why does needle plate damage cause problems?
If the hole is enlarged, misshapen, or rough, it can disrupt proper needle insertion leading to collisions, broken needles, and stitch issues.
How do I know if timing adjustments are needed?
Consult your manual or technician, as timing is affected when replacing the needle plate or needles. Proper timing is key for good stitch formation.
Can hitting the plate damage my machine?
Over time, it can damage the needle plate hole and needles. It also causes vibration, thread breaks, and fabric snags.
Sewing Frustration Solved!
With a little investigation and targeted adjustments, you can silence that teeth-grinding needle-on-plate clatter. Smooth sailing and happy sewing ahead!
Do you have any unusual tricks for diagnosing and solving perplexing sewing machine headaches? Please share them in the comments to help other frustrated sewists!
***
Main image: pexels.com

