Sewing pockets into your garments can elevate the functionality and style of any piece. Whether mending a favorite pair of jeans or customizing a new project, mastering this skill is a game-changer. I can help you with that. Here’s a step-by-step guide to sewing in pockets seamlessly. It covers everything you need to know to complete the job quickly and effectively.
- Gather the necessary materials
- Measure and mark the pocket placement
- Prepare the pocket pieces
- Insert and pin the pocket
- Stitch the pocket in place
- Finish and press the pocket
Gather the Necessary Materials
Before you begin, ensure you have all the required materials on hand. You’ll need fabric for the pockets, matching thread, scissors, pins or clips, a ruler or measuring tape, chalk or a fabric marker, and your trusty sewing machine.
Measure and Mark the Pocket Placement
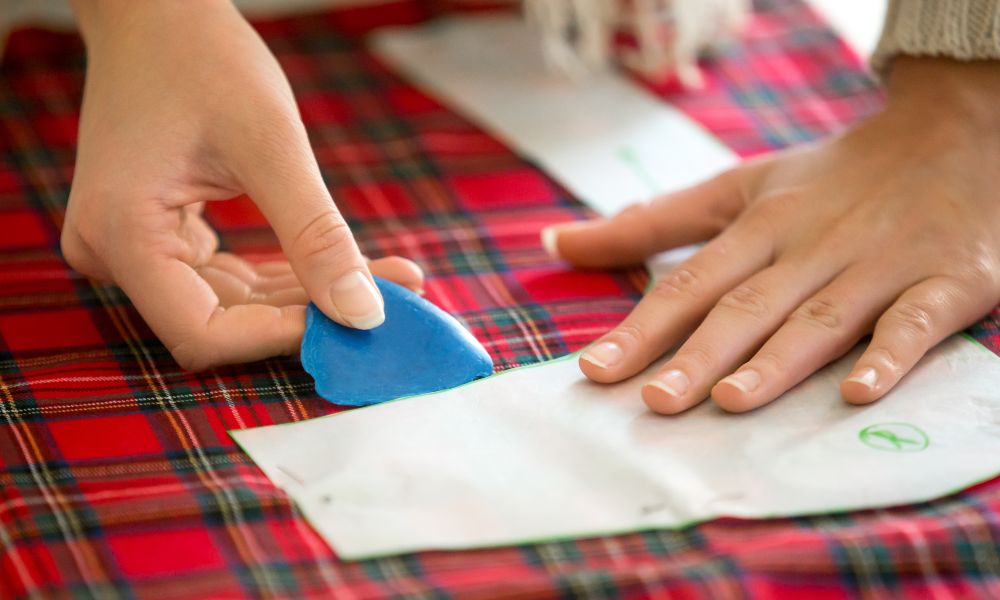
Start by determining where you want to place the pockets on your garment. Measure the desired location and mark it using chalk or a fabric marker. This will ensure the pockets are positioned symmetrically and evenly.
Prepare the Pocket Pieces
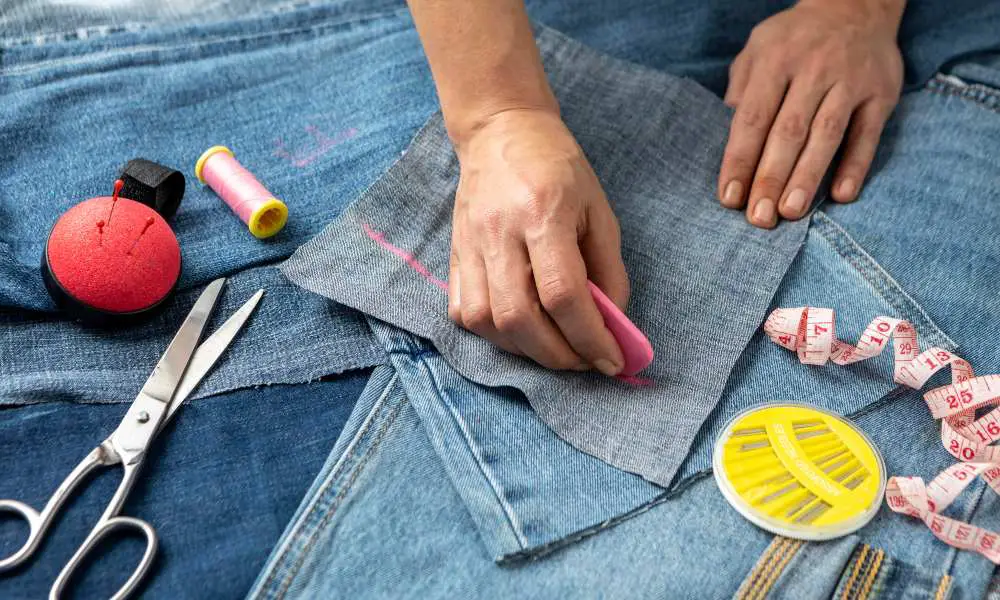
Cut the pocket fabric to the desired size and shape. The pockets should be rectangular if you add side pockets to a pair of pants or a skirt. You might opt for a more square or curved design for front pockets.
Insert and Pin the Pocket
Position the pocket pieces on the garment, aligning the edges with your marked placement. Secure the pocket with pins or clips, ensuring it’s centered and level.
Stitch the Pocket In Place
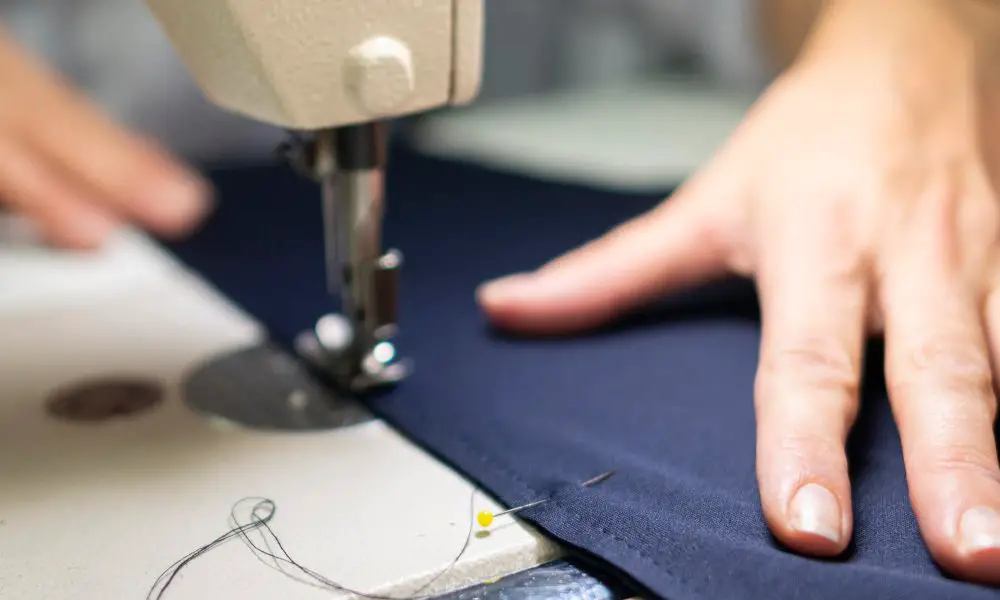
Using your sewing machine, stitch around the pocket’s perimeter, following the edge of the fabric. Start and end your stitching at the top of the pocket, securing the corners for added durability.
Finish and Press the Pocket
Once the pocket is stitched in place, trim any excess fabric. Then, press the pocket to create a crisp, polished appearance.
Tags: how to sew in pockets, sewing pockets, pocket sewing, sewing pattern, garment sewing, pocket placement, pocket tutorial, sewing tips
FAQs
What type of fabric works best for sewing pockets?
The best fabric for sewing pockets is typically a medium-weight cotton or cotton blend. Avoid very lightweight or stretchy fabrics, as they can be more challenging. You want a fabric that holds its shape well.
How do I determine the ideal pocket size and placement?
The pocket size and placement will depend on the garment you’re sewing. Generally, side pockets on pants or skirts should be 5-7 inches wide, while front pockets can be slightly smaller at 4-6 inches. Position them at a comfortable height and depth for easy access.
Can I sew pockets onto any garment?
You can sew pockets onto most garments, including pants, skirts, dresses, and even shirts. The process remains identical, although the techniques may differ slightly depending on the fabric and construction.
What’s the best way to finish the pocket edges?
To achieve a neat and polished look, you can either use a zigzag stitch or serge the pocket edges. This will prevent fraying and give the pockets a polished look.
How do I ensure the pockets are symmetrical?
Measure and mark the placement carefully using a ruler or measuring tape. This will help you position the pockets evenly on both sides of the garment. You can also use pins or clips to hold the pockets as you sew.
Can I add pockets to a garment I’ve already sewn?
Absolutely! Sewing pockets onto an existing garment is a great way to customize and personalize your pieces. Be mindful of the fabric and construction when determining the best placement and technique.
What’s the best way to press the pockets after sewing?
Once the pockets are stitched in place, use a hot iron to press them flat. This will help them lay smoothly and give your garment a professional, tailored appearance.
Do I need any special tools or equipment to sew in my pockets?
The essential sewing tools – scissors, pins, and a sewing machine – are all you need to sew in pockets. However, pocket-specific presser feet can make the process even easier.
***
Mastering the art of sewing in pockets can transform any garment and provide added functionality and style. Are you ready to take your sewing skills to the next level?
***
Main image: freepik

