Have you ever marveled at the impeccable corners adorning a professionally crafted quilt top or table runner? Those sharp, flawless intersections result from a sewing technique called mitered corners. This meticulous process adds a touch of sophistication to your sewing projects, transforming ordinary edges into elegant architectural details. If you’re ready to elevate your sewing skills and create polished mitered corners, this comprehensive sewing tutorial is for you.
Unveiling the Mystery: What is a Mitered Corner?
Demystifying the Terminology
A mitered corner, also known as a mitered corner or miter corner, is a seamless intersection of two fabric edges that creates a visually appealing 90-degree angle. This technique is commonly employed in quilting, home decor projects like cloth napkins or table runners, and garment construction, lending a polished and professional finish to your work.
Unraveling the Essentials: Tools and Materials
Fabric Selection
The first step in achieving a flawless mitered corner is selecting the right fabric. While most woven fabrics are suitable, consider the project’s purpose and desired drape. For example, quilting cotton or linen may be ideal for table runners or placemats, while satin or silk would be better suited for garments or home decor accents like napkins or gift tags.
Sewing Notions
In addition to your fabric, you’ll need a few essential sewing notions:
- Sewing machine
- Thread (matching your fabric color)
- Scissors or rotary cutter
- Ruler or quilting square
- Iron and ironing board
- Fabric marker or chalk pencil
- Pins or clips
The Step-by-Step Mastery: Sewing a Mitered Corner
Preparing the Fabric
Before you begin, ensure your fabric is pressed and free of wrinkles. When you cut your fabric pieces to your desired size, add a seam allowance of 1/4″ or 1/2″ to each edge. This will guarantee that you can create a mitered corner without any difficulty. A 1/4″ seam allowance is standard for quilt corners or borders, while home decor projects like table runners may benefit from a larger 1/2″ hem allowance.
Marking the Diagonal Fold
Using a fabric marker or chalk pencil, draw a diagonal line from the corner of the fabric to the desired seam allowance measurement. This line will be your folding guide for creating the perfect mitered corner.
Folding and Pressing
Fold the fabric along the marked diagonal line, creating a crisp crease. Press the fold with an iron to set the shape and create a memory in the fabric, ensuring a clean, folded edge.
Stitching the Mitered Corner

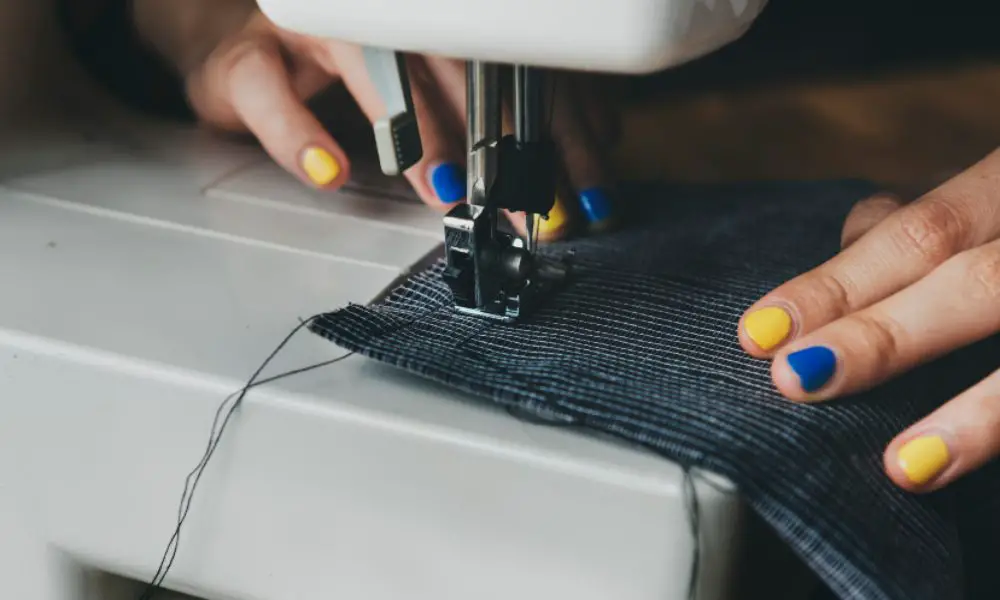
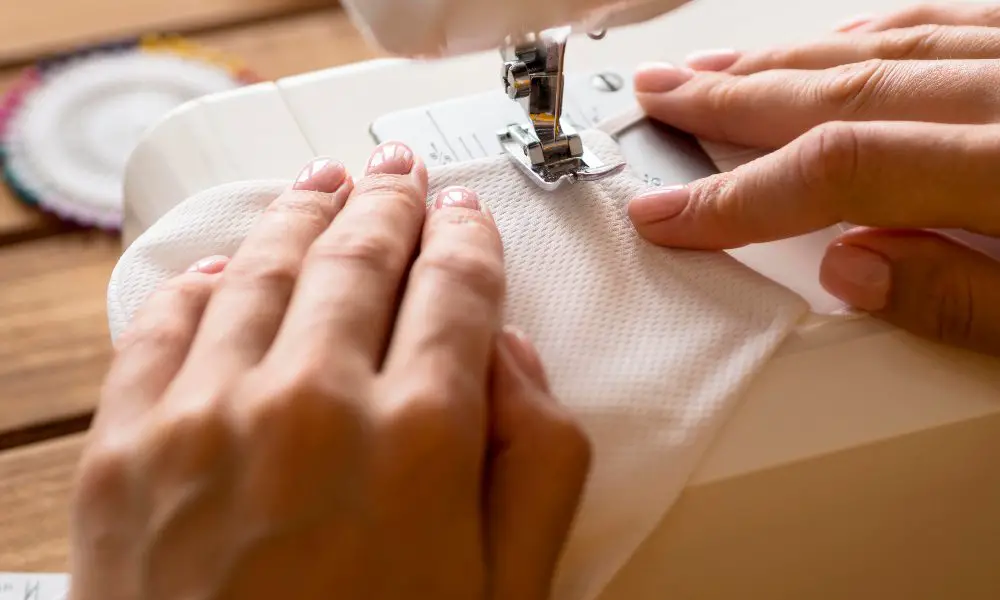
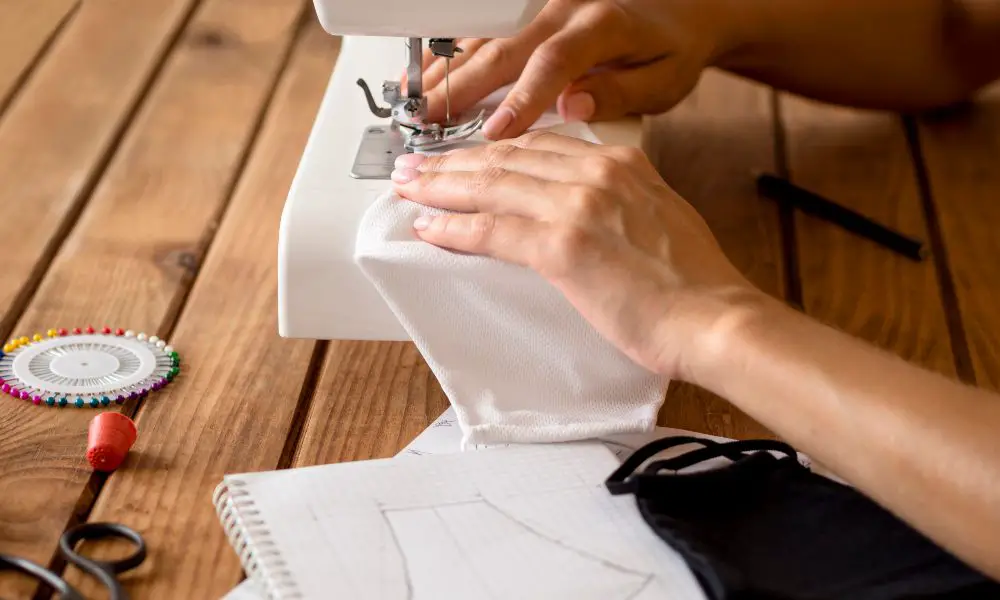
Position the folded fabric under the presser foot of your sewing machine, aligning the raw edges with the desired seam allowance. Stitch along the folded edge and backstitch at the beginning and end for reinforcement. Use a seam guide or sew along the stitch line of your machine’s throat plate for added precision.
Trimming Excess Fabric
Once stitched, trim any excess fabric beyond the seam allowance, leaving a crisp, mitered corner. This step ensures a clean finish and prevents bulky corners for quilt-along or borders.
Beyond the Basics: Advanced Techniques
Mitered Corners with Bias Tape
Consider using bias tape to create mitered corners for a touch of sophistication. This technique involves folding the bias tape at a 45-degree angle and stitching it to the fabric edge, resulting in a clean, finished look. Bias tape is helpful for mitered borders, providing a polished edge while encasing raw edges.
Quilting with Mitered Corners
Mitered corners are a quintessential technique in quilting, adding a polished finish to quilt tops and borders. When assembling quilt blocks or joining borders, carefully align the mitered corners for a professional appearance. This sewing technique is also helpful for creating double-fold hems or binding strips on quilt edges.
Troubleshooting Common Pitfalls
Bulky Corners
One common challenge with mitered corners is bulky fabric buildup at the intersections. To avoid this, trim the seam allowance after stitching and press the corner firmly to distribute the fabric evenly. For thicker fabrics or multiple layers, consider grading the seam allowance by trimming one side shorter than the other.
Uneven Edges
Double-check your folding and stitching accuracy if your mitered corners appear uneven or lopsided. Adjusting the seam allowance or re-marking the diagonal fold line may be necessary. Ensure your fabric is pressed correctly and aligned before stitching to prevent distortion.
FAQs:
What is the difference between a mitered corner and a regular corner?
A mitered corner creates a seamless 90-degree angle by folding the fabric diagonally and stitching, resulting in a crisp, professional finish. A regular corner simply has the fabric edges meeting at a right angle, which can appear bulky or unfinished.
Can mitered corners be used on any type of fabric?
While mitered corners work best on woven fabrics like cotton, linen, or silk, they can also be achieved with knit fabrics, though the technique may require some adjustments due to the stretchy nature of knits.
How do I prevent bulky mitered corners?
To avoid bulky mitered corners, trim the seam allowance after stitching and press the corner firmly to distribute the fabric evenly. Additionally, grading the seam allowance (trimming one side shorter than the other) can help reduce bulk in thicker fabrics or multiple layers.
Can mitered corners be used on curves or circles?
Mitered corners are typically used on straight edges and angles, which involves folding and stitching a diagonal crease. Techniques like bias binding or appliqué may be more suitable for curved or circular shapes.
How do I ensure my mitered corners are perfectly aligned?
To achieve perfectly aligned mitered corners, carefully mark the diagonal fold line and use a seam guide or the stitch line on your machine’s throat plate as a reference when stitching. Precise folding and pressing are also crucial for accurate alignment.
Conclusion
Learning how to sew mitered corners can bring your projects to a new level of elegance and sophistication. With practice and patience, you’ll soon be creating crisp, polished corners that add a touch of elegance to your quilts, table runners, home decor pieces, and garments. Whether you’re working on a sewing project for yourself or a cherished gift, mitered corners are a sewing technique that will take your creations to the next level. Now that you’ve mastered the art of mitered corners, what sewing project will you tackle next?
***
Main image: freepik


