Have you ever found yourself in a situation where you needed to sew a zipper on a garment or accessory but weren’t sure how to do it seamlessly? If so, you’re not alone. Sewing zippers can be a daunting task, especially for beginners. But fear not! In this article, we’ll guide you through the process, ensuring you can sew zippers like a pro and learn how to sew a zipper on flawlessly.
Understanding the Anatomy of a Zipper
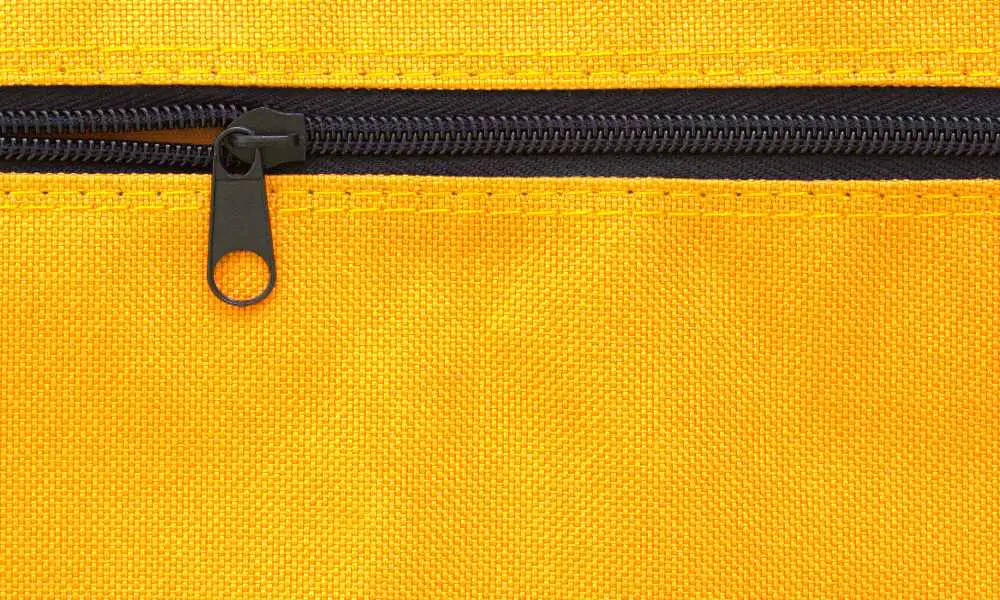
Before we dive into the nitty-gritty of sewing zippers and how to sew a zipper on, it’s essential to understand the different parts of a zipper and their functions.
The Zipper Components
A zipper comprises three main components:
- The Teeth: These interlocking metal or plastic pieces form the Zipper’s closure mechanism.
- The Tape: This is the fabric or synthetic material that runs along the length of the Zipper, housing the teeth.
- The Zipper Pull: This is the movable tab you use to open and close the Zipper.
Familiarizing yourself with these components will make it easier to understand how to sew a zipper on and ensure proper installation.
Preparing the Fabric and Zipper
When learning how to sew a zipper on, achieving a perfect zipper installation requires adequate preparation.
Cutting and Marking the Fabric
- Measuring and Cutting: Measure the area where you want to sew the Zipper and cut your fabric accordingly, leaving enough seam allowance.
- Marking the Seam Lines: Use a fabric marker or chalk to mark the seam lines where you’ll sew the Zipper. This will serve as a guide during the sewing process.
Choosing the Right Zipper
- Zipper Types and Sizes: Zippers come in various types and sizes, such as metal, plastic, invisible, and separating. Please ensure that you select the suitable type and size according to your project’s needs.
- Matching the Zipper to the Project: Ensure that the Zipper’s color, style, and weight complement your fabric and project.
Sewing the Zipper Step-by-Step

Now that you’ve prepared the fabric and chosen the right Zipper, it’s time to get sewing and learn how to sew a zipper like a pro!
Sewing the Zipper Opening
- Basting the Seam: Use a long stitch length to baste (temporarily sew) the seam where the Zipper will be inserted. This will help you sew a straight line and ensure accurate zipper opening.
- Creating the Zipper Opening: Once the seam is basted, carefully open the seam allowance, creating an opening for the Zipper to be inserted.
Inserting the Zipper
- Pinning the Zipper in Place: Position the Zipper face down on the right side of the fabric, aligning the zipper teeth with the seam opening. Pin the zipper tape to the fabric along the seam line.
- Sewing the Zipper to the Fabric: Using a zipper foot or a regular presser foot, sew the zipper tape to the fabric, removing the pins as you go. Repeat on the other side of the Zipper.
Finishing Touches
- Securing the Zipper Ends: Once the Zipper is sewn in place, secure the ends by sewing a few reverse stitches or creating a small backstitch.
- Topstitching for a Professional Look: For an extra polished finish, topstitch along the zipper tape on both sides, creating a professional-looking zipper installation.
Tips and Tricks for Zipper Success
To help you achieve zipper perfection when learning how to sew a zipper, here are some handy tips and tricks.
Common Zipper Sewing Mistakes to Avoid
- Mismatched Zipper and Fabric: Ensure that the Zipper’s weight and style complement your fabric to avoid puckering or rippling.
- Incorrect Seam Allowance: Double-check your seam allowance and adjust if necessary to ensure a smooth zipper installation.
Troubleshooting Zipper Issues
- Dealing with Stuck Zippers: If your Zipper gets stuck, try gently working it back and forth while holding the fabric taut. You can also use a zipper lubricant or wax to help it glide smoothly.
- Fixing Zipper Puckering: If you notice puckering along the Zipper, try adjusting the tension on your sewing machine or using a zipper foot to help the fabric feed evenly.
FAQs:
What type of needle should I use when sewing a zipper?
It’s best to use a sharp, fine needle like a microtex or denim needle when sewing zippers. These needles can easily pierce through the zipper teeth and tape without causing damage.
Can I sew a zipper on by hand?
While it’s possible to hand-sew a zipper, it’s generally much easier and more precise to use a sewing machine. Hand-sewing a zipper can be time-consuming and may result in an uneven or puckered finish.
How do I prevent the fabric from getting caught in the zipper teeth?
To avoid fabric getting caught in the zipper teeth, use a zipper foot or a regular presser foot with the zipper teeth lowered. Additionally, keep the fabric taut and aligned as you sew.
What’s the best way to sew an invisible zipper?
Invisible zippers require a unique invisible zipper foot. Start by sewing the zipper tape to one side of the opening, then carefully stitch the other side, ensuring the zipper teeth are hidden between the stitching lines.
Conclusion
Now that you’ve learned how to sew a zipper on like a pro, what zipper project will you tackle next? Don’t get discouraged if your first attempt at sewing isn’t flawless because practice makes perfect. If you keep sewing, you’ll soon be able to zip through zipper installations with ease.
Do you have any other zipper sewing tips or tricks to share on how to sew a zipper on seamlessly? Let us know in the comments below!
***
Main image: freepik


