Have you ever wondered how to achieve that invisible zipper closure in your garments? Invisible zippers are the ultimate solution for a flawless, streamlined finish, elevating your sewing projects to new heights of sartorial sophistication. Bid farewell to the unsightly zipper teeth and embrace the seamless elegance of this ingenious notion.
What is an Invisible Zipper?
Definition and Purpose
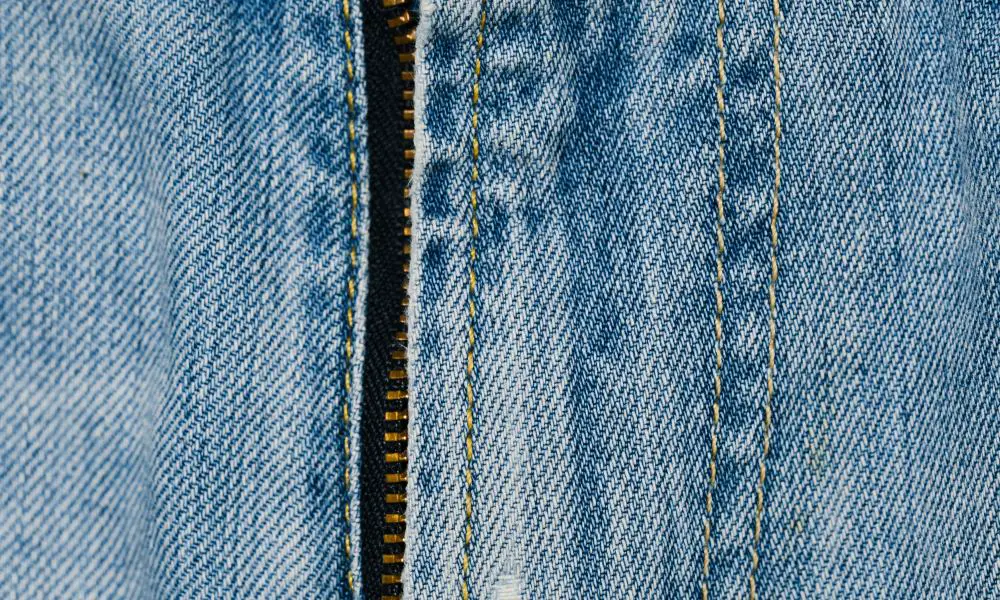
An invisible zipper, aptly named for its discreet nature, is a specialized zipper designed to be concealed within the seam of a garment or project. Unlike regular zippers, which feature exposed teeth and visible zipper tape, invisible zippers are carefully sandwiched between the fabric layers, creating a virtually undetectable closure.
Advantages over Regular Zippers
Beyond their sleek and polished appearance, invisible zippers offer several advantages over their conventional counterparts. They provide a smoother, more comfortable fit without the risk of zipper teeth catching on delicate fabrics or causing irritation against the skin. Additionally, invisible zippers allow for a cleaner, more professional-looking finish, particularly on high-end garments and intricate sewing projects.
Essential Tools and Materials
To master the art of sewing invisible zippers, you’ll need a few essential tools and materials. First and foremost, an invisible zipper foot is a must-have. This specialized presser foot features grooves that accommodate the zipper coil, ensuring accurate stitching and alignment. Additionally, you’ll need a zipper tape, typically made of lightweight yet durable materials like polyester or nylon, and the zipper coil or teeth, expertly concealed within the zipper tape. Aside from the zipper components, you’ll need fabric scissors, pins or clips, a seam ripper, and a zipper pull or slider.
Step-by-Step Guide

Preparing the Fabric
Before diving into the invisible zipper installation, it’s crucial to accurately mark the seam allowance on your fabric. This not only ensures proper zipper placement but also contributes to a flawless, professional finish. Using your seam ripper or scissors, carefully create an opening along the marked seam allowance, ensuring the length matches your invisible zipper. The zipper installation will use this opening as its entry point.
Installing the Invisible Zipper
With the zipper opening prepared, it’s time to attach the invisible zipper tape. Carefully align the zipper tape along the raw edges of the fabric, pinning or clipping it in place. Ensure the zipper coil faces the right side of the fabric. Switch to your invisible zipper foot and adjust your sewing machine settings for a precise zipper installation. Slowly stitch along the zipper tape, ensuring the coil is accurately captured within the grooves of the presser foot. Maintain a consistent seam allowance for a flawless finish.
Once the zipper coil is securely stitched, it’s time to close the zipper. Gently guide the zipper pull or slider along the coil, ensuring a smooth and effortless closure. This step verifies proper installation and allows for any necessary adjustments.
Finishing Touches
At the bottom of the zipper, you’ll find the zipper stop – a small metal or plastic component that prevents the zipper pull from sliding off the coil. To achieve an invisible finish, carefully conceal this stop by folding the fabric over it and securing it with a few hand stitches. If your invisible zipper extends beyond the desired length, simply trim the excess zipper tail using sharp fabric scissors. This final step ensures a clean, tailored finish, free from unsightly zipper protrusions.
Tips and Tricks
Selecting the appropriate zipper length is crucial for a successful invisible zipper installation. Measure your project carefully and opt for a zipper that is slightly shorter than the desired opening, as invisible zippers tend to extend slightly when installed. For intricate projects or those requiring utmost accuracy, consider basting the zipper tape in place before stitching. This temporary stitching helps maintain precise alignment and prevents any shifts or misalignments during the installation process.
If you encounter any challenges or issues during the installation process, don’t panic. Common problems like skipped stitches or misaligned zippers can often be resolved with a seam ripper and patience. Take your time, and don’t hesitate to seek guidance from online sewing tutorials or sewing communities for additional troubleshooting tips.
Versatile Applications
Invisible zippers are a go-to for garment construction, particularly for dresses, skirts, pants, and waistbands. They provide a sleek, uninterrupted finish, elevating the overall aesthetic and ensuring a comfortable, seamless fit. Beyond garments, invisible zippers can also be utilized in home decor projects, such as pillow covers and cushion cases. They offer a clean, polished look while allowing for easy removal and replacement of inserts or fillings.
In the realm of quilting and patchwork, invisible zippers can be a valuable asset. They enable the creation of seamless openings for quilted bags, pouches, or even quilt backings, ensuring a professional and polished finish. The invisible zipper is a multipurpose tool that can take your sewing projects to the next level, whether you are working on a quilt pattern, pillow cover, or any other type of sewing project.
FAQs:
Can I use a regular zipper foot to sew an invisible zipper?
No, a regular zipper foot or standard zipper foot is not suitable for sewing invisible zippers. You’ll need to use a specialized invisible zipper foot, which has grooves to accommodate the zipper coil and ensure precise stitching.
What is the best way to mark the seam allowance for an invisible zipper?
You can use a fabric marker, chalk, or even a simple pencil to mark the seam allowance. To ensure the correct placement of the zipper, it is essential to measure and mark the fabric accurately.
Can I sew an invisible zipper on knit fabrics?
While invisible zippers are commonly used on woven fabrics, it is possible to install them on knit fabrics. However, it may require additional care and techniques, such as stabilizing the fabric with interfacing or stay tapes.
How do I troubleshoot a zipper that isn’t closing smoothly?
If your invisible zipper isn’t closing smoothly, check for any fabric caught in the zipper teeth or coil. If you’re having trouble with a stuck zipper, you might want to try gently tugging on the zipper tape to realign the coil. If the issue persists, you must carefully unpick and reinstall the zipper.
Can I use an invisible zipper for a neckline seam?
Yes, invisible zippers can be used for neckline seams, particularly in dresses or tops. This technique provides a clean, invisible finish while allowing for easy entry or closure.
Conclusion
Ready to elevate your sewing projects with the seamless integration of invisible zippers? Mastering this technique will add a touch of sophistication to your creations and open up a world of possibilities for garment construction, home decor, and beyond. Embrace the challenge and revel in the satisfaction of achieving that coveted, invisible zipper closure – a true testament to your sewing prowess. So, what are you waiting for? Unleash your creativity and let the invisible zipper be your secret weapon for sartorial success!
***
Main image: freepik


