Embroidered hats are everywhere these days. Embroidery takes essential headwear to the next level, from ball caps with team logos to trendy dad hats featuring whimsical designs. But what happens when you need to remove an embroidered design from a hat? Is it even possible without destroying the hat in the process?
Embroidery adds a substantial amount of stitching and sometimes adhesive to the fabric of a hat. Removing it takes patience, the right tools, and a delicate touch. The intricacy of some embroidery can make removal feel like an impossible task. However, with some planning and care, you can successfully remove embroidery from hats without causing irreparable damage.
The Popularity of Embroidered Hat Designs
Hats are commonly embroidered using both machine embroidery and detailed hand stitching. Machine embroidery efficiently produces polished logos, names, and designs. Hand embroidery creates a more artisanal, custom feel. The fabrics used for hats, like cotton, wool, and polyester blends, are ideal canvases for decoration with thread.
Whether a custom hand-stitched design or a mass-produced embroidered logo, this type of decoration means serious stitching. Frequently, densely stitched satin stitching is used to cover the design area completely. This stitching can be challenging to remove since the tight, overlapping stitches have so much thread density.
Why Removing Embroidery Can Be Tricky
Taking a seam ripper to embroidered hats often feels like an exercise in futility. The delicate nature of hat fabrics makes mistakes costly. Aggressive stitch removal can easily damage the fabric, creating holes or tears. Here are some of the biggest challenges of removing embroidery from hat fabrics:
Sensitive Fabrics
The thin, tightly woven fabrics used for many hats are prone to damage during embroidery removal. Utilizing too much force with tools can cause the fabric to pill or develop holes. Avoiding this requires a gentle approach.
Tight Stitches
Satin stitch embroidery uses thousands of tight, overlapping stitches to create designs on hats. Removing dense sections stitch by stitch is tedious and time-consuming.
Adhesives
Some embroidered patches are secured to garments and hats with permanent adhesives. These can be difficult to remove and may damage the item during removal.
Helpful Tools and Supplies

Removing stubborn embroidery from a hat takes more than just a seam ripper and good intentions. Having the right tools and supplies makes the process safer for delicate fabrics.
Seam Rippers and Precision Tools
Sharp, fine seam rippers are ideal for picking out stitches. Curved rippers allow access to tricky areas. Tweezers help grip individual threads for removal.
Solvents and Lubricants
Adhesive remover solvents help loosen stubborn embroidered patches from garments and hats. Like wax paper, a little lubricant can help separate threads from fabric.
Fabric Protection
Wax paper placed under the embroidery during removal keeps tools from damaging the fabric. Lint rollers quickly remove thread debris.
Technique for Removing Hat Embroidery
Even the most daunting embroidery removal is possible with the right tools and planned approach. Follow these steps for the best results:
Inspect and Evaluate
Examine the embroidery closely to identify the stitch type, density, and whether adhesive is present. Make a plan of attack based on the specific embroidery.
Loosen Stitches and Adhesive
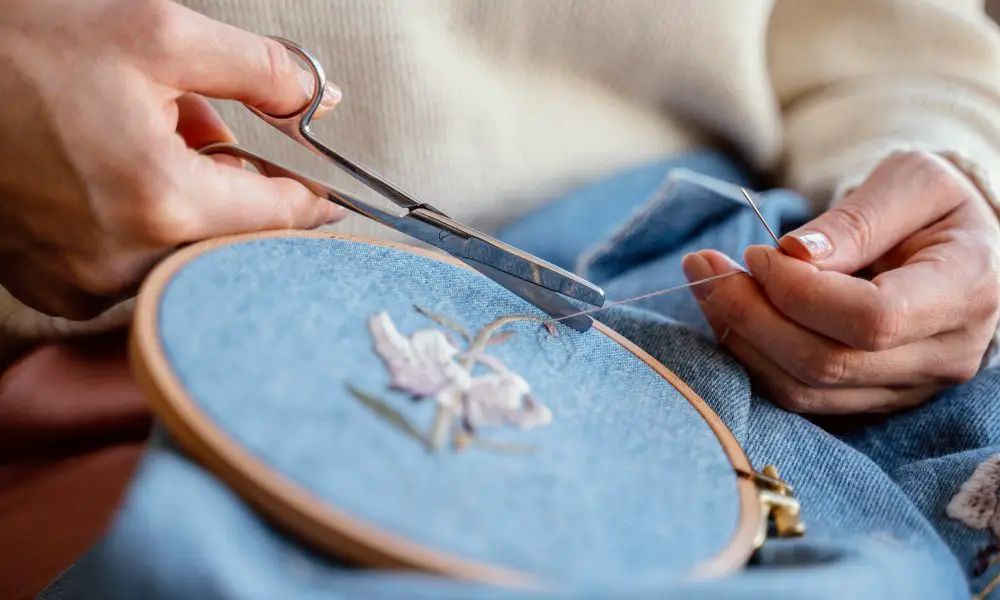
Apply a solvent like adhesive remover if needed. Carefully pick out surface stitches, then cut and lift threads with a seam ripper. Go slowly to avoid fabric damage.
Remove Stubborn Areas
For dense embroidered patches, work around the outer edges first to loosen. Use sharp scissors to remove heavily stitched areas. Go slowly and gently.
Finish and Clean Up
Use a lint brush and roller to remove all remaining threads. Press with a cool iron to finish the fabric. Avoid hot temperatures.
FAQ
What is the best tool for removing embroidery from hats?
A sharp, delicate seam ripper is essential for precisely removing stitches. Curved rippers allow access to tricky areas.
How can I avoid damaging the hat when removing the embroidery?
Work slowly, gently lifting stitches rather than cutting them. Use wax paper underneath to prevent tools from damaging the fabric. Avoid high heat from irons.
What is the best technique for removing dense embroidered patches?
Start by carefully picking out stitches around the outer edges. Then, use very sharp scissors to cut away dense inner stitching sections. Remove a little at a time.
How do I get rid of embroidery glue residue on a hat?
Adhesive remover solvents help break down glue residue from embroidered patches. Gently rub the area, then wipe away.
What should I do with the leftover embroidery threads?
Use tweezers to grip and pull out the remaining loose threads. Follow up with a lint roller and brush to remove debris.
Can I remove the embroidery without ruining the hat?
Yes, embroidery can be removed when done slowly and carefully to avoid damaging the delicate hat fabric underneath. Patience is key.
How long does it take to remove complex hat embroidery?
Removing dense, intricate designs can take hours over several work sessions. Work in small sections and take breaks to avoid mistakes.
Should I use a seam ripper to remove all embroidery?
For solid patches, a seam ripper alone will take ages. Use very sharp scissors to cut out dense inner sections first when possible.
Parting Thoughts
Removing embroidery from hats provides a great sense of satisfaction but requires patience, precision, and the right tools. Slowly loosening threads and lifting them from the fabric prevents damage. Is embroidered hat restoration consistently successful? Certainly not, but with care and time, even dense designs can be removed and hats reborn.
Have you attempted to erase embroidery from a meaningful hat or garment? Feel free to leave a comment sharing your tips and personal experiences!
***
Main image: freepik.com


