Creating custom sewing patterns allows you to design garments that fit perfectly and reflect your unique style. Learn how to draft patterns from scratch with this comprehensive guide.
In a nutshell:
- Take accurate body measurements
- Choose a pattern drafting method
- Draft the pattern pieces
- Cut and assemble a muslin mockup
- Refine the fit
- Finalize the pattern
- Get sewing!
Ready to unlock limitless sewing possibilities? Let’s dive in! What custom creation will you bring to life first?
Lay the Groundwork: Get the Right Tools
Before you can start drafting sewing patterns, you must gather the proper tools and supplies. This initial investment will pay off as you can create unlimited custom garments.
Essential Patternmaking Supplies
- Pattern paper or kraft paper
- Pencils, markers, or pens for drafting
- Clear gridded ruler
- French curves for drafting curved lines
- Pattern weights or pattern awl
- Scissors and rotary cutter
- Measuring tape
- Existing clothes to copy or use as guides
While you can use basic supplies like kraft paper to start, fashion designers often upgrade to specialized pattern drafting tools and software like Illustrator or Affinity Designer as their skills progress.
Choose Your Pattern Drafting Method
There are three main techniques for creating custom sewing patterns. Each has its own benefits, depending on your skill level and the type of garment.
Flat Pattern Drafting
This mathematical approach involves drafting the pattern pieces on paper from body measurements and following a calculated formula. It’s best for creating basic fitted garments like shirts, dresses, and pants.
Draping
The draping method uses a dressed form to pin and shape fabric directly into the desired design. It allows you to create more complex, draped styles and is popular with fashion designers.
Digital Pattern Making
Using computer software like Wildgarten or Garment Designer, you can digitally draft and visualize patterns based on body measurements and design concepts. Digital patterning enables easy grading between sizes.
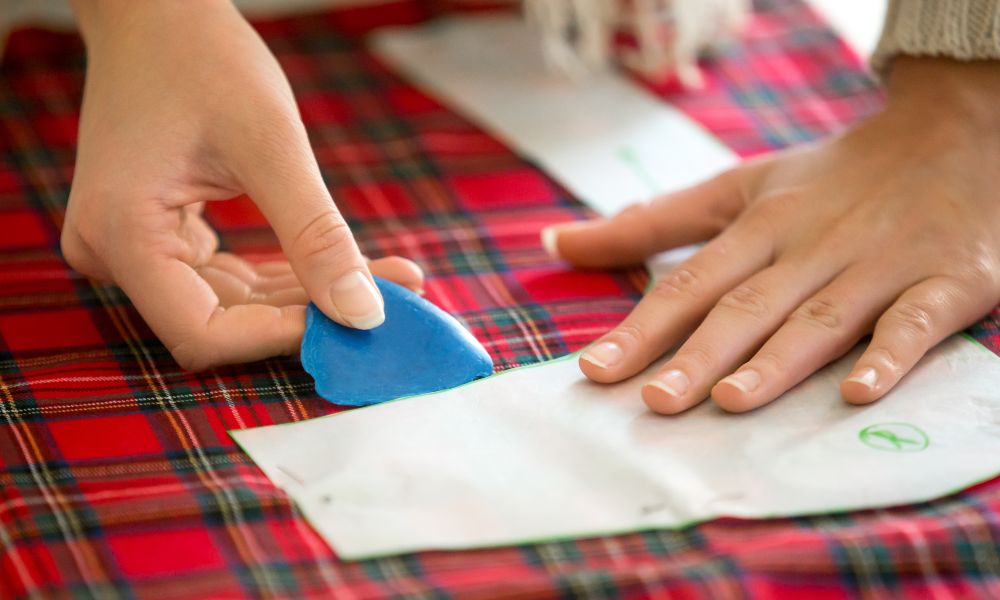
Draft the Pattern Pieces

Whatever technique you opt for, the subsequent stage involves drafting all the pattern pieces for your garment design. This is where careful measurements and attention to detail are crucial.
Taking Measurements
Precise body measurements are the backbone of a well-fitting pattern. Use a flexible tape measure and have someone assist you to get accurate numbers for areas like:
- Bust/chest
- Waist
- Hips
- Back length
- Arm length
- And more, depending on the garment type
Creating the Basic Foundation
Start by drafting a basic fitted block or sloper based on your measurements. This fundamental pattern piece acts as the base upon which the rest of the design is constructed.
Adding Design Elements
Once you have the base foundation, it’s time to get creative! Use patternmaking principles like dart manipulation to shape the pieces into your desired design. This is where skills in flat patterning, draping, and digital patterning come into play.
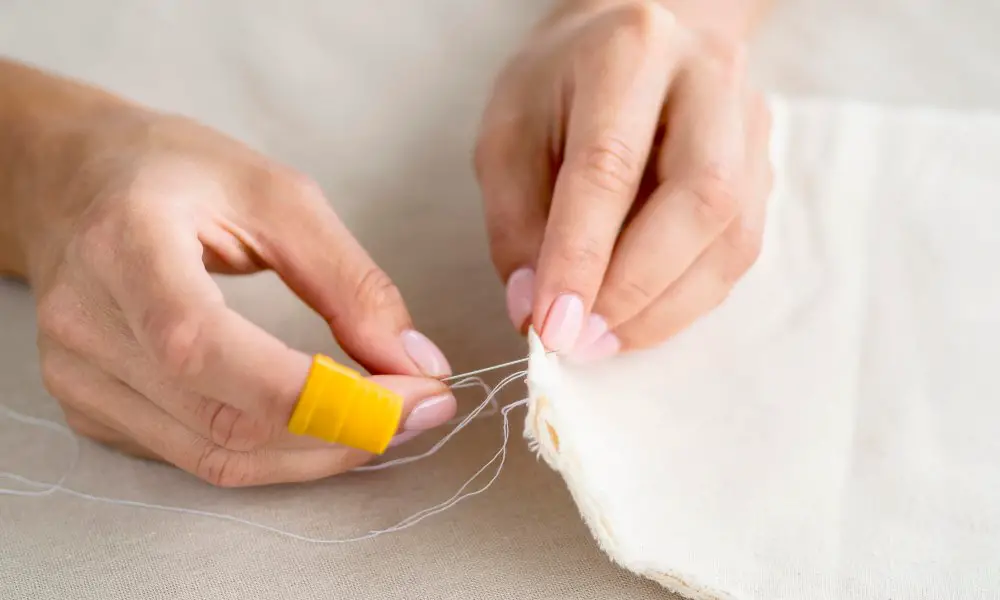
Test and Perfect the Fit
After drafting your pattern pieces, the next crucial step is testing the fit with a muslin or “toile” mockup sewn from cheap fabric or muslin.
Adjusting the Muslin
Try on the muslin toile, analyzing the fit carefully. Mark any areas that feel too loose or too tight. Transfer those adjustment notes back to the paper pattern pieces.
When to Start Fresh
Sometimes degree of adjustment needed is so significant that it’s easier to re-draft a new pattern from scratch based on the mockup markings, rather than trying to alter the existing pieces.
Finalize and Use Your Pattern
You’re ready to finalize the pattern once you’ve achieved the perfect custom fit! Transfer any last markings, such as grainlines, notches, seam allowances, and piece labels.
Storing and Scaling Patterns
Custom patterns are precious, so store them carefully! Use pattern paper, envelopes, or digitize for easy archiving. You can also grade the pattern into other sizes or styles as needed.
Start Your Sewing Project
Now that you have a final, perfected custom sewing pattern, it’s time to cut your fashion fabric and start sewing! Craft garments that fit beautifully and make a stylish statement.
With practice, creating your sewing patterns gets more accessible and more satisfying. What will your next custom creation be?
FAQs
How do I account for ease when making patterns?
Ease refers to the extra room built into a pattern beyond your body’s measurements to allow for comfort and movement – research proper ease amounts for different types of fitted or loose garments.
What’s the best paper to use for making patterns?
Pattern paper, kraft paper, and medical exam table paper all work well for drafting paper patterns. They have a slight weight and opacity that are ideal for patternmaking.
Can I copy a pattern from an existing garment?
Yes, many home sewists start by duplicating patterns from clothes that already fit them well. Carefully deconstruct the pieces, trace them, and add seam allowances.
How do I prevent my paper patterns from tearing?
Use pattern weights, a pattern awl, or secure the pieces to a surface to hold them flat while drafting. Avoid pinning through the paper.
What software is best for digital pattern drafting?
Adobe Illustrator and Affinity Designer are popular choices, allowing you to digitize measurements and create scalable vector patterns. Specialized patternmaking programs like Wildgarten are also available.
***
What other questions do you have about making your custom sewing patterns? I’m happy to provide any other guidance to start your patternmaking journey!
***
Main image: freepik