Threading a bobbin into your sewing machine may seem daunting, but it’s a seamless task with the proper guidance. This thorough guide will lead you through each step of the process, guaranteeing a smooth journey for your sewing projects from beginning to end.
Here’s a quick overview of the critical steps:
- Prepare your bobbin and wind the thread
- Locate and open the bobbin compartment
- Insert the bobbin into the bobbin case
- Pull up the bobbin thread through the tension system
- Adjust the bobbin tension and thread tail
- Test your stitches and make any final tweaks
Ready to master the art of bobbin loading? Let’s get started!
Bobbin Basics: Understanding the Core Component
Before we dive into the loading process, let’s take a moment to appreciate the humble bobbin – that small, cylindrical spool that holds the lower thread in a sewing machine. While unassuming in appearance, the bobbin plays a crucial role in creating neat, even stitches.
Types of Bobbins
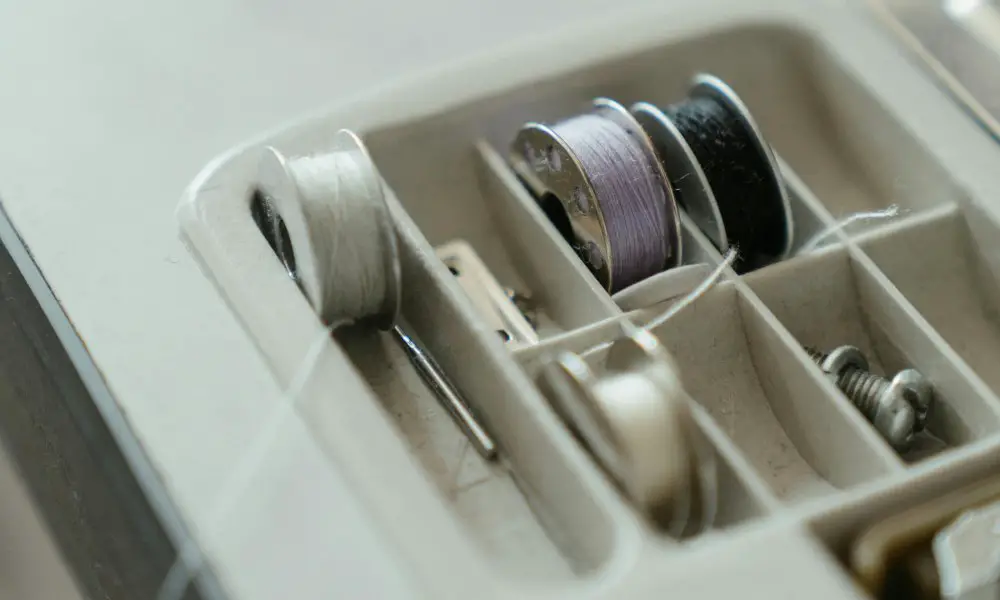
Not all bobbins are created equal. They come in different sizes and materials, designed to fit specific sewing machine models. Some common types include:
- Plastic bobbins (most common for home machines)
- Metal bobbins (often used in industrial machines)
- Front-loading bobbins (inserted horizontally)
- Top-loading bobbins (inserted vertically)
Consult your sewing machine’s manual to use the correct bobbin type. Using the wrong bobbin can lead to tension issues, skipped stitches, and frustration galore.
Pre-Wound vs. Self-Winding
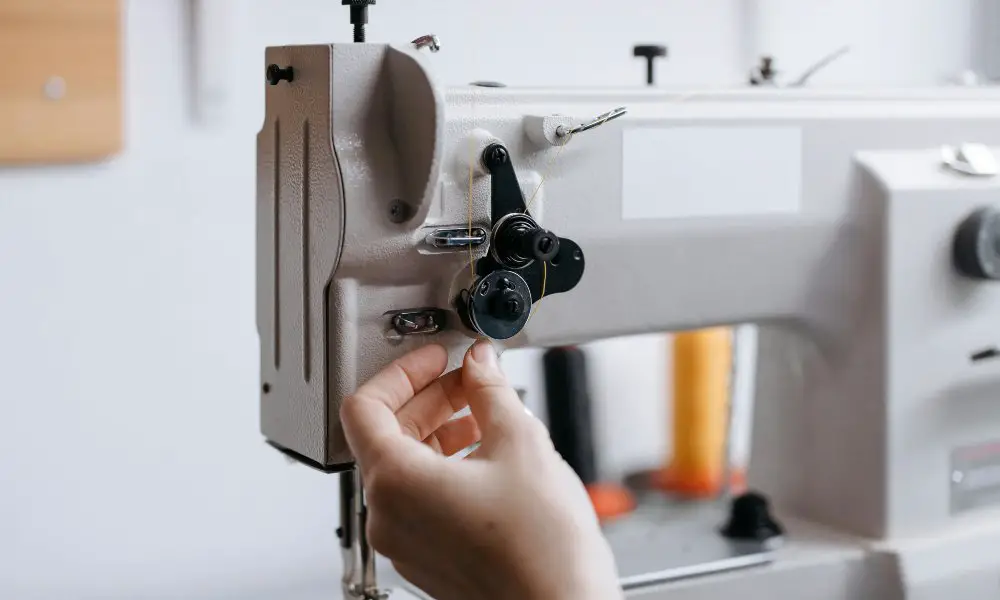
Bobbins can either come pre-wound with thread or require manual winding. Many modern machines feature a built-in bobbin winder, making it easy to wind your bobbins from a thread spool.
If winding your own, ensure the thread is evenly distributed and slightly loose – over-tightening can cause tension problems later.
Step-by-Step: Loading the Bobbin
Now that you understand the bobbin basics let’s get to the heart of the matter: loading that little spool into your sewing machine.
Prepare the Bobbin
Start by winding your bobbin with the appropriate thread for your project. Leave a 6-inch tail to prevent the thread from unraveling prematurely.
Locate the Bobbin Compartment
Most sewing machines have a hinged or removable panel that conceals the bobbin compartment. If you can’t locate it easily, consult your manual.
Insert the Bobbin into the Case
Gently place the wound bobbin into the bobbin case, ensuring the thread unwinds clockwise. Feed the thread through the tension spring and the appropriate slot or guide.
Draw Up the Bobbin Thread
With the bobbin loaded, slowly lower the needle using the hand wheel. The bobbin thread should automatically catch in the tension system below. Gently pull the thread up through the needle plate opening.
Adjust Tension and Trim Excess
Leave a 4-6 inch thread tail and trim any excess neatly. Refer to your manual to adjust the bobbin tension as needed – proper tension is critical for even, professional-looking stitches.
Test and Tweak
Try out a test stitch on a scrap of fabric, monitoring tension and stitch quality closely. Make any final adjustments to the bobbin or upper thread tension until you achieve that perfect, balanced stitch.
Bobbin Loading Pro Tips
Even with the steps mastered, a few pro tips can take your bobbin loading game to the next level:
- Use a bobbin case with a built-in threading slot for easy bobbin insertion
- Invest in quality, lint-free bobbins to avoid tension issues
- Keep a few pre-wound bobbins on hand for quick thread changes
- Match your bobbin thread to the upper thread for seamless results
- Practice makes perfect – the more you load bobbins, the easier it becomes!
Troubleshooting Common Bobbin Woes

Sometimes, despite your best efforts, bobbin issues can still crop up. Here are a few common culprits and solutions:
Skipped Stitches or Thread Bunching
Potential causes:
- Incorrect bobbin insertion or threading
- Bobbin tension too tight or too loose
- Debris or lint in the bobbin case or tension discs
Solutions:
- Rethread the bobbin and upper thread, ensuring proper tension
- Clean the bobbin case and tension discs with a soft brush
- Adjust the bobbin tension according to your manual
Thread Keeps Breaking
Potential causes:
- Rough bobbin surface or burrs
- Thread spool tangled or poor-quality thread
- Bent or blunt needle
Solutions:
- Replace the bobbin with a new, high-quality one
- Use a fresh, high-quality thread spool
- Change the needle for a new, sharp one
Uneven Stitches or Looping
Potential causes:
- Bobbin tension imbalance with upper thread tension
- Incorrect threading path for bobbin or needle thread
- Debris or lint buildup in the tension discs
Solutions:
- Adjust both bobbin and upper thread tensions
- Rethread both bobbin and needle thread, following the proper paths
- Clean the tension discs and bobbin case thoroughly
Don’t get discouraged if you hit a snag – bobbin troubleshooting is all part of the sewing journey!
FAQs
How often should I change my bobbin?
Changing your bobbin for each new project or switching thread colors or types is a good practice. This ensures consistent tension and stitch quality throughout your sewing.
Can I use pre-wound bobbins from different brands?
Technically, you can use pre-wound bobbins from any brand if they’re the correct size and type for your machine. However, to avoid potential tension issues, it’s best to stick with bobbins from your machine’s manufacturer.
My bobbin keeps jamming – what could be causing this?
A jammed bobbin is often caused by incorrect threading, debris buildup in the bobbin case, or using the wrong bobbin size/type for your machine. Double-check your threading, clean the bobbin area thoroughly, and ensure you’re using the correct bobbin.
How do I know if my bobbin tension needs adjusting?
If you’re experiencing uneven stitches, looping, or bunching on the underside of your fabric, it’s likely a bobbin tension issue. Consult your manual for proper tension adjustment techniques.
Can I use plastic bobbins in an industrial sewing machine?
No, plastic bobbins are generally not recommended for industrial machines requiring sturdier metal bobbins. The wrong bobbin type can damage your machine or cause significant tension problems.
***
Still have questions about mastering the bobbin? Drop them in the comments below, and let’s continue the sewing conversation!
***
Main image: pexels


