Sewing a hook and eye closure is a simple yet crucial technique that adds a polished, professional touch to garments and accessories. This fastener provides a sleek, secure finish while allowing for easy opening and closing. Follow this comprehensive guide to master the art of sewing a hook and eye like a pro.
Mastering the Hook and Eye Closure:
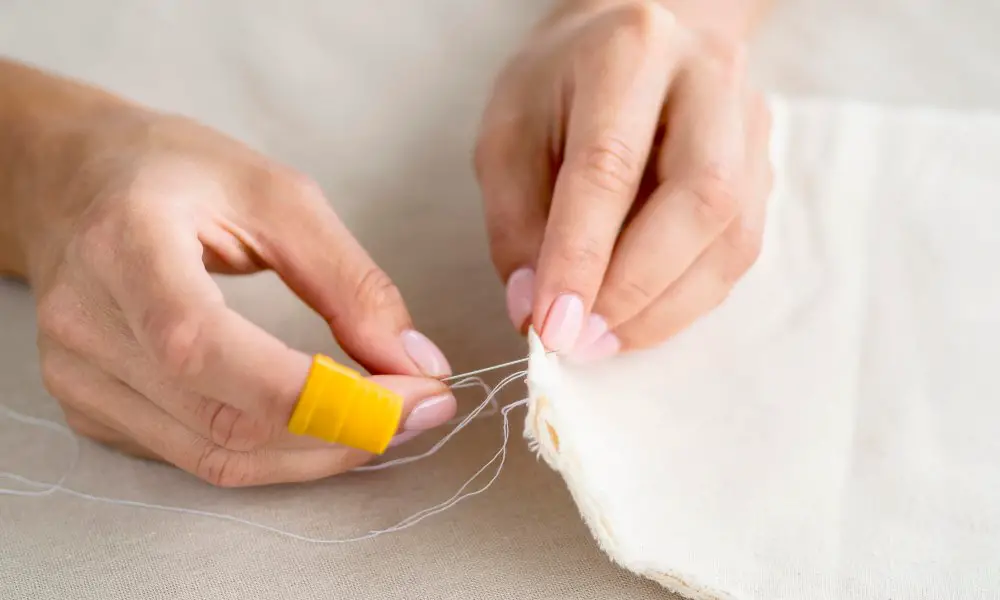
- Gather materials: hook and eye set, needle, thread
- Mark placement on fabric
- Sew the hook piece first
- Attach the eyepiece next
- Reinforce stitches for durability
- Test closure alignment
Understanding Hook and Eye Closures
Before diving into the sewing process, let’s explore hook-and-eye closures and why they’re so versatile. These fasteners consist of two interlocking pieces: a hook (typically a slim metal bar bent into a curved shape) and an eye (typically a small ring or loop).
When sewn onto opposite edges of a garment or accessory, the hook slips through the eye, creating a secure closure that’s both functional and decorative. Hook and eye closures are commonly used on the inside of waistbands, along the edges of skirts and dresses, and even on bras and lingerie.
Choosing the Right Hook and Eye Set
Hooks and eyes come in various sizes, finishes, and materials to suit different project needs. Select a set that complements your fabric’s weight and type. Heavier fabrics like denim or wool require larger, sturdier hooks, while lightweight materials like silk or chiffon call for more minor, more delicate closures.
You’ll also want to consider the closure’s finish. Metallic sets lend a classic, polished look, while plastic hooks and eyes provide a more discreet option. For an elegant touch, you can even find embellished sets adorned with pearls or crystals.
Key Sewing Terms
As you learn to sew hook and eye closures, you’ll encounter a few key terms:
- Hook: The curved metal piece that slips through the eye
- Eye: The ring or loop that the hook passes through
- Hook side: The side of the garment where the hook is sewn
- Eye side: The opposite side where the eye is attached
- Straight stitch: A basic sewing machine stitch used to attach the hook and eye
With an understanding of these closures and their components, you’re ready to start sewing!
Preparing the Fabric
Before you begin sewing, you’ll need to mark the placement of your hook-and-eye closure properly. This step ensures the pieces will align perfectly when fastened.
On the garment’s edge or within the seam allowance, use a fabric marker or chalk to indicate where the hook should be positioned on one side. Then, mark the desired location for the eye on the opposite side, ensuring it will line up precisely with the hook when closed.
If you’re working with patterned fabric, place the hook and eye at an inconspicuous spot or along an existing seam to help camouflage the closure.
Sewing the Hook Piece

With your placements marked, it’s time to start sewing! Begin by firmly anchoring the hook piece in place.
- Thread your needle and knot the end of the thread.
- Place the hook flat against the fabric, with the prongs facing the desired direction.
- Sew tightly around the metal ring 3-4 times using a straight stitch, keeping your stitches close together.
- Knot the thread on the underside of the fabric and trim any excess.
If desired, you can use a thicker all-purpose thread or button thread for added durability when sewing through the metal hook. Some seamstresses also prefer to sew over the hook using a decorative buttonhole or satin stitch for extra reinforcement.
Common Hook Sewing Tips
- Avoid pulling your stitches too tight, as this can distort the hook’s shape.
- Use a sharp needle or hook needle to prevent skipped stitches on the metal.
- Position the hook as close to the raw edge as possible for a smooth closure.
Attaching the Eyepiece
Once the hook is securely in place, it’s time to sew on the coordinating eyepiece.
- Rethread your needle with fresh thread if needed.
- Position the eyepiece on the opposite side, ensuring it will align perfectly with the hook when the closure is fastened.
- Sew tightly around the metal ring 3-4 times using the same straight stitch as before.
- Knot the thread on the underside and trim any excess.
Just as with the hook, take care not to over-tighten your stitches, which can warp the shape of the eye. You may also opt for a decorative buttonhole or satin stitch around the eye for extra reinforcement.
Eye Sewing Pro Tips
- Use a loop turner or closed scissors to position the eye easily
- For added stability, sew a tiny double stitch at the base of the eye
- Ensure the eye lays flat against the fabric for seamless closure
Reinforcing Long-Lasting Wear
Reinforce the stitching properly to ensure your hook-and-eye closure withstands frequent use. This simple step prevents the pieces from loosening or detaching over time.
Once both the hook and eye are sewn, go back over your existing stitches with a few reinforcing straight stitches. If desired, you can also use heavy-duty thread or upholstery thread for this part.
For hook closures on heavy garments or high-stress areas, you may want to add an extra layer of reinforcement. Try sewing on a small square of stabilizer fabric or fusible interfacing behind each hook and eye for ultimate durability.
Testing the Closure
Before moving on or completing your sewing project, always test your newly sewn hook and eye to check for proper alignment and smooth opening and closing action. Fasten the hook through the eye to ensure a snug, seamless fit.
If the hook doesn’t slide easily through the eye or seems misaligned, make any needed adjustments by repositioning or resewing either piece. A well-sewn hook and eye closure should interlock flawlessly with no gapping, twisting, or bunching.
With your closure perfected, you can confidently proceed with the rest of your sewing while knowing this elegant fastener will provide a professional, long-lasting finish.
Alternatives and Variations
While the traditional hook and eye is incredibly versatile, sewists may want to explore other closure options for specific projects:
Eye Tape
For areas requiring multiple hook and eye sets, eye tape provides a quick solution. This readymade strip features evenly spaced metal eyes to accommodate various hooks.
Sew-Through Hooks
These handy hooks have holes that allow you to sew them directly onto the fabric using a machine, eliminating the need for hand stitching.
Buttonhole Closure
For a decorative touch, try stitching a horizontal buttonhole along one side and fastening with a hook or loop on the other.
No matter which type of closure you choose, remember to always finish with reinforcing stitches and test the alignment before finalizing your project.
FAQs
Can I sew hooks and eyes by machine?
While hand sewing is recommended for control, you can carefully machine sew hooks and eyes using a zipper foot. Reduce tension and stitch length for best results on the metal pieces.
What’s the easiest way to sew through multiple layers?
Use a sharp lead refillable pencil to mark precise placement lines that will remain visible through thick fabrics.
How do I stop hooks from scratching delicate fabrics?
Try sandwiching a small piece of sew-in interfacing between the hook and fabric to act as a protective barrier.
My closure keeps twisting out of alignment. What can I do?
First, check that both pieces are sewn flat and level. You can also try to stitch the seam allowances for better stability.
Can hooks and eyes be used for paper crafts?
Absolutely! Miniature hook and eye sets make charming closures for handmade cards, boxes, and other paper goods.
***
Ready to elevate your sewing with elegant, long-lasting hook and eye closures? Leave a comment below sharing your go-to tips and techniques!
***
Main image: freepik


