Crafting exquisite fabric bows is a fulfilling endeavor that can imbue numerous projects with an air of sophistication. Regardless of your level of expertise in sewing, adhere to these straightforward instructions to become proficient in crafting bows.
Gather your materials:
- Fabric of your choice
- Scissors
- Thread and needle
- Ruler or measuring tape
- Iron (optional)
Ready to get started? Let’s dive into the step-by-step process:
Choosing the Right Fabric
The fabric you select will significantly shape your bow’s final look and feel. Lightweight fabrics like silk, satin, or organza work beautifully for delicate, flowy bows. If you prefer a more sturdy and rustic aesthetic, consider using cotton, linen, or upholstery fabrics.
When selecting your fabric, consider the intended use of your bow. For example, grosgrain or wired ribbon can add structure and stability to hair bows or bowties. Patterned fabrics can also add visual interest and personality to your creations.
Fabric Preparation
Before cutting your fabric, ensure it’s pressed and wrinkle-free. This will make it easier to work with and result in a neater final product. If you’re using a fabric with a distinct pattern or nap, pay attention to the direction of the design and plan your cuts accordingly.
Cutting the Fabric

- Determine the preferred dimensions for your bow. This will determine the dimensions of your fabric piece.
- Cut a rectangular strip of fabric, ensuring the length is at least three times the desired width.
- Cut the strip on the bias (diagonally across the fabric’s grain) for a fuller, more voluminous bow.
Seam Allowance
When cutting your fabric, be sure to add a seam allowance, usually between 1/4 inch and 1/2 inch, based on the demands of your project. This step will guarantee that you possess adequate fabric for achieving a polished, completed edge.
Creating the Bow Loops
- Fold the fabric strip half lengthwise, ensuring the incorrect sides are aligned.
- Whether employing a sewing machine or hand stitching, sew along the raw edges, being careful to leave a small opening for turning the fabric inside out.
- Carefully turn the fabric right side out through the opening and press with an iron to create a crisp, tailored look.
Pinning and Pressing
Pinning the fabric strip before sewing can help maintain an even seam. Additionally, pressing the fabric after turning it right side out will ensure a neat and polished appearance.
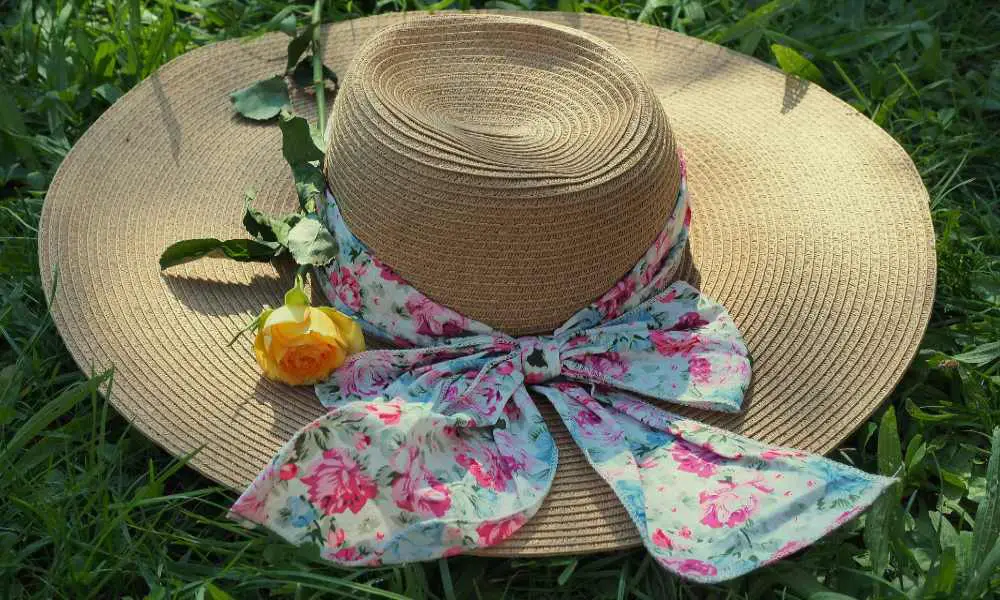
Forming the Bow
- Fold the fabric strip into a loop, overlapping the ends slightly.
- Pinch the center of the loop to create the signature bow shape.
- Wrap the loose ends around the center and knot them securely.
- Trim any excess fabric and neaten the ends with a quick stitch or a dab of fabric glue.
Creating Tails
For bowties or hair bows, you may want to create tails by leaving longer ends when forming the bow. Adjust the length of the tails to suit your desired look.
Embellishing Your Bow
Once you’ve mastered the basic bow shape, explore various embellishments to add a personal touch. Add ribbons, beads, or fabric appliques to your bow for visual interest. Explore multiple fabric textures and patterns to craft distinctive, unparalleled bows.
Wiring for Structure
For hair bows or decorative bows that require extra structure, consider incorporating floral wire or a piece of thin, flexible wire into the center of the bow. This will help the bow maintain its shape and prevent it from becoming limp or misshapen over time.
Attaching the Bow
Depending on your project, you can hand-stitch, glue, or use fabric adhesive to attach the bow to your desired surface. Try out various placement possibilities until you achieve the effect you want.
Consider attaching the bow to a hair tie, clip, or headband for hair bows. For bowties, you may want to sew or glue the bow directly onto the tie piece or use a fabric loop to create an adjustable closure.
FAQs
Can I use a sewing pattern to make a bow?
Yes, many free sewing patterns are available online that provide detailed instructions and pattern pieces for creating various types of bows.
How do I prevent the fabric from fraying?
To prevent fraying, use a zigzag stitch along the raw edges, apply fabric glue, or use pinking shears to cut the edges with a decorative zigzag pattern.
What’s the best way to store fabric bows?
Store your handmade bows in a cool, dry place away from direct sunlight. Avoid crushing or folding them, as this can cause creases or damage the shape. Consider using acid-free tissue paper or boxes to help maintain their form.
Can I make bows without a sewing machine?
Absolutely! Although a sewing machine can expedite the process, you can effortlessly craft stunning bows with just a needle, thread, and patience.
***
Want to share your bow-making creations with us? We’d love to see your handiwork! Drop a comment below with pictures of your latest bow projects.
***
Main image: pexels


