Have you ever received a hat with embroidery you don’t like? Or made a custom hat but later decided you wanted to change the design? Erasing embroidered stitching from a hat can be challenging, but it is achievable with the appropriate tools and methods.
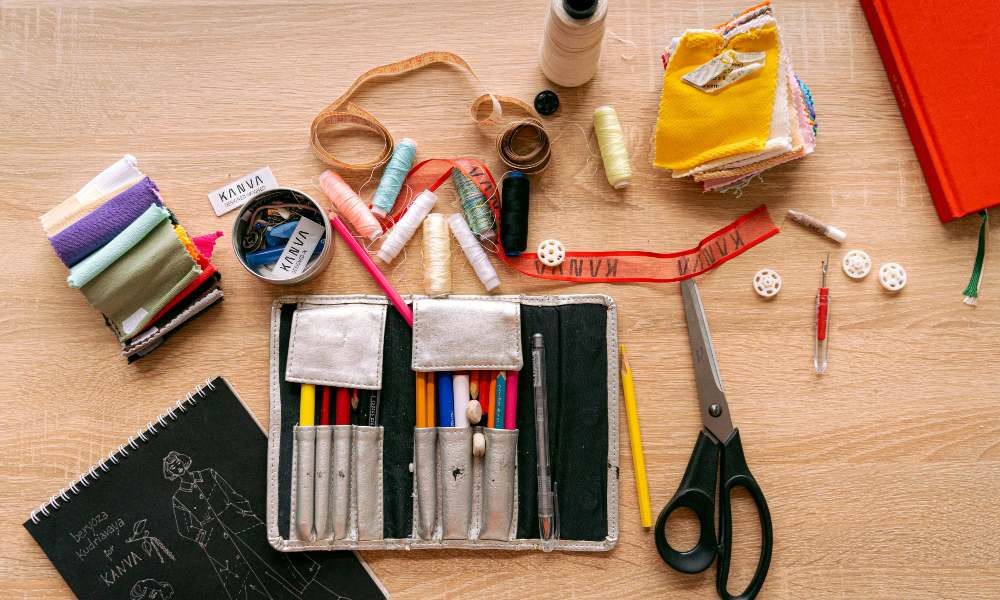
When looking to remove embroidery from hats, you’ll need to have the proper tools on hand. Here are the essentials:
- Seam ripper – This will be your go-to tool for ripping up stitches. Look for a sharp ripper that can get under threads quickly.
- Scissors – Keep some sharp embroidery scissors handy for snipping threads. Smaller scissors may help with detailed work.
- Tweezers – Useful for grabbing and pulling out tiny threads in delicate areas.
- Lint brush – Utilizing a lint roller or brush is essential to eliminate loose threads once the stitching has been removed.
- Stitch eraser – This specialty tool will let you rub away any visible stitch marks.
Before getting started:
- Inspect the hat embroidery closely.
- Note if it was done by machine or hand stitched. This will determine your approach.
- Mark off sections to be removed with a washable fabric marker so you know exactly where to focus your efforts.
Removing Machine Embroidery

If the unwanted design was created with an embroidery machine, the process would involve lifting the edges and clipping bobbin threads:
- Use the seam ripper to lift the edges of the design, loosening stitches carefully.
- Once lifted, you’ll see the vertical bobbin threads. Clip these threads with scissors.
- Gently pull up embroidery from the base as you clip stitches.
- Use tweezers for small or delicate areas to access tricky spots and avoid damaging the hat fabric.
- If any stubborn stitching remains, gently rub a stitch eraser over it to erase it.
Removing Hand Embroidery
Taking out hand embroidery takes more precision. Follow these steps:
- First, use sharp embroidery scissors to snip the embroidery floss or thread near the base of the stitches.
- Once threads are clipped, grab the loose ends with tweezers and pull them out individually.
- Run the seam ripper along the edge for satin stitching to lift, then pull out the threads.
- Rub a stitch eraser over any visible stitch marks to completely erase traces.
Finishing Touches
Once all stitching is removed, carefully clean away any remaining loose threads using your lint brush or roller. Give the hat a gentle iron if needed to smooth everything out. Check for any leftover bits of thread and remove them.
Now, your hat has a fresh start! You can embark on embroidering a new design that you’ll love. Removing embroidery from hats With patience and the right tools is very doable. Get creative with making the hat your own again!
The key things to remember when removing embroidery from hats are:
- Inspect closely to plan your removal approach
- Have the right tools on hand like a seam ripper, scissors, tweezers, and stitch eraser
- Prep by marking sections to be removed
- Remove machine embroidery by lifting edges and clipping threads
- Pull out hand embroidery threads individually with tweezers
- Clean away all loose threads when done
FAQs
How can I remove embroidery from a delicate fabric hat?
Work slowly and carefully for delicate fabrics like linen, avoiding pulling too much at once. Use extra fine-tip tweezers and small scissors for precision. Place wax paper between fabric layers as you work to prevent damage.
What if my hat embroidery will come out partially?
If traces of stitching remain, try rubbing with a stitch eraser. For stubborn threads, apply a little seam sealant to help loosen them, then gently scrape away with an eraser. Avoid over-scrubbing delicate fabrics.
How do I remove an embroidered patch?
Carefully lift an edge and snip any visible interior threads. If there’s adhesive, heat with an iron to soften the glue, then slowly peel it off. Use an adhesive remover like Goo Gone for any residue.
Can I remove the embroidery without damaging the hat?
With care and the proper tools, embroidery can be removed without damaging the hat fabric. Work slowly, avoid pulling too much at once, and check the fabric underside for snags. Stop if it seems like stitches won’t budge without damage.
What’s the best way to prep the hat before removing the embroidery?
Inspect carefully to understand the stitching method used. Mark which sections you intend to remove with a washable marker. Have all your tools handy. Work on a flat, padded surface for support.
You can successfully erase unwanted embroidery from hats with care and methodical technique. It just takes some time and the right tools. But the result is well worth it – you’ll have a refreshed hat ready for a new custom design!
***
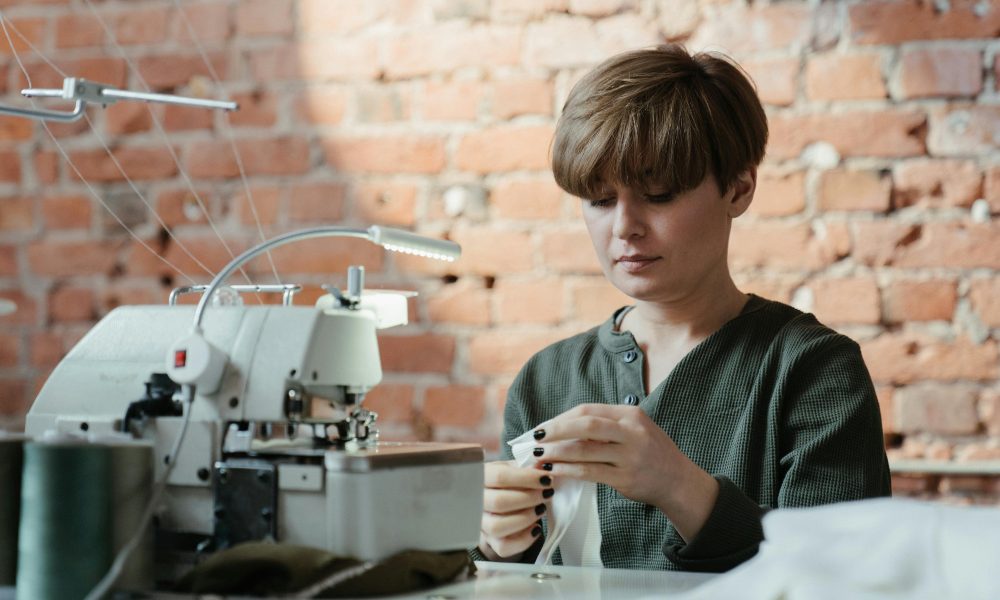
Main image: freepik