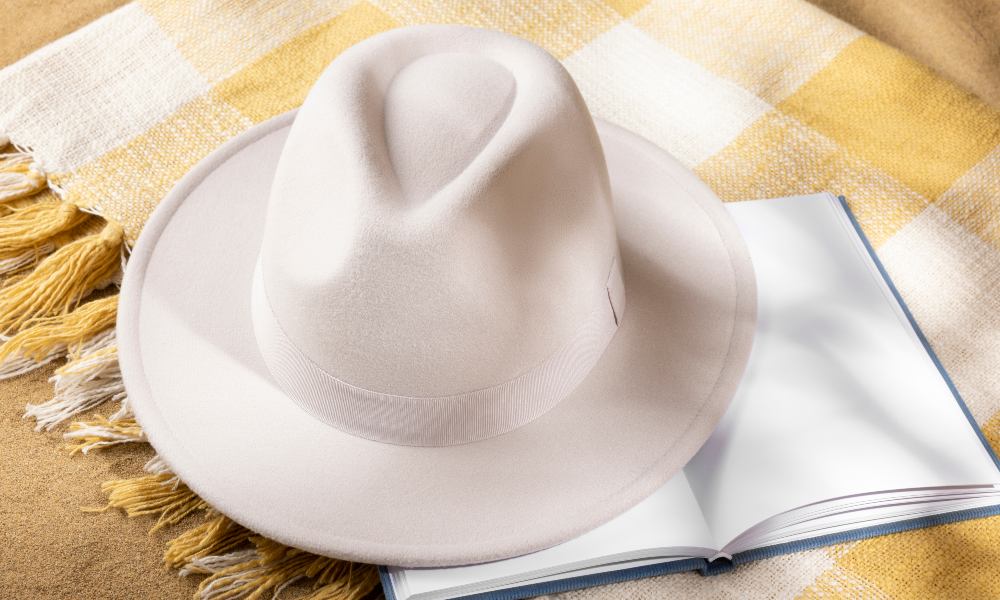
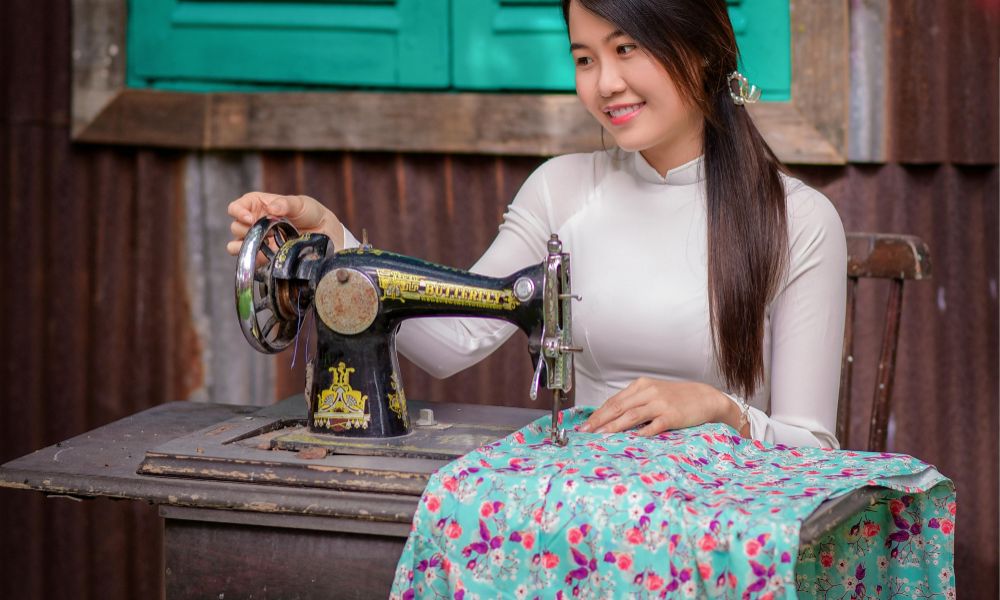
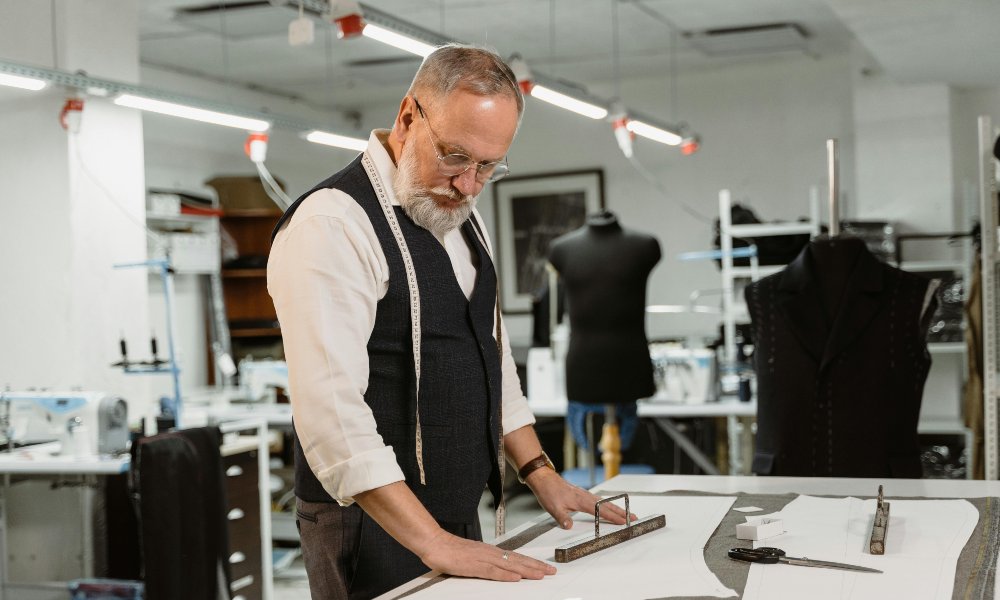
Creating your bucket hat through sewing is enjoyable and fulfilling, enabling you to craft a fashionable and personalized accessory. Whether you’re looking for sun protection or a trendy fashion statement, a handmade bucket hat is the perfect solution. Here’s a concise introduction to get you started:
A bucket hat is a casual headwear style with a broad, downward-sloping brim that provides shade from the sun. It showcases a cylindrical crown and can be crafted from various fabrics, including cotton, linen, or waterproof materials.
- Gather your materials and tools
- Cut out the pattern pieces
- Sew the crown and brim sections
- Assemble and finish the hat
- Add personal touches and embellishments
- Wear your new, handmade bucket hat!
Ready to dive into this creative project? Let’s explore the world of bucket hat sewing in more detail!
Understanding Bucket Hat Patterns
Selecting the correct pattern is one of the first steps in sewing a bucket hat. Numerous free and paid patterns are available, ranging from simple designs to more intricate styles with reversible or adjustable features.
Choosing the Right Pattern
When selecting a bucket hat pattern, consider the following factors:
- Desired style (classic, reversible, adjustable)
- Fabric weight and type (lightweight cotton, heavier canvas)
- Sizing (one-size-fits-all or adjustable)
- Skill level (beginner-friendly or more advanced)
Popular pattern sources include independent designers on Etsy, sewing blogs, and significant pattern companies like Simplicity, Kwik Sew, or McCall’s. Many patterns offer detailed instructions and helpful tips for successful bucket hat construction.
Customizing Your Pattern
Once you’ve chosen a pattern, you can easily customize it to suit your preferences. Consider adjusting the brim width, crown height, or adding unique design elements like pockets, appliqués, or embroidery. This is the perfect opportunity for your creativity to stand out truly!
Essential Materials and Tools
Before you begin sewing, make sure you have the following materials and tools on hand:
Fabrics and Notions
- Main fabric (cotton, linen, or lightweight canvas)
- Lining fabric (optional for a finished interior)
- Interfacing or buckram (for structure and shaping)
- Coordinating thread
- Bias tape or binding (for finishing the brim and crown edges)
Sewing Supplies
- Sewing machine and appropriate needles
- Scissors or rotary cutter and mat
- Pins or clips
- Chalk or fabric marker
- Seam ripper
- Iron and ironing board
You can confidently tackle your bucket hat sewing project with the right supplies and tools.
Step-by-Step Sewing Instructions
Now that you’ve gathered your materials and chosen a pattern, it’s time to start sewing! Here’s a general overview of the steps involved:
Step 1: Cut Out Pattern Pieces
Carefully cut out the pattern pieces from your main fabric, lining (if using), and interfacing or buckram. Transfer any markings and notches from the pattern onto the fabric.
Step 2: Assemble the Crown
Follow the pattern instructions to sew the crown pieces together, leaving an opening for turning if necessary. Press the seams and add interfacing or buckram for structure.
Step 3: Construct the Brim
Sew the brim pieces together, leaving an opening for turning if required. Turn right side out and press.
Step 4: Attach the Brim to the Crown
Pin the brim to the crown, matching notches and seams. Sew around the outer edge, securing the brim in place.
Step 5: Add the Lining (Optional)
If desired, sew the lining pieces together and attach them to the inside of the hat crown, enclosing the seams.
Step 6: Finish the Edges
Use bias tape, binding, or a simple fold-over technique to finish the raw edges of the brim and crown neatly.
Step 7: Embellish and Personalize
Get creative! Add decorative stitching, appliqués, embroidery, or other embellishments to make your bucket hat unique.
Throughout the sewing process, follow the specific instructions provided by your chosen pattern. With patience and attention to detail, you’ll soon have a beautifully handcrafted bucket hat to wear with pride.
Styling Your New Bucket Hat

Once your bucket hat is complete, it’s time to style it! These versatile accessories provide numerous styling possibilities for occasions ranging from casual and laid-back to sophisticated and trendy appearances.
Casual Summer Looks
A bucket hat is perfect for relaxed summer outfits. Pair it with a tank top, shorts, and sandals for a breezy, effortless vibe. Or, dress it up slightly with a sundress and slip-on sneakers for a cute, comfortable look.
Retro 90s Vibes
Bucket hats were hugely popular in the 90s, and the trend has returned in recent years. Channel some retro style by wearing your handmade hat with mom jeans, a crop top, and chunky sneakers or boots.
Outdoor Adventures
Thanks to their wide brim and breathable fabrics, bucket hats are ideal for outdoor activities like hiking, fishing, or gardening. Choose a lightweight, quick-drying material like nylon or ripstop for optimal sun protection and moisture-wicking properties.
Streetwear and Athleisure
Bucket hats have also found their way into streetwear and athleisure styles. Rock your handmade hat with joggers, an oversized hoodie, and sneakers for a cool, urban look.
Your handmade bucket hat will become a go-to accessory for countless outfits and occasions, no matter how you style it.
FAQs
What is the best fabric for a bucket hat?
Cotton, linen, and lightweight canvas are popular choices for bucket hats. They offer breathability and durability while maintaining a structured shape. For outdoor activities, consider water-resistant fabrics like nylon or ripstop.
How do I determine the correct size pattern?
Most bucket hat patterns come in one-size-fits-most, but some offer adjustable features or multiple sizes. Measure your head circumference and refer to the pattern’s size guide to select the best fit.
Can I make a reversible bucket hat?
Absolutely! Many patterns include instructions for creating a reversible bucket hat with two different fabrics or colors. This allows you to switch up your look with a single accessory.
How do I care for my handmade bucket hat?
The care guidelines may differ based on the type of fabric utilized. In general, spot cleaning or hand washing with mild detergent is recommended. Avoid machine washing and drying, which can cause the hat to lose shape.
Can I sell handmade bucket hats?
If you plan to sell your handmade bucket hats, follow any copyright or licensing guidelines associated with the pattern you used. Many independent designers offer commercial use licenses for their patterns.
***
With creativity and dedication, you can craft a unique, fashionable bucket hat that perfectly suits your style. Are you ready to take on this fun sewing project?
***
Main image: freepik


