Calling all fans of the delightfully eerie world of Coraline! If you’ve ever wished to bring the beloved doll to life, this guide is for you. Sewing your very own Coraline doll is a rewarding project that combines creativity with a touch of nostalgia.
Here’s a concise overview to get you started:
🧵 Gather all necessary supplies like fabric, yarn, and buttons
🧵 Print or draft a rag doll pattern capturing Coraline’s iconic look
🧵 Carefully cut out the body pieces and facial features
🧵 Assemble the doll, attaching details with precision
🧵 Fashion the doll’s signature blue and red hair tresses
🧵 Add the finishing touches with Coraline’s raincoat and accessories
Ready to bring this spunky heroine into your world? Let’s begin!
Gathering the Essentials
To sew a Coraline doll that truly captures the spirit of the beloved character, immersing yourself in the source material is key. Rewatch the film or reread the book, paying close attention to the doll’s distinct features and proportions.
Choosing the Perfect Fabric
Selecting the ideal fabric is pivotal in capturing the essence of Coraline’s world. Opt for a cotton blend with a subtle sheen reminiscent of the doll’s porcelain-like complexion. Seek hues that evoke the muted tones of the film’s eerie yet alluring aesthetic. Scour craft stores or online platforms like Etsy for the perfect yarn or material to bring your Coraline doll to life.
Assembling the Necessary Tools
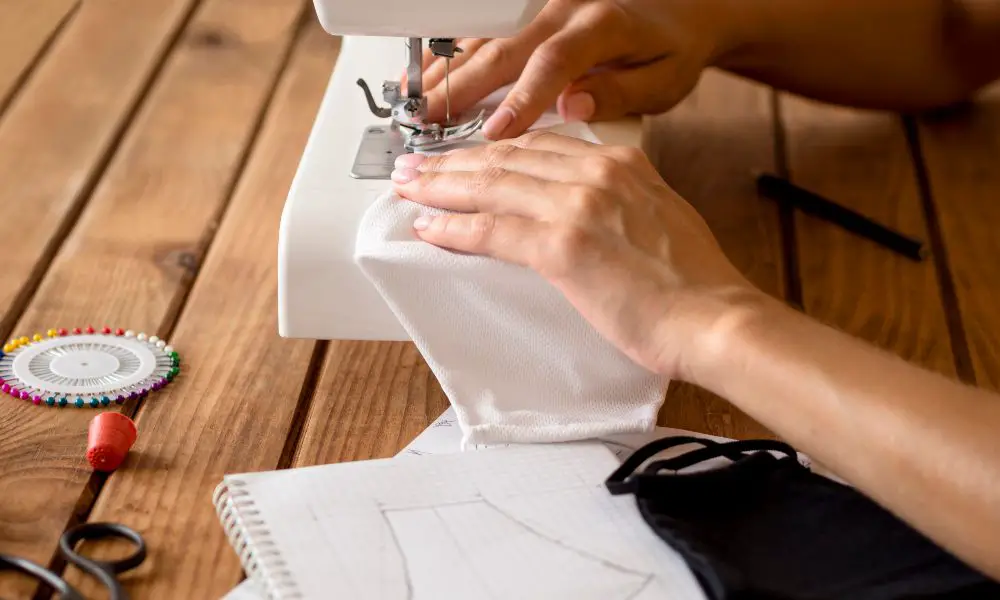
Gather your armory of sewing implements:
- High-quality thread.
- An array of needles.
- Scissors with razor-sharp edges.
- A thimble to protect your digits from the perils of errant pricks.
Ensure your workspace is well-lit and organized, for attention to detail is paramount in this artistic endeavor. Amigurumi patterns and tutorials can be found on platforms like YouTube and Pinterest, offering step-by-step guidance.
Crafting the Doll’s Visage

Sculpting the Distinctive Features
Coraline’s visage is a masterpiece of unconventional beauty. Sculpt her almond-shaped eyes with precision, ensuring they capture the enigmatic depth that captivated audiences. Meticulously shape her delicate nose and quirky smile, imbuing the doll with mischief. Pay close attention to her skin color, as it’s a defining feature of the beloved character.
Stitching the Facial Expressions
With needle and thread in hand, Coraline’s expressions are brought to life through intricate embroidery. Each stitch should tell a story, conveying the doll’s curiosity, determination, and unwavering spirit. Experiment with varied techniques to achieve a multidimensional effect, mirroring the complexity of Coraline’s character. Don’t forget to capture the essence of her mouth and the subtle nuances that make her so endearing.
Constructing the Body
Shaping the Limbs
Coraline’s limbs are slender yet sturdy, allowing for endless posing possibilities. Carefully stuff and stitch each arm and leg, ensuring a firm yet flexible structure. Pay close attention to the joints, precisely crafting them to enable fluid movement and lifelike gestures. Follow the pattern’s instructions to the letter, ensuring each piece is appropriately sized and proportioned.
Attaching the Head and Extremities
With the body and limbs assembled, it’s time to unite them into a cohesive whole. Securely attach the head, aligning it perfectly with the torso. Then, connect the arms and legs, ensuring they move freely while maintaining integrity. Double-check your stitching and reinforce any areas that may require extra support.
Adorning with Whimsical Details
Embellishing with Coraline’s Iconic Wardrobe
No Coraline doll would be complete without her signature ensemble. Craft her iconic yellow raincoat with meticulous attention to detail, capturing the vibrant hue and intricate stitching. Add her blue dress with delicate embroidery, and don’t forget her trusty rain boots, ready for any adventure. Scour tutorials and patterns for guidance on replicating her iconic look, or let your creativity shine by adding your unique twists.
Adding the Finishing Touches
Infuse your Coraline doll with personality by incorporating whimsical details. Braid her hair with ribbons or adorn it with buttons, echoing the film’s motifs. Consider adding a miniature replica of the iconic doll from the Other World, a constant reminder of Coraline’s unwavering courage. You could even create a companion doll of Wybie, her eccentric friend, to accompany her on countless adventures.
FAQs:
What is the best type of yarn or material for sewing a Coraline doll?
A cotton blend yarn or fabric with a subtle sheen best captures Coraline’s porcelain-like complexion. Look for muted, earthy tones that evoke the film’s aesthetic.
How long does it typically take to complete a Coraline doll?
The time required can vary depending on your skill level and attention to detail. However, most intermediate sewers can expect to spend around 24 hours on this project.
Can I sell my handmade Coraline dolls?
While you can create Coraline dolls for personal use or gifts, selling them may violate intellectual property rights. It’s best to check with legal experts before selling your handmade dolls.
Are there any specific techniques needed for sewing a Coraline doll?
Besides basic sewing skills, you may need to familiarize yourself with techniques like embroidery, sculpting, and amigurumi (crocheted or knitted stuffed toys) to capture Coraline’s unique features accurately.
Where can I find patterns and tutorials for sewing a Coraline doll?
You can find a variety of patterns and tutorials on online platforms like Etsy, YouTube, and Pinterest. Some crafters also share their patterns and instructions on blogs or social media.
Conclusion
You’ve brought a piece of Coraline’s world to life with patience and dedication. Let your imagination soar as you create adventures and narratives for your handcrafted companion. What tales will you weave together? Will you recreate the movie’s iconic scenes or forge new paths through unexplored realms? Share your finished Coraline doll with friends and fellow enthusiasts, inspiring others to embrace the power of storytelling and let their creativity shine.
If you appreciate this instructional guide, kindly contemplate registering for our website to receive additional thrilling do-it-yourself undertakings and imaginative pursuits. Make sure to stay connected with us on various social media platforms such as Twitter and Pinterest to receive updates and behind-the-scenes insights and to connect with other like-minded crafters and artists.
***
Main image: freepik


