Patching up holes or tears in your favorite jeans can breathe new life into them. With a few simple tools and some basic sewing skills, you can mend those rips and give your denim a unique, personalized flair.
Here’s a quick overview of sewing a patch on jeans:
- Gather your materials: jeans, patch fabric, sewing machine, thread, scissors
- Position and secure the patch over the hole
- Sew around the patch edges using a straight stitch
- Trim excess fabric and reinforce with a zigzag stitch
- Add decorative embroidery or embellishments for extra style
- Press and admire your custom, patched jeans!
Intrigued? Dive in to discover the whole process and expert tips! When was the last time you rescued a beloved pair of jeans from the trash?
Choosing the Perfect Patch
The first step is selecting a patch fabric that complements your jeans. Denim, canvas, or even printed fabrics can create a stylish contrast. For a cohesive look, use scraps from an old shirt or try matching the original denim. Decorative patches with embroidery or appliques instantly elevate the design.
Patch Size and Placement
Ideally, the patch should extend at least an inch beyond the hole’s edges on all sides. However, feel free to experiment with dramatic, oversized patches for a striking statement. Strategic patch placement is critical – opt for a discreet inner-thigh or knee patch, or go bold with a hip or back-pocket design.
Securing the Patch
Once you’ve chosen your fabric, it’s time to affix it over the hole. A quick spritz of temporary fabric adhesive spray works wonders for holding the patch in place while you sew. Or skip the spray and use sewing pins or Pattern Weights to secure the layers.
Sewing Technique Matters

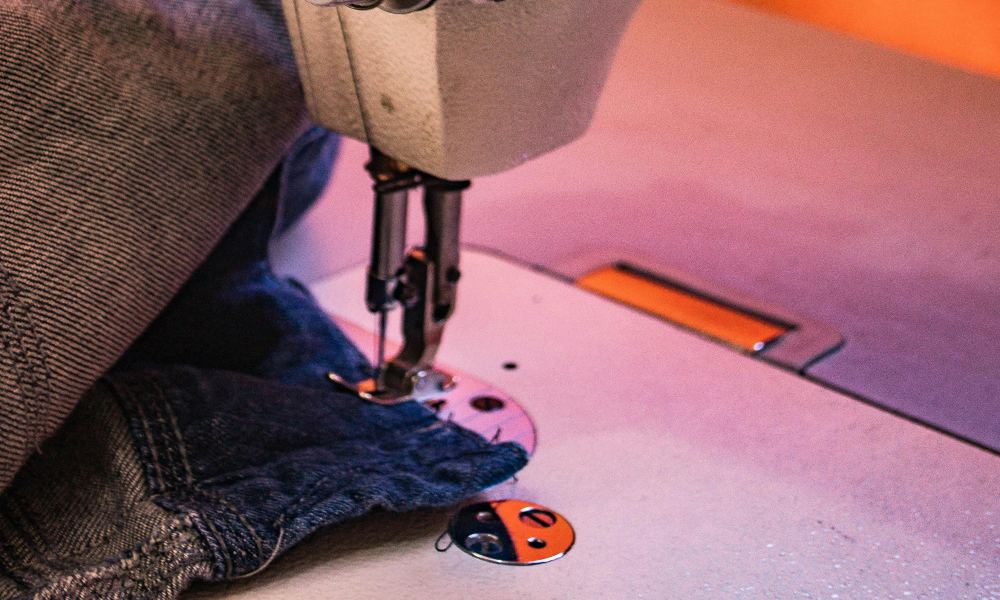
After positioning the patch accurately, it is time to utilize the sewing machine (or needle and thread if hand-sewing is preferred). A simple straight stitch around the perimeter is a timeless choice, but get creative with decorative stitches if you have that capability. Satin stitch, blanket stitch, and zigzag stitch add attractive texture.
Reinforcing the Edges
Once you have sewn around the whole patch, it is recommended to use a zigzag stitch or serger to finish the raw edges. This will help prevent fraying and increase the patch’s durability. This locks in the stitching and lends a professional finish.
Embellish for Added Flair
Take your jeans from drab to fab by embellishing the patched area. Freehand embroidery using colorful thread or bold embroidery floss creates eye-catching designs. Appliques, studs, rhinestones, and other trims let you showcase your unique style.
Pro Tips and Inspiration
- Stabilize thick denim by inserting a pressing cloth behind the patch area as you sew
- Sew slowly with denim or stretch needle to perforate the rigid material
- Upcycle funky vintage patches from thrift store find or outgrown clothes
- Layer patches on top of each other for a dimensional patchwork effect
- Check out social media for endless customization ideas from patched jeans pros
FAQs
Can I sew on a patch without a sewing machine?
Absolutely! Hand-sewing patches with a simple whip stitch or blanket stitch create beautiful patched jeans. It requires more time and patience.
How do I keep stretchy jeans from puckering around the patch?
Use a strip of iron-on patch adhesive around the hole’s interior. This stabilizes the fabric as you sew, preventing undesirable stretching or bunching.
Can I patch holes in other areas besides denim?
Yes! Patching techniques work on leather, canvas, upholstery, and many other heavy fabrics. Adjust your needle and thread weight accordingly.
***
Ready to rescue your holey jeans from the donation pile? With a bit of creative spirit and these patching tips, you can rock one-of-a-kind patched denim in no time. Share your latest patched jeans project in the comments!
***
Main image: pexels


