Have you ever found yourself mesmerized by the intricate patterns and vibrant hues of granny squares, yearning to weave them into a masterpiece? Once considered a humble craft, these crocheted gems have transcended their traditional roots to become a canvas for artistic expression. Imagine transforming a collection of these intricate motifs into a cozy blanket, a statement garment, or even an eye-catching home decor piece. The secret lies in mastering the art of sewing together granny squares – a skill that will unlock a world of possibilities.
What are Granny Squares?
Granny, motif, or Afghan squares are individual crocheted pieces that can be assembled into larger projects. These versatile crochet squares trace their origins back to the late 19th century when resourceful women would repurpose yarn scraps to create warmth and beauty in their homes. Today, granny squares have evolved into a global phenomenon, showcasing an array of patterns and colors that cater to every style and preference.
Preparing the Granny Squares

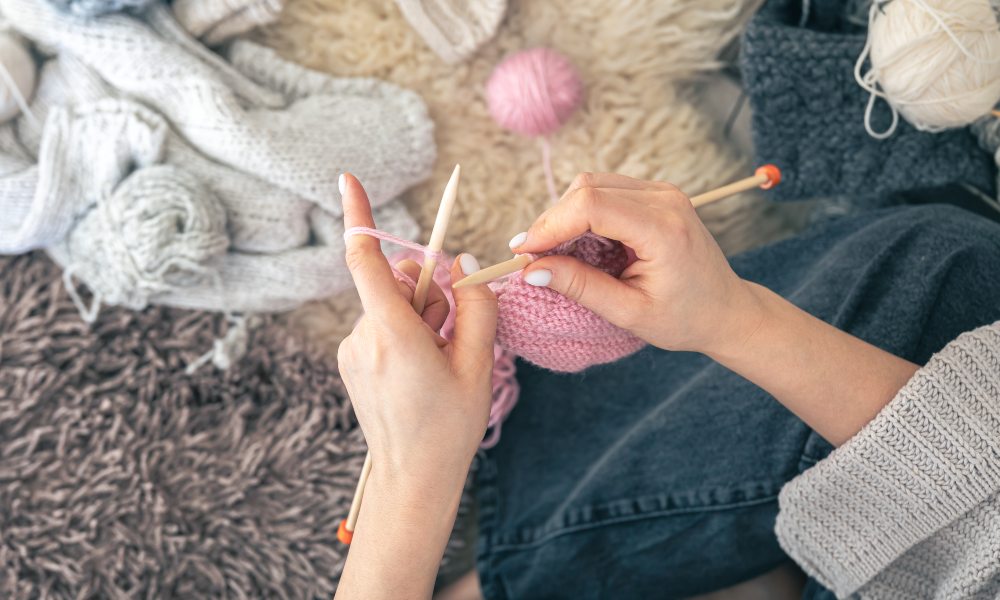
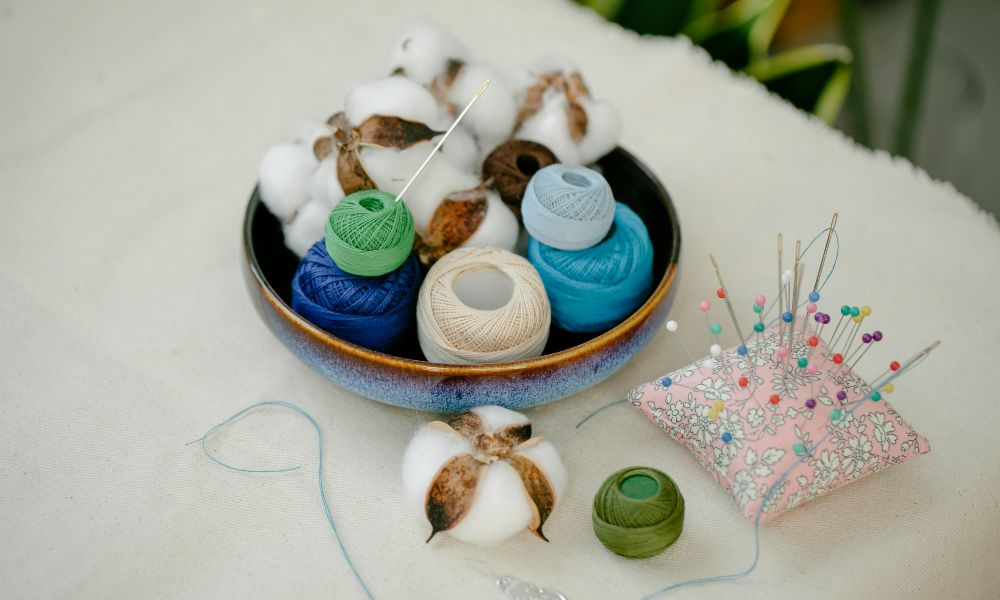
Before you embark on your granny square journey, gathering the right supplies is essential. You’ll need a sturdy yarn, a tapestry needle, and a pair of sharp scissors. As you collect your squares, take a moment to ensure they are consistently sized. Minor variations can be accommodated, but significant discrepancies may disrupt the overall harmony of your project. Familiarize yourself with your chosen crochet pattern, noting the stitch count and any specific instructions for the corner spaces or chains.
Sewing Techniques
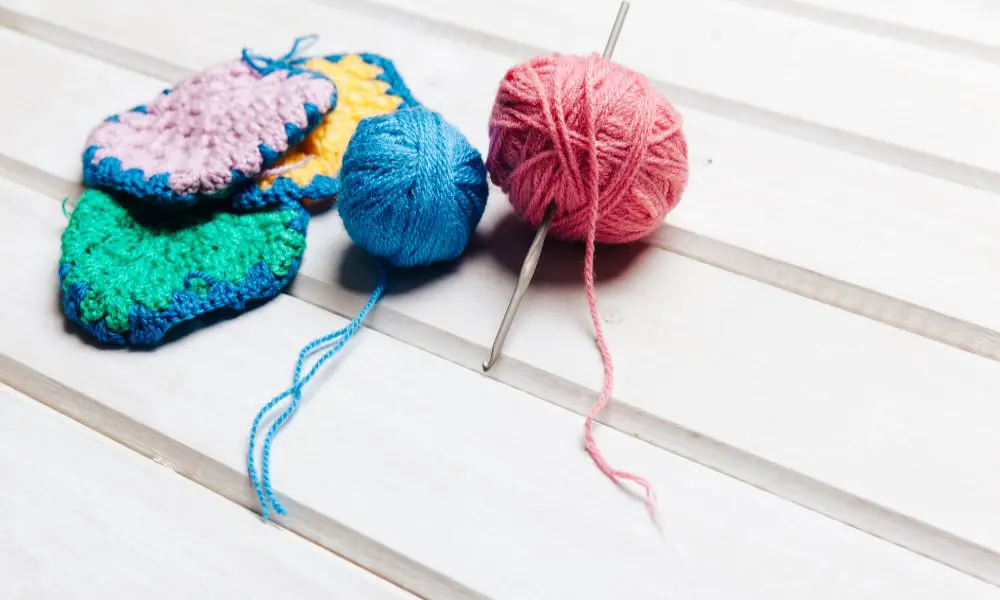
Once your squares are prepared, it’s time to explore the sewing techniques that will bring them together seamlessly. The basic whip stitch is a classic method that involves weaving the needle in and out of the squares’ edges, creating a secure and visible seam. Consider the mattress stitch or invisible seam method for a more discreet finish. The latter involves crocheting the squares together as you work, resulting in a seamless transition.
One popular technique is the slip stitch join, where you slip stitch through the corner chains or spaces of adjacent squares, creating an invisible seam. Another option is the single crochet join, which uses single crochet stitches to connect the squares, adding texture and dimension to your project.
Joining Squares Together
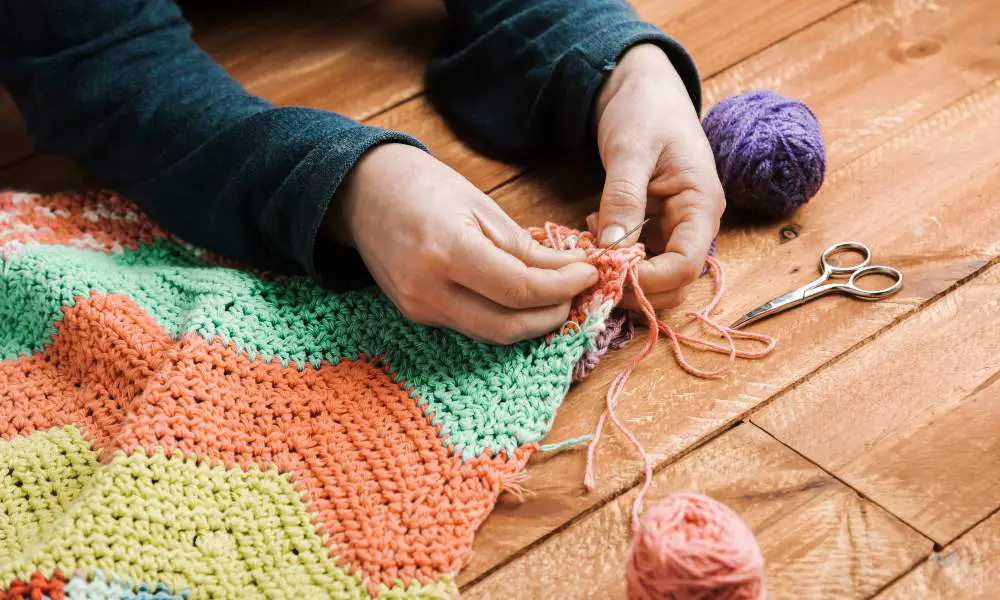
With your chosen sewing technique, it’s time to assemble your granny square masterpiece. Start by identifying a center square and work outwards in rows or a spiral pattern. As you join each square, align the patterns and colors, creating a harmonious flow that captivates the eye. Your true artistic vision comes to light here as you skillfully coordinate the interplay of colors and patterns.
For a seamless transition, consider the “join as you go” method, where you crochet the next square directly onto the previous one, eliminating the need for sewing altogether. This technique saves time and results in a cohesive and structured piece.
Blocking and Finishing
Once your squares are securely sewn together, it’s essential to block your creation. This process involves gently stretching and shaping the fabric, ensuring a consistent and professional finish. As you finish this stage, utilize a yarn needle to integrate loose ends, creating a polished and seamless look.
For a final flourish, consider adding borders or edging to your project. This can be achieved by crocheting a complementary trim or sewing on a contrasting fabric, creating a frame that enhances the overall design.
Design Inspiration
The possibilities are endless when it comes to granny square creations. Imagine snuggling up with a warm and vibrant blanket or afghan, each square a testament to your creativity and dedication. Or perhaps you envision a statement garment, like a bohemian cardigan or a trendy tote bag, that showcases your unique style.
Beyond wearables and cozy accessories, granny squares can also find their way into home decor. Envision a striking wall hanging, a whimsical table runner, or even a set of colorful coasters that add a touch of handcrafted charm to your living space. Explore free patterns and video tutorials from renowned crochet designers and brands like Lion Brand for those seeking inspiration.
FAQs:
What is the best way to join granny squares for an invisible seam?
The mattress stitch or invisible seam method is famous for creating an invisible join between granny squares. These techniques involve crocheting the squares together as you work, resulting in a seamless transition.
How do I ensure my granny squares are the same size?
To maintain consistent sizing, follow the stitch count and measurements specified in your crochet pattern. Blocking the completed squares can also help even out minor size discrepancies.
Can I mix different granny square patterns in the same project?
Absolutely! Combining various granny square patterns and colors can create a visually stunning and unique design. Just maintain consistent sizing and stitch patterns for a cohesive look.
How do I weave in ends neatly after joining granny squares?
Use a yarn needle to weave loose ends on the project’s wrong side (back). Gently pull the yarn through the stitches, working in the same direction as the yarn travels, to secure the ends invisibly.
Conclusion
Sewing together granny squares is more than just a craft – it’s a celebration of creativity, patience, and the joy of transforming individual pieces into a harmonious whole. With the mastery of different techniques and a strong embrace of your artistic vision, it becomes possible to create a tapestry that reflects your style and tells a story with every single stitch.
As you embark on this journey, remember to savor the process, experiment with new patterns and color combinations, and let your granny squares become a canvas for self-expression. Explore different joining methods, from the classic whip stitch to the gourmet crochet techniques that add depth and texture to your work.
So, what unique granny square creations will you bring to life? The possibilities are as boundless as your imagination. Embrace the art of sewing together granny squares, and let your creativity blossom into a seamless tapestry of beauty and individuality.
***
Main image: freepik