Achieving the perfect pant length is simple with a sewing machine. Here’s a concise guide on how to hem pants using this essential tool:
Hemming pants properly requires measuring accurately, carefully pinning, and precisely sewing. Follow these key steps:
- Try on the pants and mark your desired length
- Pin or baste the new hemline in place
- Stitch the new hem, removing pins as you go
- Trim any excess fabric below the new stitching line
- Press the finished hem for a crisp, professional look
Ready to get that custom fit? Let’s dive into the entire process.
Measuring for the Ideal Length
Before anything, you must determine precisely where the new hemline will fall. Put on the pants along with your typical shoes. Ask a friend or family member to help determine the desired length using fabric pencil or chalk. Go around the entire pant leg, marking at intervals to ensure an even line.
Once marked, remove the pants and lay them flat on a smooth surface with the outside facing down. Double check that the marked line is straight all the way around using a measuring tape or straight edge.
Accounting for Footwear
Don’t forget to factor in the height of your usual shoes or boots when marking the hem. Different footwear can vastly change the ideal pant break and drape. As a general rule:
- For flats or low heels, hem pants to hit the top of your shoes in front
- With boots, you’ll want the hem to graze the top of the shaft
- For a slight break or piling, allow an extra 1⁄2-inch of length
Getting those measurements right is crucial for a polished final look.
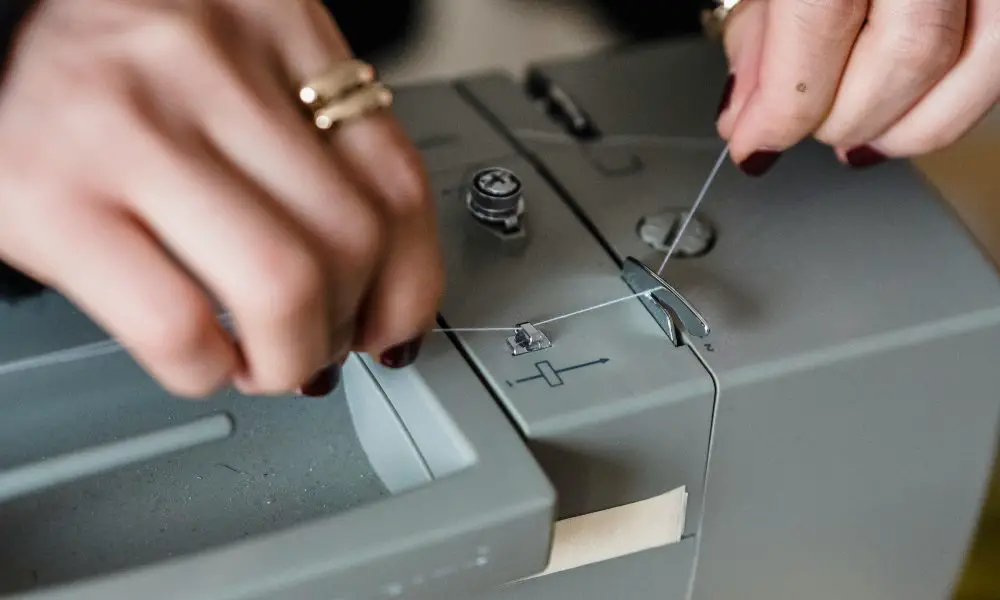
Prepping the Machine and Materials

Now it’s time to set up your sewing machine and gather your materials:
Sewing Machine Basics:
- Use a sharp needle suited for your pant fabric (denim, chino, etc.)
- Match the thread color to your pants, or choose a contrasting hue
- Set straight stitch length to 8-10 stitches per inch for durability
Additional Tools & Materials:
- Chalk or fabric pencil for marking
- Pins or basting threads to hold the hem in place
- Scissors for trimming loose threads
- Iron and ironing board for pressing the finished hem
Double or Single Needle Hem?
Most sewists opt for a standard double straight stitch when hemming pants. However, you can achieve an almost invisible “blind” hem using a double needle on the machine.
A blind hem creates two parallel rows of stitches – one on the pant leg and another catching the folded inner hem fabric. While trickier to sew, the result is a clean, professional finish ideal for dressier pants.
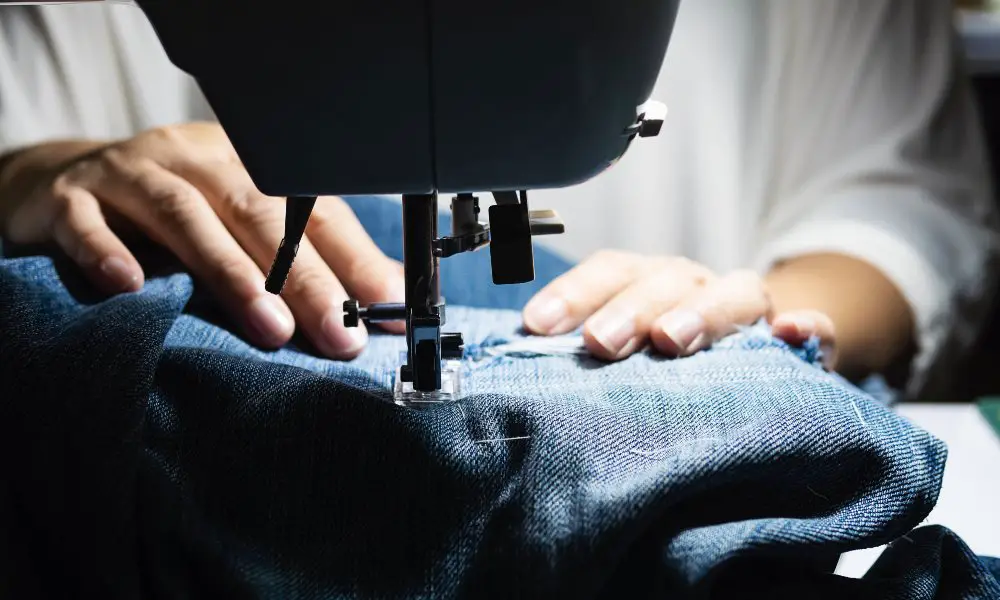
Pinning and Stitching the New Hem
With your materials ready, it’s time to transform those marked lines into a fresh new hem:
- Fold the pant leg up at your marked line, pinning or basting in place to secure. Press the fold flat with an iron.
- Unfold the pinned hem and position the pant leg inside-out on your machine, lining up the folded edge with your machine’s seam guide.
- Starting at the side seam, slowly stitch along the pressed crease, removing pins. Leave a 3-inch tail at the start and end, backstitching to lock the stitches.
- Once stitched, turn the pant leg right side out. Trim any loose or fraying threads along the stitched hemline. Finally, press the finished hem flat for a crisp look.
For an invisible blind hem stitch, simply stitch along the crease line again with the pant right-side out, using your double needle to catch both layers.
Finishing Touches
To elevate your handmade hems:
- Add a decorative top-stitch row using a triple-stitch or other embellished machine stitch
- Apply fusible web tape to the hem interior for extra crispness
- Use beeswax on thread ends to prevent fraying
With extra precision and polish, your machine-sewn hems will look professional.
Fine-Tuning Pant Styles
While the basic process is the same, different pant styles may require minor adjustments:
Flared or Wide-Leg Hems
Flares and palazzo pants have dramatically curved hems. To prevent puckering or ripples while stitching:
- Divide the hem into 4-6 sections
- Stitch each section separately, allowing the curved edges to ease around as needed
Tapered or Ankle Hems
Close-fitting tapered pants can stretch or distort around the leg openings. Avoid this by:
- Pressing and basting the hem in place before stitching
- Using a stretch or elastic stitch for movement
Don’t let tricky pant shapes throw you off! With some extra pinning and slow, steady stitching, that pro hem finish is achievable.
FAQs
How much fabric should I remove from the hem?
Generally, remove 2-3 inches of excess fabric from the existing hem when resetting the length.This allows enough to fold up cleanly.
Can you hem pants without cutting off length?
Yes, simply folding and stitching the extra length into a new deep hem. However, this increases weight around the leg openings.
How do I prevent uneven or wavy hems?
Careful measuring and marking around the pant leg is critical. You can also use horizontal basting stitches to hold the hem level before final stitching.
My fabric is very thick – what needle should I use?
For heavy materials like canvas or denim, use a denim or jeans needle size 100/16 or 110/18. The reinforced point and giant eye prevent skipped stitches.
***
With this comprehensive guide under your belt, you’re ready to achieve perfectly tailored pants every time. Are you investing in a new capsule wardrobe? Or simply freshening up old favorites? Put those sewing skills to the test!
***
Main image: freepik