Achieving the perfect pant length is essential for a polished, tailored look. If your dress pants or trousers are too long, hemming them with a sewing machine is a simple solution. Here’s a quick overview:
- Gather your materials – slacks, sewing machine, thread, chalk
- Try on slacks and mark the desired length
- Remove excess fabric and press the new hemline
- Sew the folded hem with a straight or zigzag stitch
- Trim threads and press the finished hem
- Admire your perfectly tailored trousers!
Ready to elevate your sewing skills and hem those slacks like a pro? Let’s dive into the details.
Preparing for Your Sewing Project
Before you begin, ensure you have all the necessary materials: the slacks needing hemming, a sewing machine loaded with coordinating thread, chalk or a fabric pencil for marking, scissors, straight pins, an iron and ironing board.
Carefully inspect the slacks and locate the original hem. If present, use a seam ripper to remove any existing stitching. This will allow you to work with the fabric’s raw edge.
Marking the New Hemline
Put on the slacks and have a friend assist, or simply use a full-length mirror.Mark the desired new length by running a line of chalk or fabric pencil around the pant leg. Be sure to account for the hem allowance – typically 1 to 1.5 inches.
Trimming and Pressing the Excess

With the hemline marked, remove the slacks and place them flat on your cutting surface. Carefully cut along the chalk line, removing the excess fabric from the bottom of each pant leg.
Next, press the newly cut edge with your iron to create a crisp, folded hem. Use starch or fabric spray for extra crispness if desired. Pin the folded hem in place, ready for sewing.
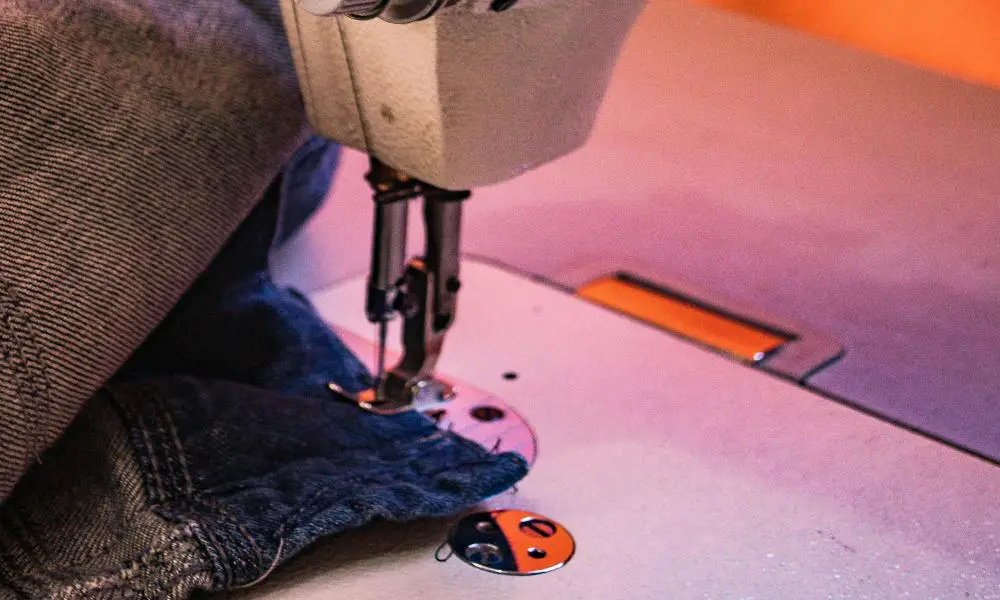
Sewing the Perfect Hemline
There are two standard methods for machine hemming pants – the double fold hem and the blind hem stitch. Both result in a professional-looking finish.
Double Fold Hem
For this technique, fold and press the raw edge under once to create a 1/2-inch folded hem. Then fold it again using your desired hem allowance and press. This creates a clean, tailored look on dress pants, trousers, or jeans.
Position the folded hem under your machine’s presser foot and topstitch in place using a straight stitch or stretch stitch if hemming stretchy fabric. Go slowly and keep your stitching line parallel to the folded edge.
Blind Hem Stitch
This specialized stitch is ideal for hemming dress pants without showing stitches on the right side of the fabric. It creates an invisible hem by catching only a few threads.
Set your machine to a blind hem or stretch blind hem stitch. I sewed the hem in place, keeping the folded edge barely visible from the right side. This allows the zigzag part of the stitch to pick up the pant fabric on the underside.
Finishing Touches
Remove any remaining pins or basting stitches once you see the new hemline. Trim any excess threads and give the finished hem a final pressing for a crisp, professional look.
Step back and admire your impeccably hemmed slacks! Feel free to hand-sew or slip-stitch any areas needing extra reinforcement.
FAQs
What if the original hem is still intact?
You can leave the original hem in place and simply fold and sew a new hem over it. Be sure to measure from the desired new length accurately.
How much fabric should I allow for hemming?
A helpful guideline is to leave 1-1.5 inches of fabric for the hem allowance. This provides enough fabric to create a neat, folded hem.
Can I hem pants without a sewing machine?
Absolutely! While a sewing machine makes hemming faster, you can achieve beautiful results by carefully hand-sewing the new hemline using a slip or blind stitch.
***
Have you successfully hemmed a pair of slacks using these tips? Let us know about your hemming triumphs in the comments!
***
Main image : pexels