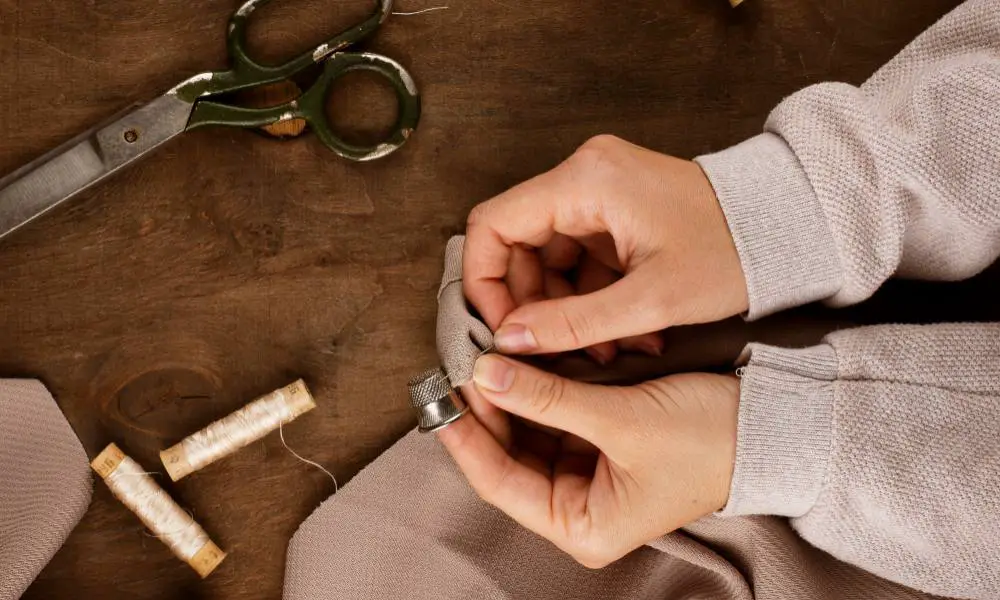
Mending a rip or tear in your beloved fabric can be vexing, yet you can promptly and effortlessly fix the impairment with appropriate methods. In this comprehensive guide, we’ll walk you through the steps to sew a rip, whether in your clothing, upholstery, or any other textile.
- Identify the type and location of the rip
- Gather the necessary sewing supplies
- Prepare the fabric for stitching
- Choose the appropriate sewing method
- Reinforce the repair with additional stitches
- Finish the mend for a professional-looking result
Are you ready to breathe new life into your damaged fabrics? Let’s get started!
Assessing the Rip
The first step in sewing a rip is to examine the damage and determine the best approach closely. Consider the location of the tear, the fabric type, and the size of the rip. This will help you select the appropriate sewing technique and supplies.
Identifying the Fabric
Please take a close look at the fabric to determine its material and weight. Is it a delicate chiffon or a sturdy denim? Knowing the fabric composition will guide your choice of needle, thread, and stitching method.
Evaluating the Rip
Examine the length, direction, and location of the rip. Is it a small tear in a seam or a longer, more substantial rip in the fabric’s body? This information will help you decide how to stabilize the fabric and ensure a secure, durable repair.
Preparing the Fabric

Before you start sewing, it’s essential to properly prepare the fabric to prevent further damage and ensure a neat, professional-looking result.
Cleaning the Area
Clean the area around the rip, removing dirt, debris, or loose threads. This will help the stitches hold better and create a cleaner finish.
Stabilizing the Fabric
Depending on the size and location of the rip, you may need to stabilize the fabric by applying a piece of interfacing or a scrap of the same material to the back of the tear. This will provide additional support and prevent the fabric from stretching during the stitching process.
Trimming the Edges
If the rip is ragged or uneven, carefully trim the fabric edges to create a straight line. This will make it easier to align the fabric and achieve a smooth, even stitch.
Choosing the Sewing Method
Now that you’ve prepared the fabric, it’s time to select the appropriate sewing method. Your selection of technique should be based on the fabric type, the size and position of the rip.
Hand Stitching
A hand-stitched repair may be the best option for small tears or delicate fabrics. Use a sharp needle and matching thread to create a series of tiny, invisible stitches that reinforce the rip.
Machine Stitching
A sewing machine can provide a more secure and durable repair for larger rips or sturdier fabrics. Depending on the fabric, use a straight or zigzag stitch to sew the rip closed.
Invisible Mending
For a seamless, virtually undetectable repair, consider an invisible mending technique. This involves carefully weaving new threads through the existing fabric to create a nearly invisible stitching pattern.
Reinforcing the Repair
To ensure your sewing repair lasts, it’s essential to reinforce the area with additional stitches or other strengthening techniques.
Overlapping Stitches
When sewing the rip, overlap your stitches slightly at the beginning and end to create a secure, locked seam.
Backstitching
For added strength, consider incorporating a backstitch into your sewing pattern. This technique involves sewing a few stitches in reverse to create a stronger, more durable seam.
Applying Fabric Glue
Sometimes, using a small amount of fabric glue or fusible web along the rip can provide additional reinforcement and prevent the fabric from tearing further.
Finishing Touches
The final step in sewing a rip is to ensure a clean, professional-looking result. Take the time to carefully trim any loose threads, press the area, and consider adding decorative stitching or a patch for a unique, personalized touch.
By following these steps and mastering the art of sewing a rip, you can breathe new life into your damaged fabrics and extend the lifespan of your beloved garments, upholstery, and more. Are you ready to transform your torn textiles?
FAQs
What type of needle and thread should I use?
The choice of needle and thread will depend on the fabric type and thickness. Generally, a sharp, fine needle and matching thread weight (e.g., cotton, polyester, or silk) will work best.
How do I make the stitches invisible?
For an invisible mend, use a slip stitch or a blind stitch to hide the stitches within the fabric. Careful thread selection and tension adjustment can also help minimize the visibility of the repair.
Is it possible to substitute sewing with fabric glue?
Fabric glue can be a quick and effective solution for small rips or tears, but it may not provide the same level of durability as a sewn repair. It’s best to use glue and stitching for the most secure and long-lasting result.
***
Don’t let a rip or tear ruin your favorite fabrics. With the right techniques, you can seamlessly mend the damage and keep your clothes, upholstery, and more looking their best.
***
Main image: freepik


