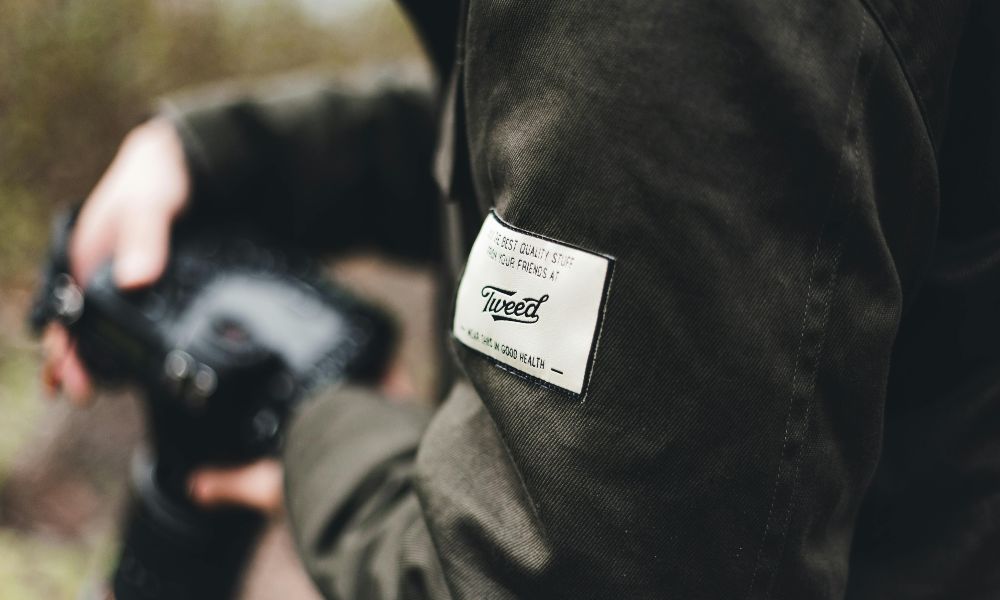
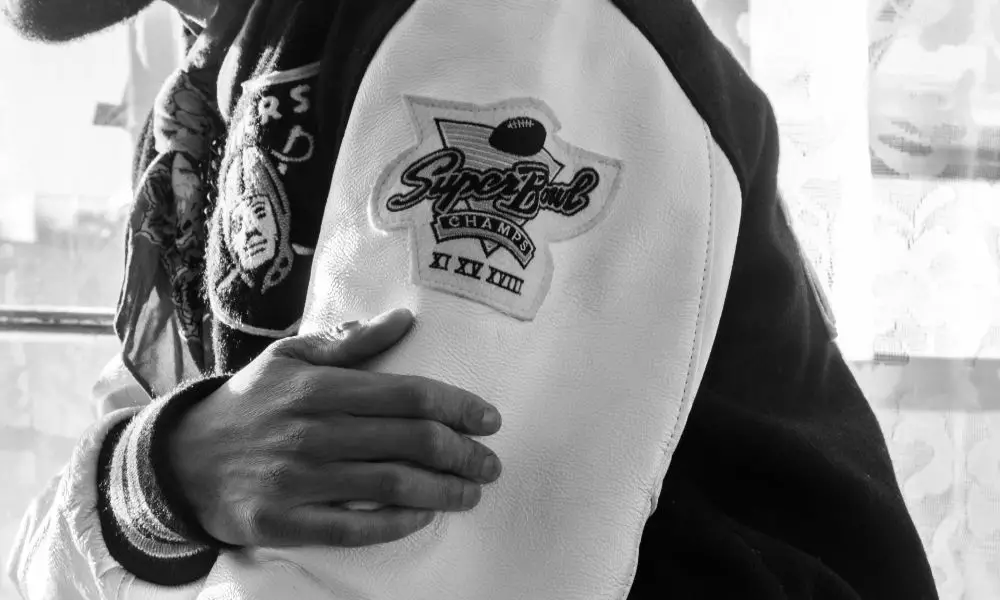
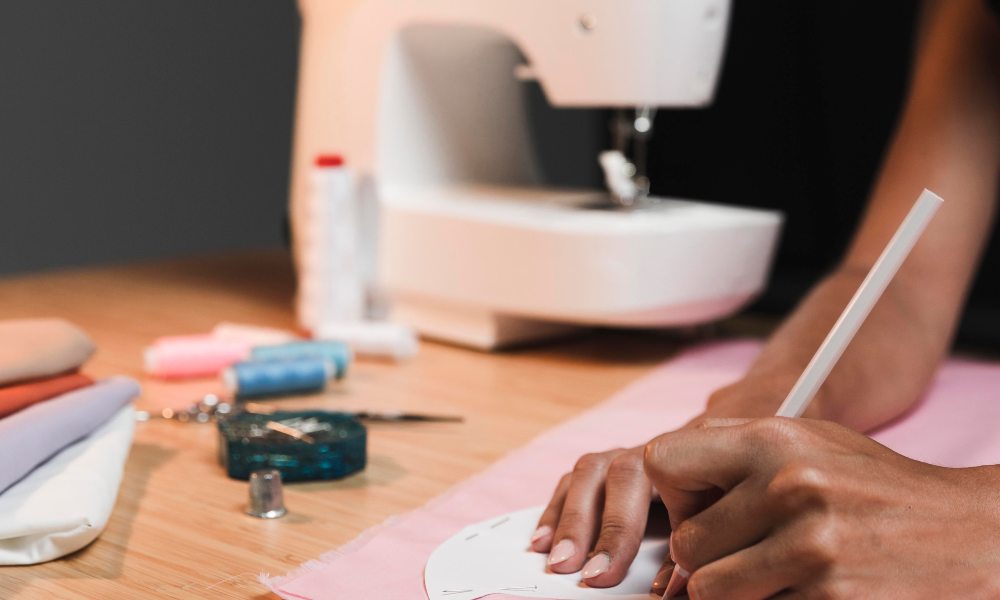
Breathe new life into your favorite jacket by adding a custom patch! Whether you’re looking to repair a worn spot, showcase your style, or just add a personal touch, sewing a patch onto a jacket is a simple and satisfying project.
- Gather your materials: patch, sewing needle, thread, scissors, pins, and your trusty sewing machine (if available).
- Prepare the patch by trimming loose threads and positioning it on the jacket where you want it.
- Secure the patch with sewing pins or a temporary adhesive, ensuring it lays flat.
- Thread your needle and begin stitching, using a basic running stitch or a decorative option like the blanket stitch.
- For extra durability, consider reinforcing the edges with a zigzag stitch.
- After completing your project, trim any leftover thread. I appreciate your hard work.
Ready to transform your jacket with a custom patch? Let’s dive in!
Selecting the Perfect Patch
The possibilities are endless when choosing a patch – from bold graphic designs to intricate embroidered pieces. Consider your jacket’s aesthetic and style to find the perfect match.
Fabric Matters
If you’re working with a delicate jacket fabric, opt for a lightweight, flexible patch that won’t add too much bulk. You can get creative with thicker, more substantial patches for sturdier materials like denim or leather.
Placement is Key
Where you position the patch can make a big difference in the overall look. Play around with placement – on the sleeve, chest, or back – to find the sweet spot that complements your jacket.
Preparing the Jacket
Before you start sewing, take a moment to inspect your jacket thoroughly. Identify any areas that need reinforcement or attention and address those first.
Cleaning and Conditioning

Give your jacket a quick once-over to remove any dirt, lint, or debris that could interfere with the patch application. Consider conditioning the surface to ensure a smooth finish if working with leather.
Marking the Spot
Using a tailor’s chalk or fabric pencil, lightly outline the area where you intend to place the patch. This will help you position it accurately and ensure a professional, polished look.
Sewing the Patch
Time to put those sewing skills to the test! Whether you’re a seasoned stitcher or a novice, these techniques will have your patch looking sharp.
By Hand or Machine?
For small patches or delicate fabrics, hand-stitching may be the way to go. But if you have access to a sewing machine, that’s often the quickest and most efficient method.
Stitch Savvy
Experiment with different stitches to find the best one that suits your patch and jacket. The classic running stitch is a great go-to, but you could also try a decorative blanket stitch or a sturdy zigzag.
Finishing Touches
Once your patch is securely in place, take a moment to trim any errant threads and inspect your work. A final press with a hot iron can help set the stitches and give your jacket a polished look.
Ready to transform your jacket with a custom patch? Dive in and let your creativity shine!
FAQs
Can I use fabric glue instead of sewing?
Absolutely! Fabric glue can be an easy alternative, especially for small patches or delicate fabrics. Please adhere to the manufacturer’s guidelines to achieve optimal outcomes.
How can I make the patch more durable?
For maximum longevity, consider reinforcing the edges with a zigzag stitch or running a line of stitching around the patch’s perimeter.
What’s the best way to remove a patch?
If you want to change your patch, carefully snip the stitches with sharp scissors. Gently peel the patch away, and you’re ready to start fresh.
***
Do you have any other questions about sewing patches onto your jacket? Let me know – I’m happy to help!
***
Main image: pexels


