Have you ever wanted to sew your custom pillowcases? Making your pillowcases is a fun and easy sewing project that allows you to create pillowcases out of your favorite fabrics. Read on for a step-by-step tutorial on how to sew a standard pillowcase with a contrasting cuff.
Materials Needed
To make your pillowcase, you will need:
- Main fabric – This is the primary fabric for the pillowcase body. Cotton or linen work well. Make sure you have 1/2 yard.
- Contrasting fabric for the cuff – This will be a complementing print or solid fabric. You’ll need 1/4 yard.
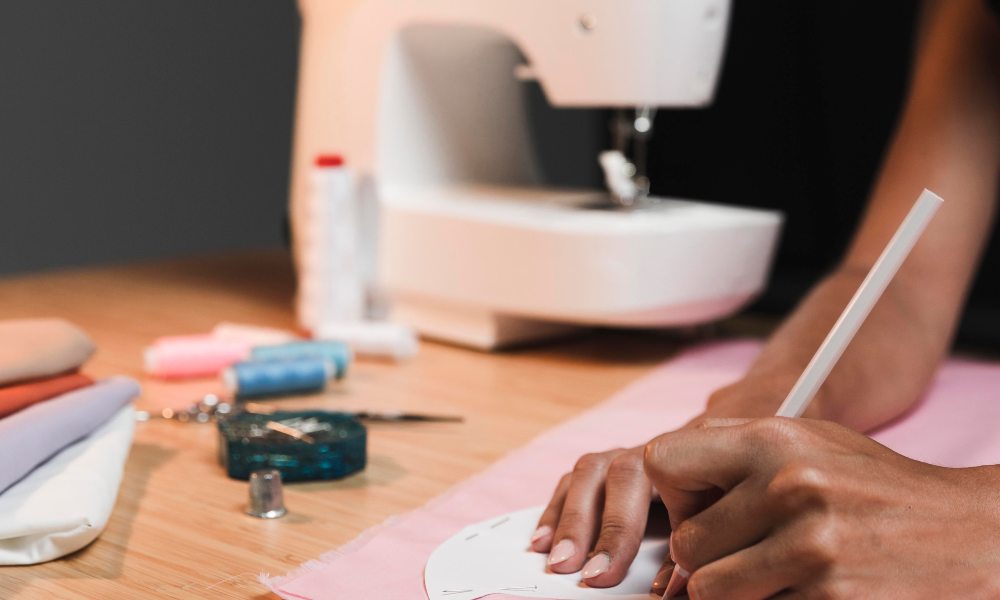
- Please select a thread color that either complements or contrasts nicely with the fabric. Essential sewing tools – sewing machine, scissors, pins, measuring tape, etc.
Step-by-Step Instructions
Follow these steps to sew your custom pillowcase:
Preparing the Fabric
First, wash, dry, and iron your main and cuff fabric. This pre-shrinks the fabric and removes any sizing.
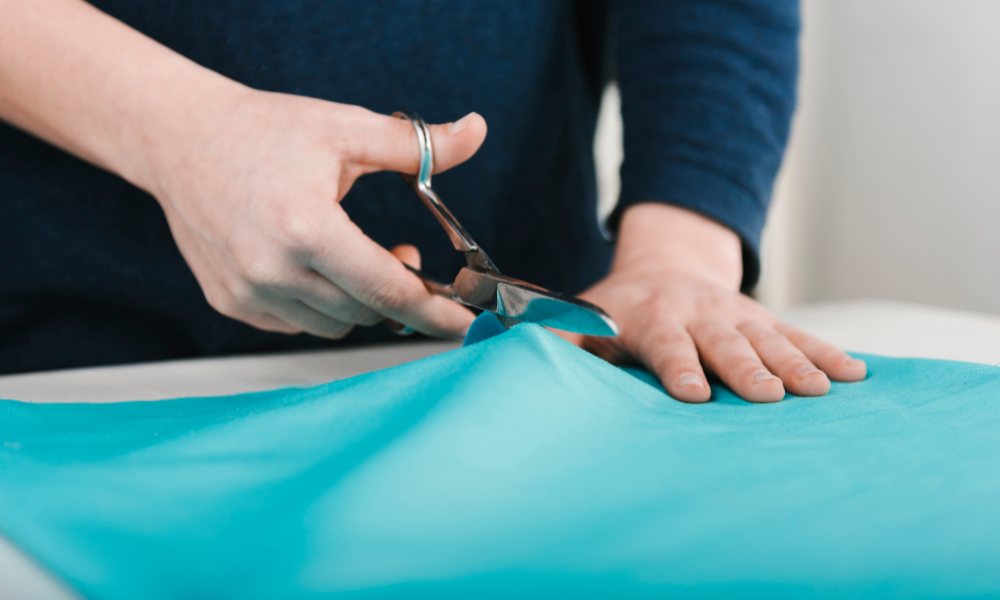
Cut the pillowcase front and back pieces from the main fabric. The typical size is 20″ x 30″ for a standard bed pillow.
From the cuff fabric, cut one strip 6″ wide x the width of the fabric.
Sewing the Pillowcase Body

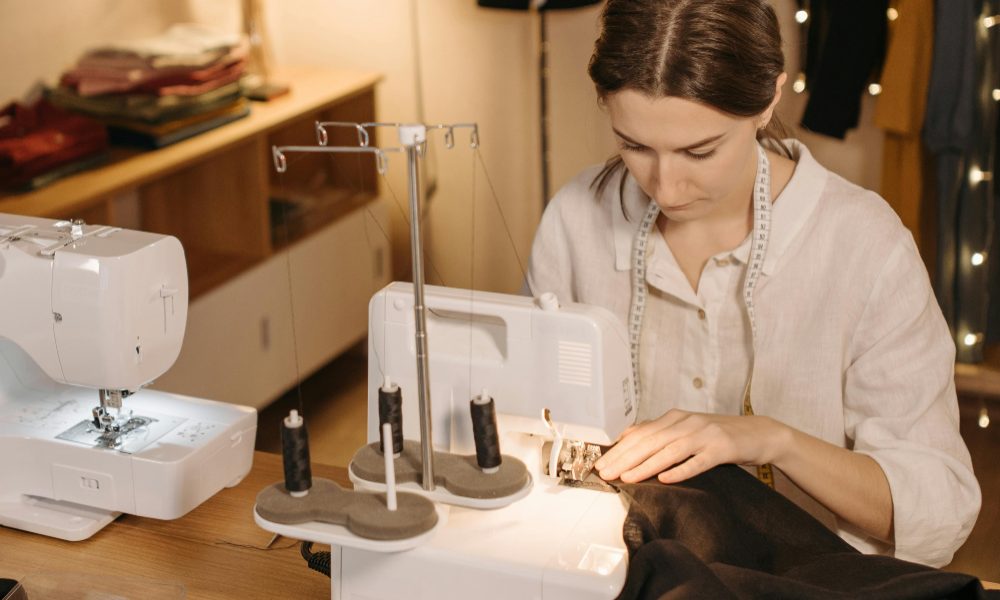
Pin the pillowcase front and back pieces together with the right sides facing and raw edges aligned. Using a 1/2″ seam allowance, sew along the sides and bottom while keeping the top edge open.
For a tidy finish, press the seams open and topstitch. This French seam encloses the raw edges.
Adding the Cuff
Fold the cuff strip in half lengthwise with the wrong sides together. Press to crease.
Align the raw edges of the pressed cuff strip with the raw edges of the pillowcase, overlapping the ends slightly. Pin in place.
Sew the cuff to the pillowcase using a 1/4″ seam allowance, backstitching over the overlaps at the ends.
Finishing Touches
Trim off any loose threads, then turn the pillowcase right through the opening. Push out the corners neatly and press with an iron.
Topstitch around the pillowcase edges, including the cuff seam. This gives a professional finish.
And that’s it – you now have a beautiful custom pillowcase!
Tips and Variations
- Use silk, satin, or velvet for a luxurious feel for the main fabric or cuff.
- Try an envelope-style pillowcase with an overlapping flap closure.
- Add trim, lace, or appliquéd motifs for extra detailing.
- To make the topstitching stand out, use a thread color that contrasts with the fabric.
FAQs
What size should I cut the fabric?
For a standard bed pillowcase, cut the main fabric to 20″ x 30″ and the cuff fabric to 6″ x the width of the fabric. Adjust sizes as needed for throw pillows or king pillows.
What’s the best fabric to use?
Cotton, linen, satin, and silk all work well. Avoid thick fabrics like canvas or denim. Go with tightly woven fabrics for durability.
How wide should the cuff be?
The cuff is typically cut 6 inches wide. But you can adjust the width to be thinner or more expansive.
What’s the benefit of a French seam?
The French seam fully encloses the raw edges of the pillowcase for a tidy, durable finish. The clean look is excellent for reversible pillowcases, too.
Can I add embellishments?
Yes! Add lace, trims, appliquéd motifs, piping, or other embellishments to customize your pillowcase.
Conclusion
Sewing a pillowcase is an accessible introductory project for beginners and a great way to use fabric scraps. Follow the steps above to stitch your standard pillowcase with a fun contrasting cuff. Customize with your favorite fabrics and trims. What fabric would you choose for your dream pillowcase? With just yards of fabric, thread, and your trusty sewing machine, you’ll have stylish new pillowcases quickly. Happy sewing!
***
Main image: freepik


