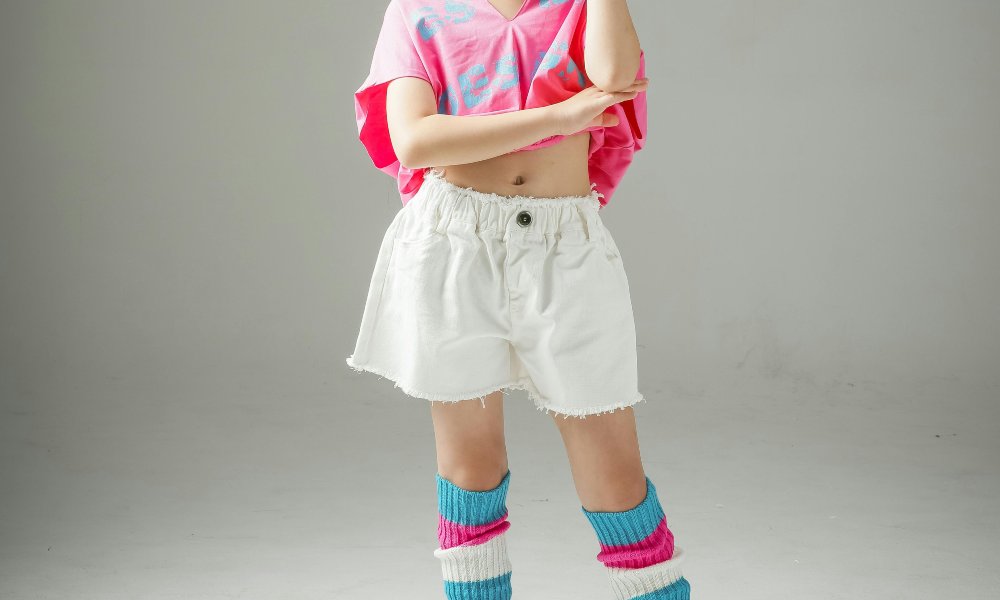
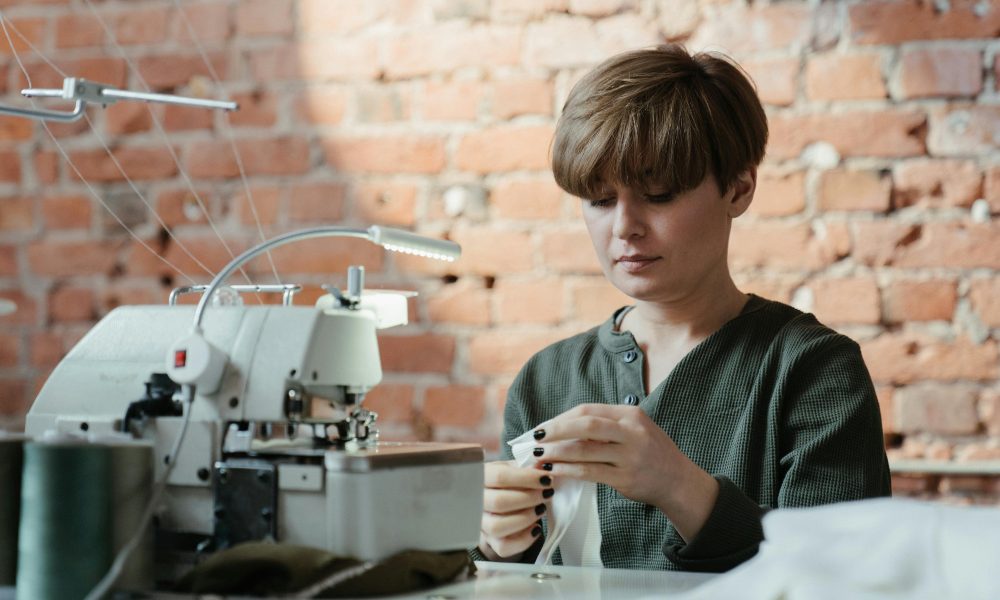
Are you tired of ill-fitting shorts that restrict your movement and fail to flatter your figure? Unleash your sartorial prowess and embrace the freedom of custom-tailored shorts!
Although sewing your shorts might seem daunting, it can be a fulfilling and empowering experience with the proper guidance. In this comprehensive guide, we’ll explore the intricacies of sewing shorts, from selecting the perfect sewing pattern to mastering the art of construction. Prepare to bid farewell to unflattering store-bought options and welcome a world of personalized, impeccably crafted shorts that not only fit like a dream but also reflect your unique style.
Selecting the Perfect Sewing Pattern
The journey to sewing shorts begins with choosing the correct sewing pattern. The impact of your project’s overall success can be significantly influenced by accomplishing this seemingly uncomplicated task. Let’s delve into the nuances of pattern selection:
Decoding Pattern Sizing and Measurements
Precise measurements are crucial for ensuring that a piece of clothing fits properly. Before diving into the pattern pool:
- Please ensure you accurately measure your waist, hips, and desired length.
- Cross-reference these numbers with the pattern’s sizing chart to ensure a seamless fit.
- Remember, patterns come in various sizes, from misses’ to plus, so choose wisely.
Matching Pattern Style to Fabric Drape
Patterns come in many styles, from casual shorts with elastic waists to tailored designs with intricate details. Consider the fabric’s weight and drape when selecting a pattern. Lightweight fabrics like cotton or linen lend themselves beautifully to breezy, casual shorts, while structured woven fabrics like denim or twill are ideal for more structured, tailored designs.
Exploring Free vs. Premium Pattern Options
While premium sewing patterns from reputable brands offer detailed instructions and meticulously drafted pieces, pay attention to the wealth of free sewing patterns available online. Many independent designers and bloggers provide high-quality, free patterns that can be an excellent starting point for beginners or those on a budget.
Preparing Your Fabric Playground
With the perfect pattern, it’s time to set the stage for your sewing adventure. Fabric selection and preparation are crucial to making or breaking your shorts-sewing endeavor.
Unraveling Fabric Choices: Woven vs. Knit
Your fabric choice will significantly impact your shorts’ appearance, texture, and flow. Woven fabrics like cotton, linen, or denim are ideal for structured, tailored shorts. Knit fabrics, like jersey or interlock, offer more stretch and are better suited for casual, comfortable designs like pajama shorts or boxer shorts.
Prepping and Cutting: Prudence is Paramount
Before cutting into your fabric, prewash and iron it to remove any shrinkage or wrinkles. Lay the pattern pieces meticulously, following the grain line and markings. Cutting with precision ensures that your shorts will come together smoothly during construction.
Mastering Pattern Markings and Grain Lines
Pattern markings might seem like a secret language, but mastering them is essential for a successful sewing project. Notches, dots, and symbols indicate where to match seams, pivot points, and other crucial construction details. Additionally, aligning the pattern pieces with the fabric’s grain line ensures that your shorts hang and drape correctly.
Constructing the Shorts: A Step-by-Step Odyssey
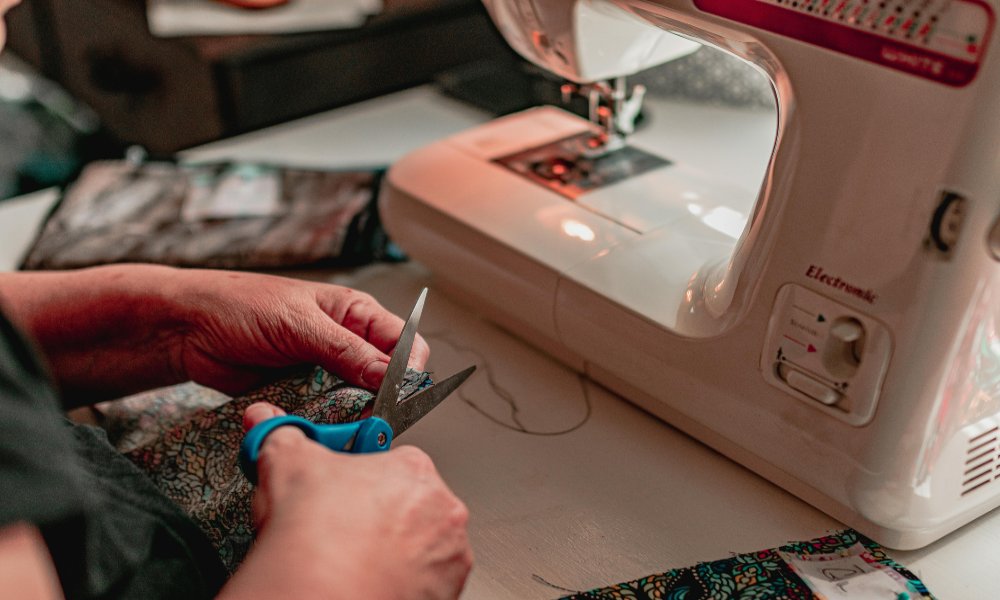
With your fabric and pattern pieces prepped, it’s time to embark on the construction journey. Brace yourself for a captivating odyssey of seams, darts, and waistband wizardry!
Assembling the Front and Back Pieces
Inseam Sorcery: Aligning the Crotch Seam
The crotch seam is the cornerstone of well-fitting shorts. Meticulously match the notches and seam allowances, ensuring a smooth transition from the front to the back pieces. Precision is vital in this critical step, as even the slightest misalignment can lead to discomfort and unwanted bunching.
Sculpting the Curve: Finessing the Rear Darts
Darts are the unsung heroes of garment construction, sculpting and shaping the fabric to flatter your form. When sewing the back darts, take your time and press each fold with care. A well-executed dart can transform an essential pair of shorts into a figure-flattering masterpiece.
Waistband Wizardry: Elastic or Encased?
The waistband is the crowning glory of your shorts, offering both comfort and style. Whether you opt for a traditional encased waistband or the ease of an elastic waist, attention to detail is paramount.
Drafting a Custom Waistband Pattern
For a truly personalized fit, consider drafting your waistband pattern. You can personalize the dimensions of your item, such as its width and height, and you can also include visually appealing features like belt loops or a contoured structure. This is a crucial stage where you can express your artistic side and showcase your imaginative skills.
Elasticized Inserts: The Comfy Conundrum
The insertion method can make or break comfort if you lean towards an elastic waist. A well-executed casing ensures the elastic moves freely without twisting or bunching. Alternatively, you can opt for an exposed elastic waistband, adding a touch of athleisure chic to your shorts.
Finishing Touches: Hems, Pockets, and Facings
As the building work draws to a close, it’s important to pay attention to the finishing details that can elevate your shorts from ordinary to exceptional.
Hems are more than just a practical necessity; they can also be a stylistic statement. Experiment with different hem techniques, from double-fold to decorative blindstitched or rolled hems.
Pockets are a functional and fashionable addition to any pair of shorts. Whether you opt for classic side pockets or a chic pocket-facing, follow the pattern instructions to ensure a flawless finish.
Facings are often overlooked but can be the secret weapon for achieving a professional look. Stitching and pressing the facings carefully is essential to make your handmade shorts look more refined, creating clean and sharp edges. Your shorts will have an added touch of sophistication that will leave a lasting impression.
Embracing Beginner Blunders and Sewing Snafus
Even the most experienced sewists have encountered their fair share of sewing snafus and beginner blunders. View these moments as chances to learn and endure.
Troubleshooting Common Pitfalls
From twisted seams to mismatched patterns, sewing hiccups are inevitable. However, many issues can be resolved with some problem-solving and creative thinking. Don’t hesitate to contact online sewing communities or consult trusted resources for guidance.
Seam Ripping: The Courage to Start Anew
Sometimes, the best solution is to start over. Seam ripping might seem daunting, but it’s a valuable skill that allows you to correct mistakes and achieve the desired result. Approaching the task with a positive mindset and patience is crucial, as every unpicked seam brings you closer to perfection.
Celebrating Imperfect Perfection
In the world of handmade garments, perfection is often found in imperfections. Embrace the quirks and idiosyncrasies that make your shorts uniquely yours. A lovingly sewn garment with charming irregularities is a testament to your skill and creativity.
FAQs
What is the best fabric for sewing shorts?
The best fabric choice depends on the desired style and fit. Cotton, linen, or lightweight denim are great options for casual, breathable shorts. Consider sturdier woven fabrics like twill or heavier-weight cotton for structured tailored shorts. Knit fabrics like jersey or French terry work well for cozy, stretchy shorts.
How do I adjust the pattern for a better fit?
Start by taking accurate body measurements and comparing them to the pattern’s sizing. Make any necessary adjustments by grading between sizes or using a fit muslin to identify areas that need tweaking. Standard adjustments include lengthening/shortening, altering the rise, or adding/removing ease.
Can I sew shorts without a pattern?
Absolutely! While patterns provide guidance, you can draft your shorts pattern by taking measurements and using an existing pair of well-fitting shorts as a template. This allows you to customize the fit, style, and details to your preferences.
How do I finish the raw edges on the shorts?
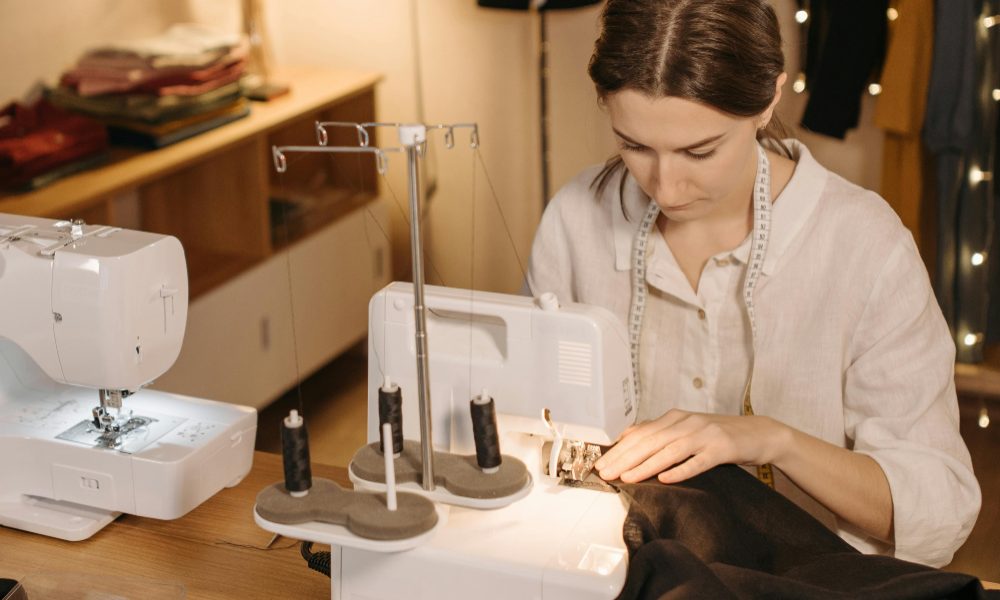
There are several options for finishing raw edges, including serging, using a zigzag stitch, or turning under and stitching a clean hem. You can leave the edges raw for knit fabrics and apply a stretchy stitch to prevent excessive fraying.
What is the best way to sew pockets on shorts?
The pocket construction method depends on the pattern and desired style. Side seam pockets are a standard option, but you can add patch pockets or pocket facings for a more tailored look. Carefully follow the pattern markings and instructions for a professional finish.
Conclusion
Now that you’ve conquered the art of sewing shorts, what other sewing challenges pique your curiosity? Perhaps a tailored blazer or a flowing summer dress? The possibilities are endless once you’ve mastered the fundamentals of garment construction.
Sewing is not only a functional ability but also an artistic opportunity that enables you to showcase your distinctiveness and style preferences. Embrace the journey, celebrate your successes, and wear your handmade shorts with pride, knowing that your own hands lovingly crafted each stitch.
So, what are you waiting for? Gather your supplies, follow this comprehensive guide, and embark on a sewing adventure that will transform ordinary fabric into extraordinary, personalized shorts that genuinely reflect your unique style.
***
Main image: pexels

