Have you ever struggled to sew a button back on a shirt or coat? Don’t worry, you’re not alone! Sewing on a button is a fundamental sewing skill that even experienced sewers find tricky sometimes. With the right supplies, techniques, and a little practice, you can master button sewing in no time. Read on for a complete step-by-step guide to sewing buttons.
Sewing on a button may seem intimidating, but it’s an essential basic sewing skill that every sewer should learn. Being able to replace a button quickly can save you money on clothing repairs and extend the life of your garments. Knowing how to sew flat, shank, and buttonhole buttons onto fabric properly ensures your buttons stay firmly attached. With a few household supplies and our detailed instructions, you’ll be sewing buttons like a pro in no time!
What You’ll Need
Before you can begin your button-sewing project, you’ll need to gather a few supplies:
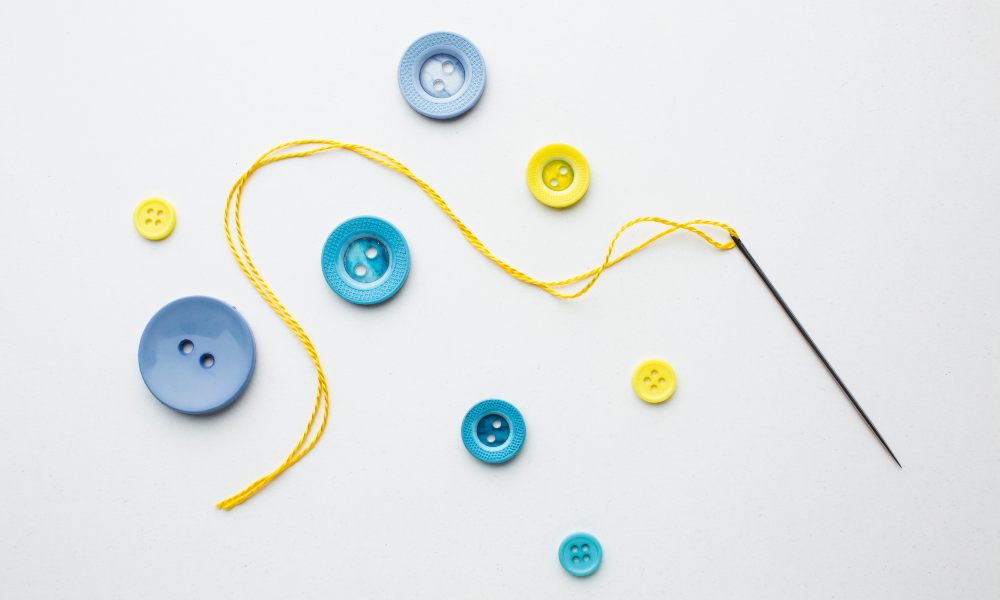
- Button – Match a spare button or find a replacement button of the same size and style.
- Needle and thread – Select a regular hand-sewing needle and an all-purpose thread in a color that matches your fabric and button. Thread should be double the thickness of your fabric.
- Scissors – Sharp scissors make cutting thread quick and easy.
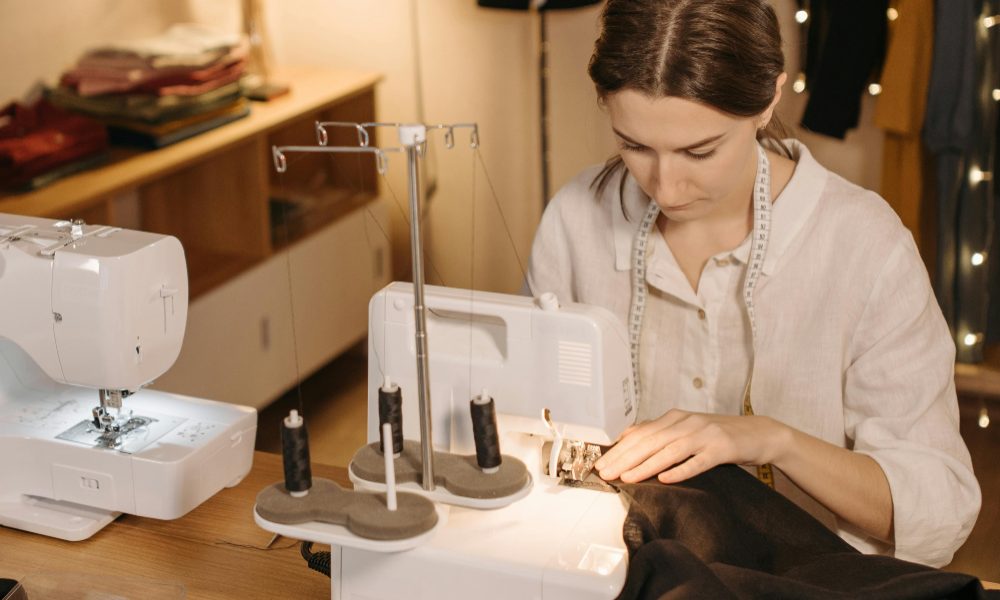
- Sewing machine or hand-sewing needle – A machine isn’t required but can simplify the process.
Types of Buttons
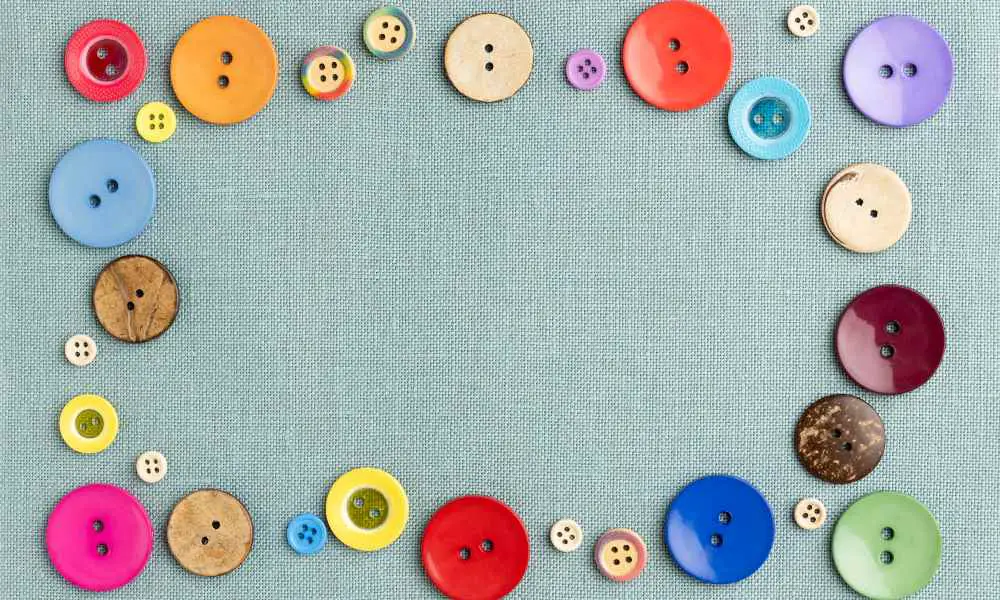
The technique for sewing a button varies slightly depending on the type of button:
Flat Buttons
Flat disc-shaped buttons with 2 or 4 holes are the most common. They lie flat against the fabric.
Shank Buttons
Shank buttons have a protruding loop on the back to provide space between the button and the fabric.
Buttonhole Buttons
Buttonhole buttons slide through a horizontal buttonhole slit in the fabric to fasten garments.
Preparing to Sew
Before sewing, take a moment to prep:
- Select thread – Match the thread color to your button and garment. Use heavier thread for thicker fabrics.
- Thread the needle – Double your thread and knot the ends. Insert through the eye of a needle.
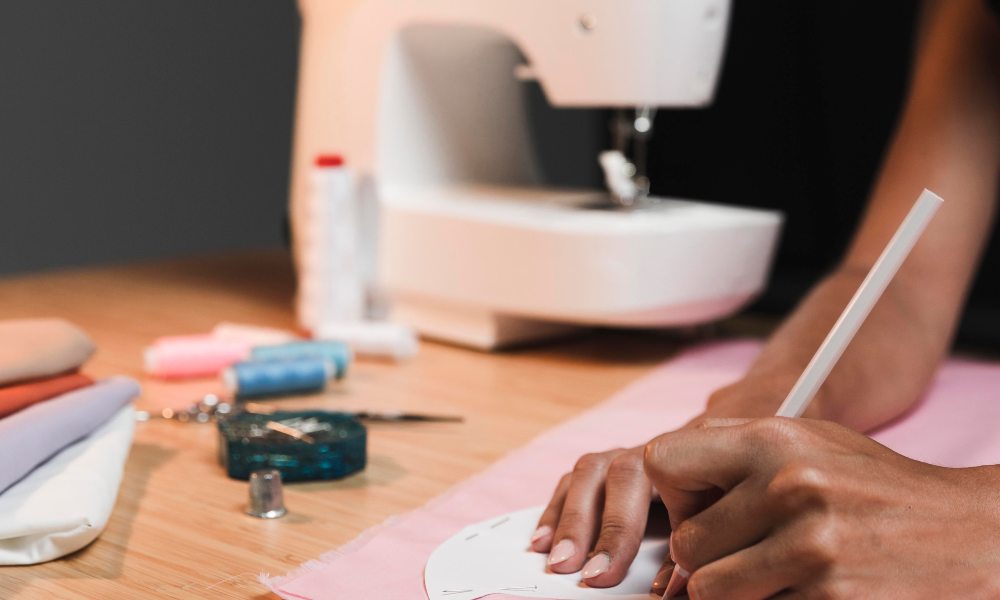
- Mark placement – Mark the placement with a pin or chalk where you want the button to align on the garment.
Sewing on Flat Buttons
Flat buttons are straightforward to sew using the following steps:
- Stitch through one hole into the fabric, leaving a long thread tail. Bring the needle back up through an adjacent hole.
- Stitch down into the fabric and back up through the opposite hole.
- Sew several anchoring stitches to secure the thread.
- On the underside, knot thread tails, then hide stitches with a few tiny reinforcement stitches.
Sewing on Shank Buttons
Shank buttons require a few extra stitches to catch the shank:
- Stitch through the bottom hole up into the shank loop.
- Insert the needle back down into the next hole, catching the thread.
- Repeat around all holes.
- Finish with anchoring and reinforcement stitches on the underside to hide thread tails.
Sewing Buttonholes
Sewing on buttonhole buttons takes a bit more effort:
- Set your machine to the zig-zag or buttonhole stitch setting. Adjust length and width as needed.
- Lower the buttonhole foot and align the garment under the foot.
- Carefully stitch along both long sides of the buttonhole slit.
- Cut the opening with a seam ripper or scissors.
- Secure thread ends with reinforcement stitches on the backside.
Tips and Tricks
Follow these handy tips when sewing on those pesky buttons:
- Use a thicker needle and thread to avoid pulling or snapping for thicker fabrics.
- When sewing on buttons, leave a small thread shank to allow space for thicker fabrics.
- Sew a spare button next to the existing buttons for a handy replacement!
- Don’t sew buttons too tight or they may pucker the fabric.
FAQs
What size needle should I use to sew on buttons?
Use a sharp needle in a small size, like 10-12, with an eye big enough for your thread to pass through easily. Match the needle to your fabric thickness.
How many stitches should I make when sewing a button?
4-6 anchoring stitches through the holes into the fabric are sufficient to secure the button. Add a few reinforcement stitches on the backside.
What if my button falls off again after sewing it?
If the button continues to come loose, use a thicker needle and thread. Also, make the stitches tighter and closer together, and knot the threads securely.
Should I sew on an extra button?
It’s always intelligent to sew on an extra spare button next to the others! That way, you have a backup ready when one falls off.
Can I use a sewing machine to sew on buttons?
Yes, you can use a buttonhole foot and basic zig-zag stitch. Adjust the stitch length and width for your button size.
Conclusion
Learning how to hand sew or machine sew buttons may take some practice, but it’s a valuable skill every sewer should have. With the right supplies and techniques for your button type, you can securely fasten replacement buttons and make repairs quickly. Start building your sewing skills by trying buttons on scrap fabric before moving on to garment projects.
Now that you know how to sew on basic flat, shank, and buttonhole buttons, what will your next button sewing project be? Share your button sewing tips and experiences in the comments!
***
Main image: freepik

