Have you ever admired a quilt that exudes an aura of polished perfection, its edges neatly encased in a harmonious binding? Binding is more than just a finishing touch; it’s the final flourish that transforms a quilt top into a masterpiece. Join me as we delve into the intricate world of quilt binding and unravel the secrets behind this essential quilting technique.
Unveiling the Mystery: Why Binding Matters for Quilts
The Aesthetic Appeal
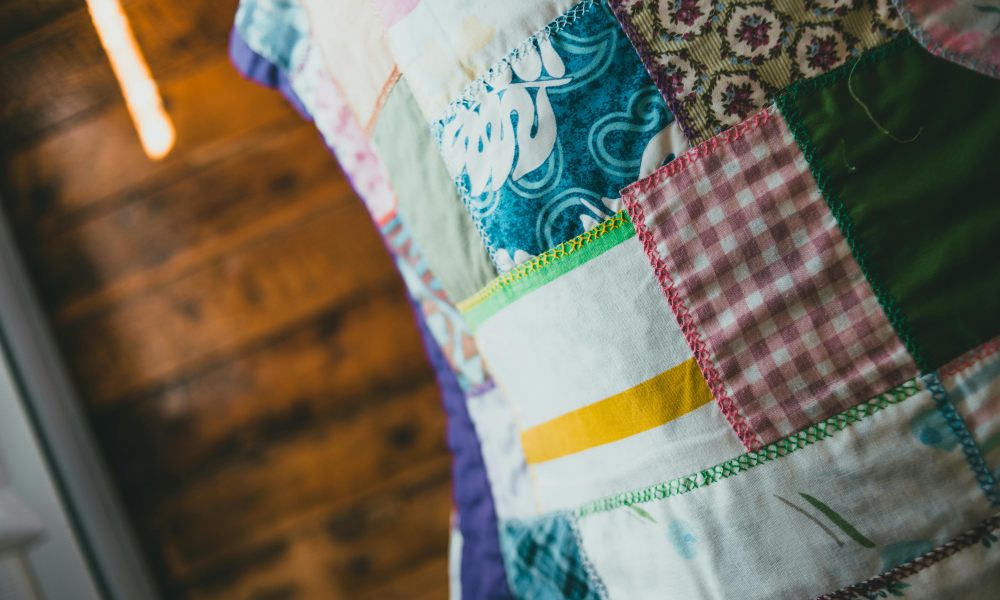
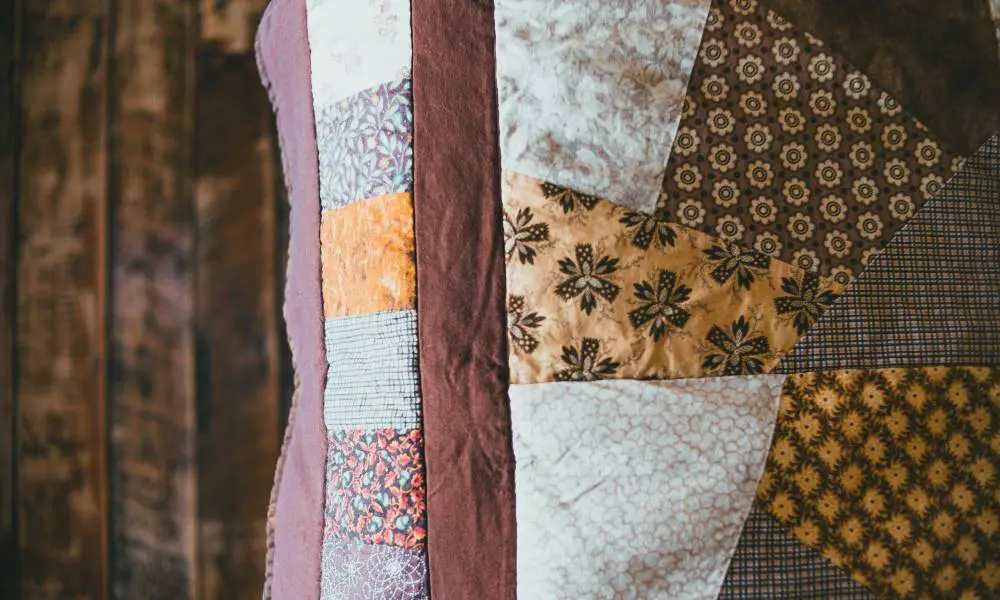
Binding is the frame that encapsulates your quilt, accentuating its beauty and adding a polished, cohesive look. The finishing touch elevates your creation from mere fabric layers to a work of art. Imagine a painting without a frame – binding is the quilter’s canvas frame, enhancing the visual appeal and drawing the eye to the intricacies of your quilt pattern.
Protecting the Raw Edges
Beyond aesthetics, binding serves a practical purpose: safeguarding the raw edges of your quilt from fraying and unraveling. Without binding, the exposed edges would gradually deteriorate, compromising the integrity of your hard work. Binding is a barrier, ensuring your masterpiece remains intact and cherished for generations.
Preparing the Binding Strip
Before beginning the binding process, you’ll need to prepare the binding strip—the fabric strip that will encase the quilt’s edges.
Cutting Fabric Strips
The first step is to cut fabric strips from a complementary or contrasting binding fabric. The width of these strips is typically between 2.25 and 2.5 inches, depending on your preference and the desired finished width of the binding. For accurate and even strips, employ a quilting ruler and rotary cutter.
Joining the Strips
Once you have the required number of fabric strips, it’s time to join them together. Align the short ends of two strips at a 90-degree angle, right sides together. Stitch diagonally across the seam allowance, creating a seamless, continuous binding strip. Repeat this process until you have one long strip.
Determining the Binding Length
To calculate the binding length, measure the perimeter of your quilt top and add an extra 12-18 inches to account for mitered corners and the binding tail. This ensures enough fabric to wrap around the entire quilt edge with some wiggle room.
Machine Binding: A Seamstress’s Best Friend
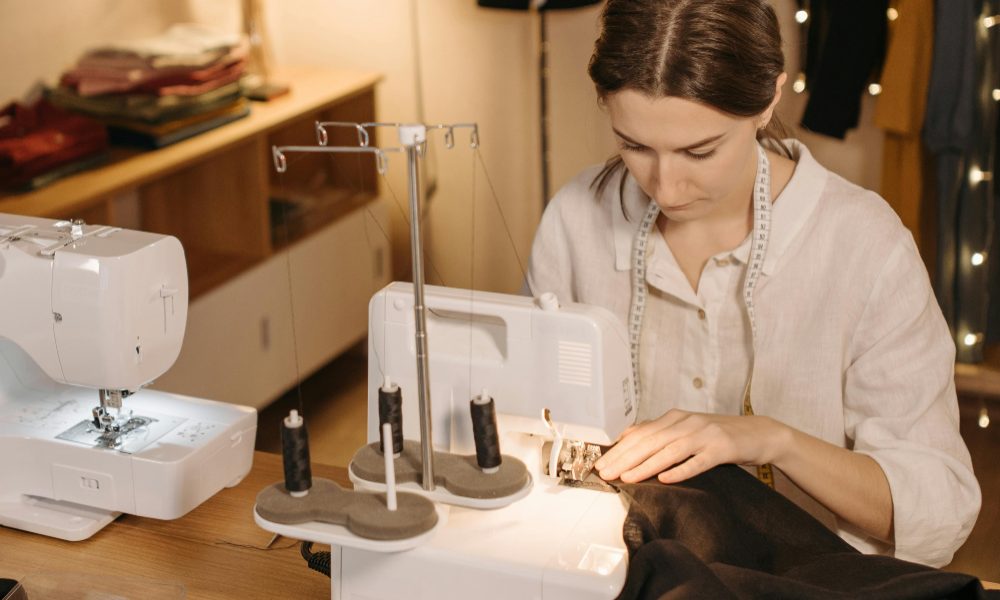
Machine binding is a time-saving technique for attaching binding to a quilt top precisely and efficiently.
Attaching the Binding

With the right side of the binding facing the right side of the quilt top, align the raw edges and stitch using a 1/4-inch seam allowance. Leave a small gap for joining the binding ends later.
Mitering the Corners
Adding mitered corners to your binding can give it a polished and expert look. Fold the binding at a 45-degree angle at each corner, creating a diagonal crease. Stitch from the edge to the crease, securing the mitered corner.
Wrapping and Stitching the Binding
Once you have attached the binding to the top of the quilt, you can fold it over the raw edge and stitch it in place from the front. Make sure to catch the binding on the back as you stitch it. Use a walking foot or binding clips to ensure even feeding and prevent shifting.
The Art of Hand-Stitching Binding
For a traditional approach, hand-stitching binding adds a touch of elegance and a personal touch to your quilt.
Folding and Pressing the Binding
To achieve a tidy and well-organized edge, fold the binding over the unprocessed edge towards the rear of the quilt. Press the binding with an iron to set the crease.
The Invisible Appliqué Stitch
With the help of a hand sewing needle and thread, make tiny stitches that are not visible through the binding and the quilt backing. The stitches should be virtually undetectable on the quilt top, creating a seamless finish.
Securing the Binding Tail
At the end of the binding, fold the excess fabric into a neat binding tail and hand stitch it in place, securing the binding and preventing unraveling.
Binding Tips and Tricks for Flawless Finishes
Walking Foot Quilting
Walking feet are a quilter’s best friend when it comes to binding. This specialized presser foot evenly feeds the layers through the sewing machine, preventing shifting and puckering.
Binding Clips: A Quilter’s Handy Helper
Binding clips are small plastic or metal clips that hold the binding in place while you stitch, ensuring a precise and even application.
Glue Basting for Perfectly Crisp Edges
Consider glue-basting the binding to the quilt top before stitching for a crisp, flawless finish. This temporary adhesive holds the binding in place, preventing shifting and ensuring a seamless edge.
FAQs:
What is the ideal width for quilt binding strips?
The standard width for quilt binding strips ranges from 2.25 to 2.5 inches, depending on your preferred finished binding width.
How do I calculate the binding length for my quilt?
Measure the perimeter of your quilt top and add an extra 12-18 inches to account for mitered corners and the binding tail.
Is it possible to use a standard presser foot for machine binding?
While you can use a regular presser foot, a walking or even-feed foot is highly recommended for machine binding to prevent shifting and puckering.
Is it better to use single-fold or double-fold binding?
Double-fold binding is more common and provides a neat, finished look on both sides of the quilt. Single-fold binding is sometimes used for a more rustic, casual appearance.
How do I keep my mitered corners neat and precise?
Mark the mitered corner positions on the binding strip, fold the binding at a 45-degree angle and stitch from the edge to the crease. Binding clips can also help hold the mitered corners in place.
Can I use a different fabric for the binding than the quilt top?
Absolutely! A contrasting or complementary binding fabric can add color and visual interest to your quilt.
How do I avoid lumpy or uneven binding?
Glue-basting the binding to the quilt top before stitching can help prevent shifting and ensure a smooth, even application. Using binding clips or a walking foot can also help.
What is the best thread to use for hand-stitching binding?
Thread weight and color choice are personal preferences, but many quilters prefer a lightweight thread in a color that blends with the binding fabric for an invisible look.
Embrace the Binding Tradition: A Quilter’s Legacy
Binding is more than just a finishing touch; it’s a tradition passed down through generations of quilters. The creation of a quilt involves careful stitching and folding, which showcases the artist’s commitment and skill. Each fold and stitch is a testament to the dedication and artistry required for making a quilt. As you complete your binding, take a moment to appreciate the journey and the legacy you’re carrying forward.
Whether you’re working on a baby quilt, a computerized quilting project, or a traditional quilt alone, the binding is the crowning glory that brings your creation to life. Embrace the art of binding, and let your creativity shine through in every stitch.
Are you ready to elevate your quilting game with beautifully bound masterpieces? Share your binding triumphs and challenges in the comments below!
***
Main image: pexels


