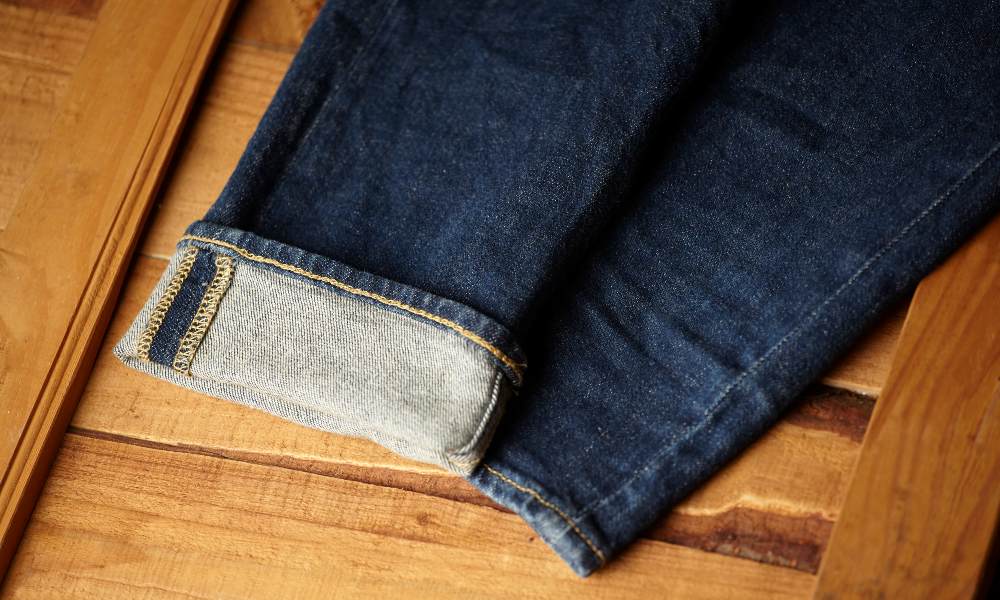
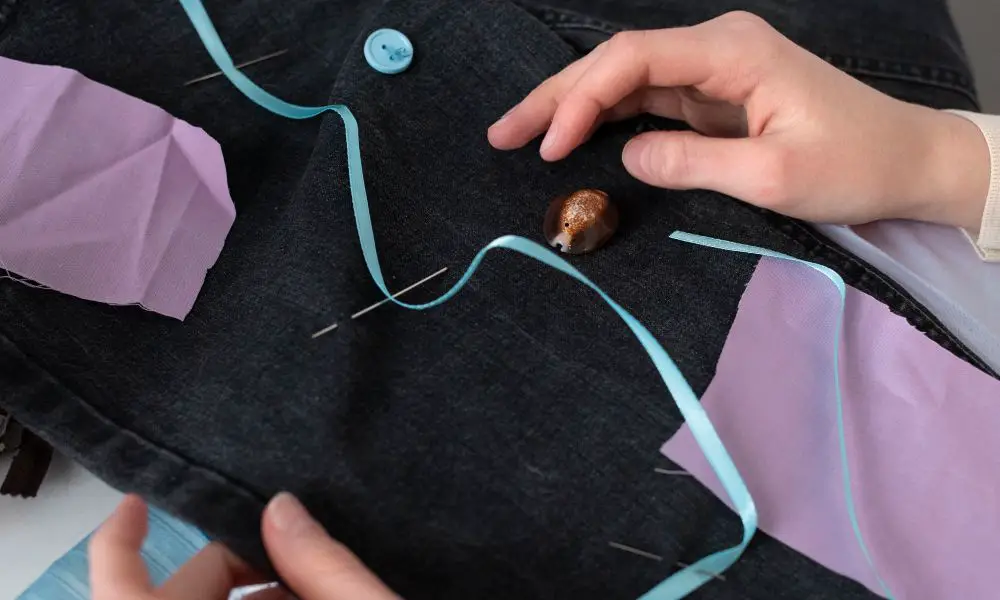
Hemming pants without sewing is a hassle-free way to achieve the perfect fit. Whether you lack sewing skills or need a quick fix, these no-sew methods are a game-changer.
Here’s how to get that crisp, professional hemmed look without ever picking up a needle and thread:
- Use iron-on hem tape or fabric adhesive
- Try the no-sew hem hack with household items
- Go temporary with fabric clips or binders
- Embrace the casual chic with a simple knot
- Fold up and secure with fashion tape
No sewing machine required! Just a few household supplies can instantly hem too-long pants. Keep reading to learn multiple easy techniques that’ll have you out the door in properly fitting pants.
Can’t wait to transform your closet with these fuss-free hem hacks? Let me know in the comments!
Why Hem Pants Without a Machine?
While sewing machines are undoubtedly efficient for hemming tasks, they’re not always readily available. Fortunately, there are several compelling reasons why you might want to consider hemming pants without a machine:
- Convenience for Quick Fixes: Sometimes, you need a quick solution to adjust the length of your pant leg, and setting up a sewing machine might be more trouble than it’s worth.
- Cost-Effective Solution: Avoiding the need for a sewing machine eliminates the associated costs, making it a budget-friendly option.
- Ideal for Temporary Adjustments: If you’re only looking for a temporary adjustment or want to test out a new length before committing, hemming without a machine offers the perfect solution.
- Perfect for Travel or On-the-Go Needs: When you’re on the road or in a pinch, having a no-sew hemming technique in your arsenal can be a lifesaver.
Required Tools and Materials
Let’s ensure we have all the required tools and materials before proceeding with the step-by-step process.
- A pair of pants that need to be hemmed (jeans, dress pants, etc.)
- An iron and ironing board (or a flat, heat-resistant surface)
- Sharp fabric scissors or regular sewing scissors
- Straight pins or fabric clips
- Iron-on hemming tape or fabric adhesive
- A ruler or measuring tape
To guarantee a seamless and fruitful hemming process, it is imperative to possess these necessary items.
Step-by-Step Guide
Prepare the Pants

Preparing the pants for hemming should be your first step. Try on the pants and mark the desired length with a fabric pencil or chalk. Should you wish, it is possible for you to enlist the help of a friend or family member to ensure that your measurements are accurate. After marking the intended length, remove the pants and place them on a tidy surface, ensuring they are flat.
Create a Crease
Next, it’s time to create a crease at the desired hemline. Fold the fabric at the marked line, creating a clean, crisp fold. Use an iron to press the fold, ensuring that the crease is well-defined and holds its shape. This is a vital step as it will guide your newly hemmed item.
Secure the Hem
Now, you have two options to secure the hemmed area:
Option 1: Iron-on Hemming Tape Iron-on hemming tape is a product that is both versatile and easy to use. It is designed to help you achieve a professional-looking hem without sewing. Simply follow the manufacturer’s instructions to apply the tape along the folded edge of the hem. Then, use the iron to fuse the tape to the fabric, effectively securing the hem.
Option 2: Apply Fabric Adhesive If you prefer a more traditional approach, you can use fabric adhesive to secure the hem. Apply a thin line of adhesive along the folded edge, being careful not to over-apply. Then, carefully press the folded fabric onto the glue, smoothing it out.
Whichever option you choose, follow the product instructions carefully for the best results.
Finish and Set the Hem
Once you’ve secured the hem in place, use the iron to press the hemmed area once more. This final pressing will help set the hem and ensure a crisp, polished look. Allow the hemmed pants to cool completely before wearing them to avoid any potential fabric distortion or damage.
Tips and Tricks
To enhance your no-sew hemming experience, here are a few tips and tricks to keep in mind:
- Use a Hem Gauge: An instrument known as a hem gauge can be helpful when striving for precise measurements and consistent hem depths. It’s an inexpensive investment that can significantly affect the final result.
- Opt for Temporary Adhesives: If you’re unsure about the desired length or want the ability to easily adjust the hem later, consider using temporary fabric adhesives or iron-on tapes. These products allow for easy reversibility, giving you the flexibility to make changes as needed.
- Experiment with Different Hem Depths: Depending on your style and the occasion, you might want to experiment with different hem depths. A shorter hem can give a more casual, relaxed vibe, while a longer hem can create a more formal and polished look.
- Consider Double-Fold Hems: If you desire a hem that is more refined and long-lasting, you may consider a double-fold hem. This method entails folding the unfinished edge of the fabric twice and then fastening it with hemming tape or adhesive.
- Use Seam Rippers for Existing Hems: If you’re working with pants with an existing hem, before starting the no-sew hemming process, it is necessary to use a seam ripper to cautiously pull out the stitches.
FAQs
Can I use this method to hem jeans?
Absolutely! This no-sew hemming technique works great for all pants, including jeans. Use a heavy-duty fabric adhesive or iron-on tape suitable for denim.
How long will the no-sew hem last?
The longevity of the hem depends on the quality of the materials used and how well the instructions are followed. Generally, a no-sew hem can last for several wears, but it may not be as durable as a traditional sewn hem.
Can I use regular glue instead of fabric adhesive?
Regular glue is not recommended for hemming pants. Regular glue may not adhere well to the fabric and could leave stains or stiffness. Stick to fabric-specific adhesives or iron-on tapes for best results.
What if I don’t have an iron?
An iron is essential for creating a crisp crease and setting the hem. However, if you don’t have access to an iron, you can try using a heavy book or a heat-resistant flat surface to press the folded fabric.
Can I use this method to shorten sleeves or other garments?
Yes, the principles of this no-sew hemming technique can be applied to shortening sleeves, skirts, or other garments. Just be sure to adjust the measurements and folding techniques accordingly.
Conclusion
Who knew hemming pants could be easy and hassle-free without a sewing machine? By following this comprehensive tutorial, you’ve armed yourself with the knowledge and techniques to achieve a polished look, regardless of whether you have access to a sewing machine. No more waiting for the tailor or struggling with complicated sewing patterns – you’re now equipped to take matters into your own hands and create the perfect pant length for any occasion.
So, the next time you need a quick hem adjustment, remember this guide and embrace the freedom of hemming without a sewing machine. Give it a try, and let us know how it goes! Do you have any additional tips or tricks for no-sew hemming? Feel free to share your experiences with us by leaving a comment below.
***
Main image: freepik


