Have you ever lost a button on your favorite pair of jeans or trousers and didn’t know how to sew it back on properly? Loose buttons on pants can be annoying and look sloppy, but it’s an easy fix you can do yourself with just a needle and thread.
What You Need
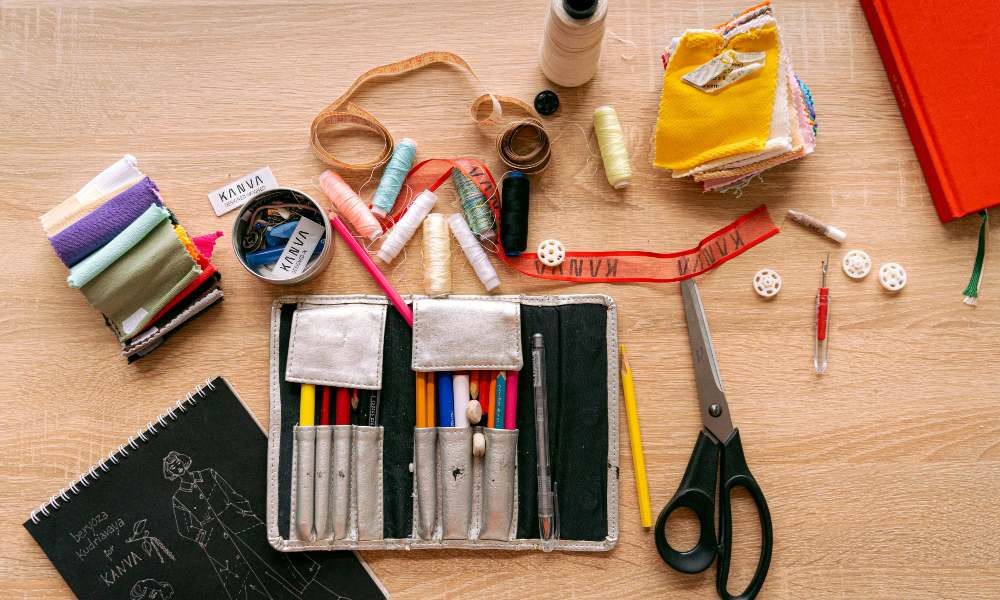
Before you begin replacing buttons on pants, make sure you have the necessary supplies:
- A button that matches the lost one or is similar in size and style
- Needle and thread – embroidery floss or regular thread work. Make sure the thread matches the color of the jeans or pants fabric.
- Scissors
- The pants with the missing button – this can be jeans, trousers, khakis, etc.
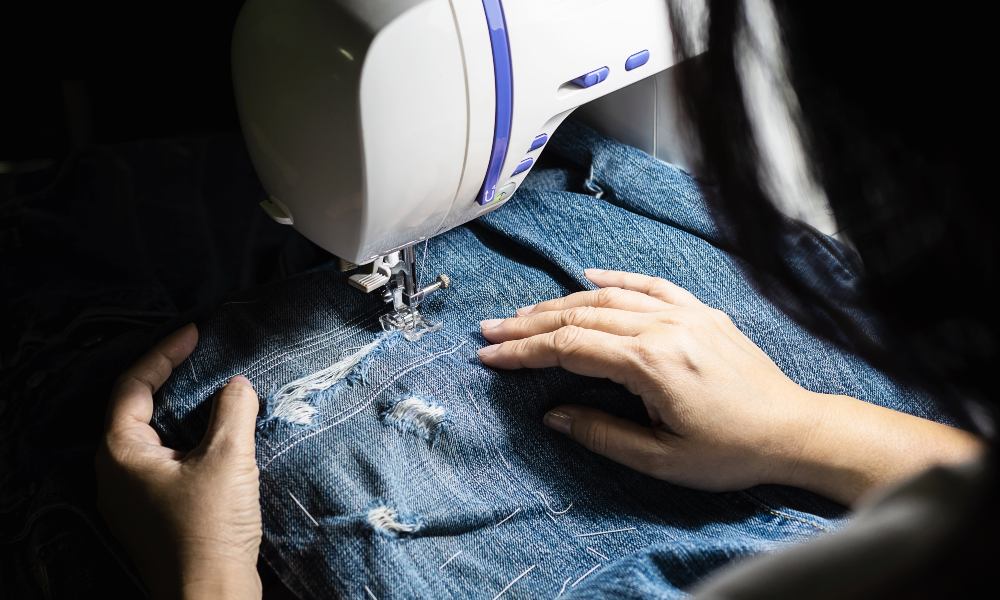
Prepare the Pants
Once you have all the sewing supplies ready, the next step is to prepare the pants for attaching the new button:
- Locate the spot where there is typically a button sewn on. You can use the remaining buttons/buttonholes as a guide.
- Make sure that the area lies flat and is not bunched up by ironing it if necessary. Remove any stray threads.
- Check to see if the old shank or base of the button is still attached to the waistband piece or if you will need to attach the new shank button from scratch using the steps below.
Sewing on a 1-hole or 4-hole Button

The technique for sewing both single-hole flat buttons and 4-hole buttons onto pants is the same:
Step 1
- Commence the button-sewing process by guiding the thread through the needle’s eye, finishing with a firm knot at the thread’s end. Doubled embroidery floss or thicker thread works best for denim buttons. A regular thread works, too.
- Position your button where you want it – often aligning it with the remaining buttons or lining it up to reconnect with the existing buttonhole is best. The button should face the inside part of the pants fabric so the holes go through to the front outer facing side.
Step 2
- Bring your threaded needle down through one buttonhole from the front side through to the back side of the fabric.
- Then, bring it up through the next hole and so on, crisscrossing between each hole diagonally.
- For single-hole flat buttons, simply go down through the hole to the backside of the fabric and then sew a few perpendicular securing stitches.
Step 3
- Once your button and pants fabric is secure, knot your thread tightly on the underside/interior right side of the pants fabric a few times.
- Cut away excess thread.
- Check the button to make sure it is on tightly by giving it a gentle tug.
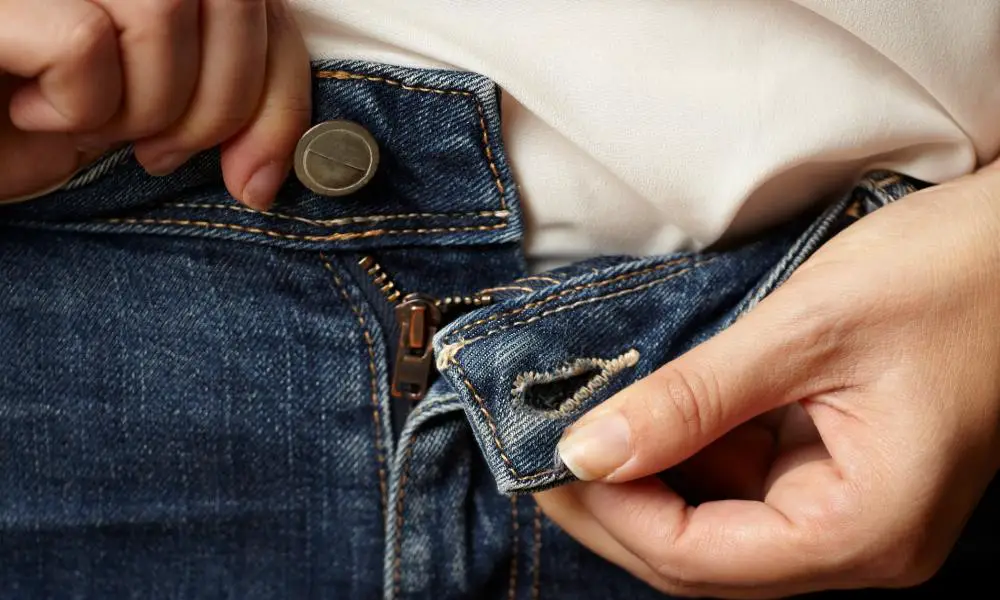
Sewing on a 2-hole or Shank Button
Sometimes you may need to replace a button on pants that has a 2-hole shank style button. In that case, follow these instructions:
- Thread your needle as described above.
- Follow the crisscross diagonal stitching between the two holes.
- Wrap your thread around the shank 4-5 times between hole stitches to reinforce it.
- Knot tightly as above on the interior side of the fabric.
This will secure the shank button tightly to the top of the pants waistband, belt loop, or interior placket, facing securely.
Finishing Touches for Your Button Repair
Once you have sewn on your replacement jean button or pants button using the method described above, finish up with these last steps:
- Check the tightness of your stitching and give the button an excellent tug to make sure it is on solidly.
- Consider adding a spare button to the interior seam allowance or primary sidebar of your pants using the same technique. This way, you have a backup ready when needed!
- Be extra gentle when doing laundry to avoid snagging the repair stitches.
- Check back periodically to ensure the replacement button stays securely fastened.
Mastering hand-sewing buttons is an essential ability that allows cost-effective upkeep of garments. With this skill, you’ll be able to promptly restore lost buttons on various items like jeans, trousers, and more.
FAQ
What type of needle should I use to sew buttons?
Use a sharp needle with a small eye, like a jeans needle. Regular sharps or microtex needles also work well.
What is the best thread to use for sewing pant buttons?
Use a strong thread like embroidery floss, topstitch, or button thread. Match the thread color to your pants.
How do I make my button repair blend in?
Try to match your replacement button style, color, and size to the existing ones. Use thread that matches the pant’s color.
How can I stop the button stitching from unraveling?
Secure your thread by knotting tightly on the underside of the fabric. You can also apply a dot of clear nail polish.
What if my pants don’t have an extra button like for a replacement?
Sew a spare button along the inside seam allowance for future easy access.
Can I glue a button back on my pants instead?
Glue often doesn’t hold up through laundering. Hand sewing ensures a durable connection.
What if I don’t know how to sew?
Many tailors offer quick, inexpensive repairs for sewing simple fixes like buttons.
How will I know if my button was sewn on properly?
Check your button security by gently tugging. It shouldn’t detach. Sturdy stitching is critical!
Questions to Consider
What creative temporary solutions have you tried for a missing pants button in a pinch, like safety pins or duct tape? How did they hold up? Share your best tips in the comments!
***
Main image: freepik