Have you purchased a new sewing machine but still find yourself puzzled when staring at its buttons and knobs? Learning to use a sewing machine may seem daunting at first, but with some knowledge about how sewing machines work and hands-on practice, you’ll be stitching up creative projects in no time.
A Brief History of the Sewing Machine
Before diving into how to thread and operate a sewing machine, let’s overview a quick history of these revolutionary inventions. Thomas Saint, a British inventor, was the first person to patent a sewing machine in 1790. However, the design failed to replicate hand sewing successfully.
It wasn’t until 1830 when French tailor Barthélemy Thimonnier introduced the first practical sewing machine. His machine used a hooked needle and could stitch hundreds of times faster than hand sewing. Thimonnier opened a factory of sewing machines in Paris, but riots from French tailors who feared unemployment destroyed his business.
The sewing machine industry took off in America during the 1850s as inventors like Elias Howe and Isaac Singer began developing home sewing machines. By 1860, over 30,000 machines were already in use. Early electric sewing machines arrived in the late 1800s, and Singer helped popularize foot pedal controls in the 1870s.
The first computerized sewing machines appeared in the 1960s and 70s. Now, innovative features like automatic needle threaders and adjustable stitch settings allow anyone to achieve professional results right at home on their sewing machine.
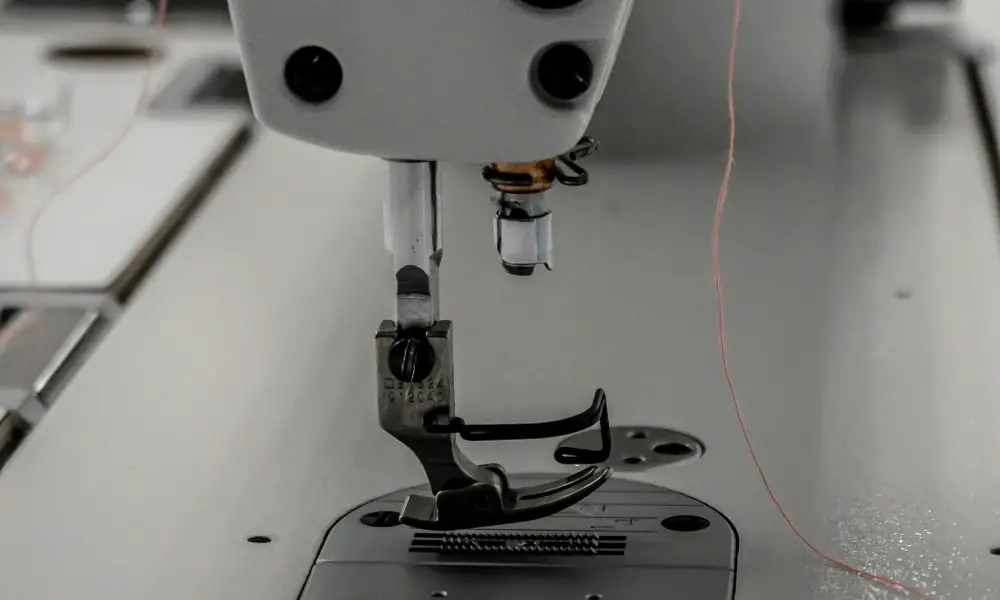
Anatomy of a Sewing Machine
All sewing machines, from vintage mechanical models to advanced computerized versions, share some common parts and components. Getting familiar with the anatomy of a sewing machine will help demystify the process.
The Main External Parts
The hand wheel – Located on the right side of the machine, this wheel manually raises and lowers the sewing machine needle. You’ll turn the hand wheel toward you to raise and lower the needle when threading the machine or pivoting fabric.
Spool pins – Found at the top of the machine, these are horizontal pins on which you’ll place the thread spools to feed thread to the needle.
Bobbin winder – This mechanism on the top allows you to load an empty bobbin and fill it with thread.
Stitch length and width controls – Stitches’ length and width can be modified to accommodate different techniques. This is typically done via a numbered dial.
Foot pedal – This pedal on the floor controls the speed and operation of modern sewing machines. Press down to start the machine and release to stop.
Inside the Sewing Machine
The hook/bobbin case – Houses the bobbin and holds the bottom thread in tension.
Feed dogs – The teeth under the needle plate that grab and advance the fabric as you sew.
Needle bar and needle clamp – Holds the sewing machine needle and connects it to the shaft that moves it up and down.
Take-up lever – Tension spring that pulls the upper thread up from the needle.
Accessories and Presser Feet
Presser foot – The attachment on the front that holds fabric flat as it’s fed through the machine. It can be swapped out.
Presser feet – Specialty feet for techniques like zippers, hemming, quilting, etc.
Needles – Come in different types and sizes for other fabrics.
Bobbins – Hold the bottom thread; always match the size to a specific sewing machine model.
Seam ripper – For cutting and removing stitches.
Scissors – For cutting thread and trimming fabric.
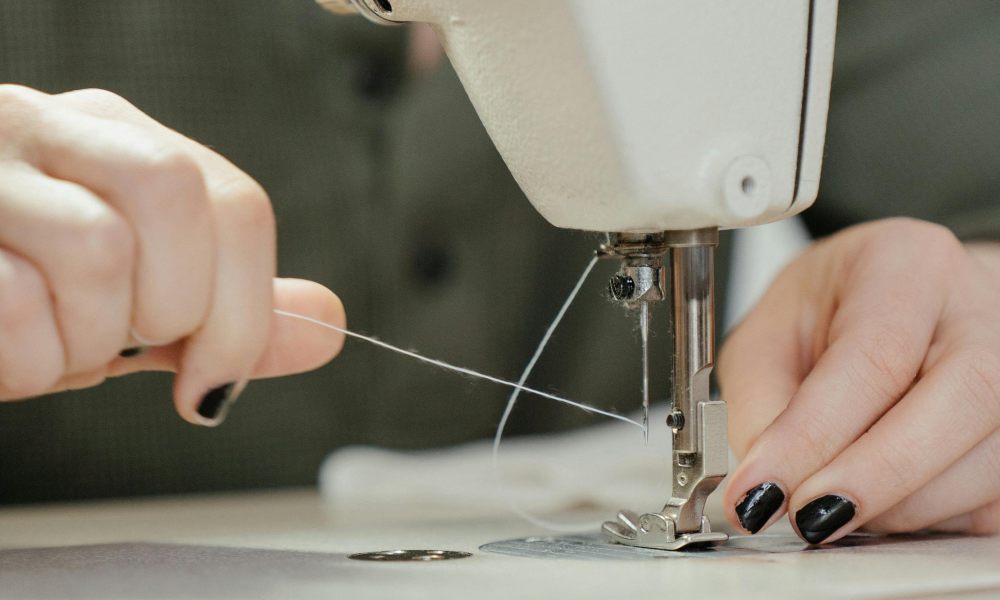
How to Thread a Sewing Machine
One of the first skills to master is properly thread both the top and bottom of the sewing machine. Follow these steps to get your machine ready to sew:
- Raise the presser foot to release pressure on the needle plate.
- Place the thread spool on the appropriate spool pin, either horizontal or vertical, depending on the machine.
- Start by pulling the thread through the top thread guide. Then, move towards the back as you continue to thread the needle.
- Wrap the thread around tension discs if applicable.
- Thread down through the take-up lever.
- Bring the thread through the needle bar thread guide.
- Finally, pull the thread through the sewing machine needle from front to back and leave a 6-inch tail.
- Wrap the thread around the bobbin case spindle and wind until it is full to thread the bobbin.
- Position the bobbin in its case so the thread unrolls counterclockwise.
- Pull the thread through the slit and under the tension spring.
- Leave a 6-inch tail, then close the bobbin cover.
- Hold tails and turn the hand wheel to raise/lower the needle to catch threads.
Sewing Machine Settings

Once threaded, there are a few key settings to check before starting any sewing project:
Stitch length – Turn the numbered dial to adjust the stitch length up or down based on project needs. It is shorter for delicate fabrics and longer for heavy fabrics like denim.
Stitch width – Make stitches close together or spread apart as needed. Keep close for seams and increase for decorative stitches.
Tension – Good tension prevents tangled, messy stitches. Adjust if needed until the top and bottom threads interlock well in the middle of the fabric.
Stitch selection – Choose straight, zigzag, or decorative stitches with the turn knob. Start with a basic straight stitch for sewing seams.
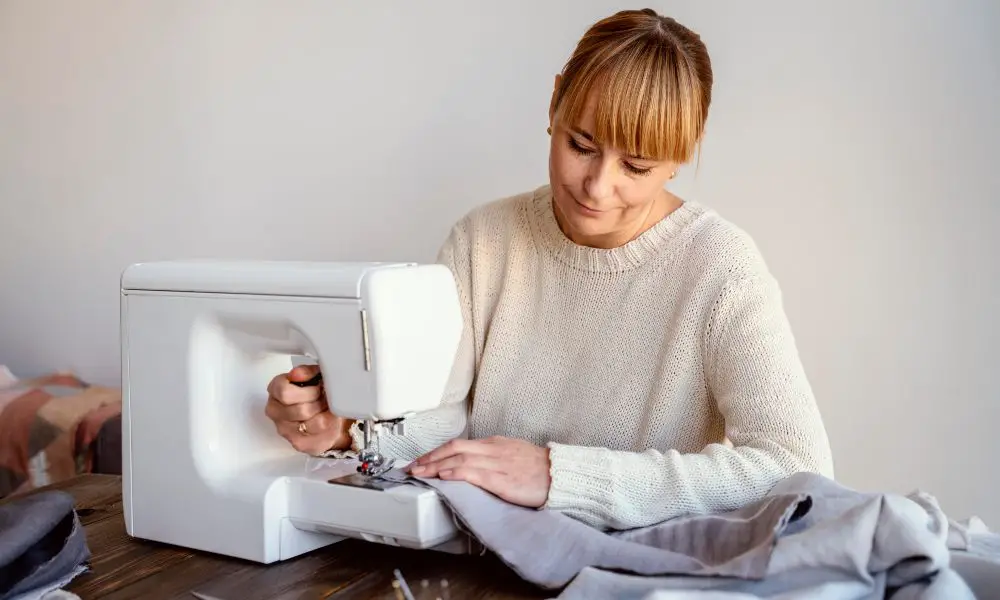
Using the Foot Pedal and Controls
One significant ‘aha’ moment for beginners is properly controlling sewing speed with the foot pedal. Follow this pedal practice:
- Press the foot pedal lightly to start sewing slowly.
- As you gain confidence, press harder to speed up.
- Release fully when stopping to lock the needle in place.
- Use the reverse sewing button to backstitch for a stronger seam.
- Press the presser foot lever to lower or raise the presser foot.
Taking it slow at first will allow you to guide the fabric and turn curves more easily. LET the sewing machine do the hard work – just gently steer!
Basic Sewing Techniques to Master
Once you have the basics down, it’s time to try stitching up some projects while practicing foundational sewing skills.
Straight Stitch – For seams, hems, and more. Length 2.5-3 is a good starting point. Align the fabric edge and sew within the seam allowance.
Zigzag Stitch – For finishing raw edges on fabrics that fray. Width adjustment prevents tunneling on delicate fabrics.
Buttonholes – Follow your sewing machine’s instructions to sew automatic, consistent buttonholes.
Blind Hem – Makes invisible hems on skirts and pants. Use the blind hem foot and zigzag close to the folded edges.
Don’t get discouraged with puckered seams or tangled threads at first. Perfection comes with time and practice operating a sewing machine. Focus on learning how your machine runs before worrying about perfect results. Soon, you’ll be zipping through basic sewing projects!
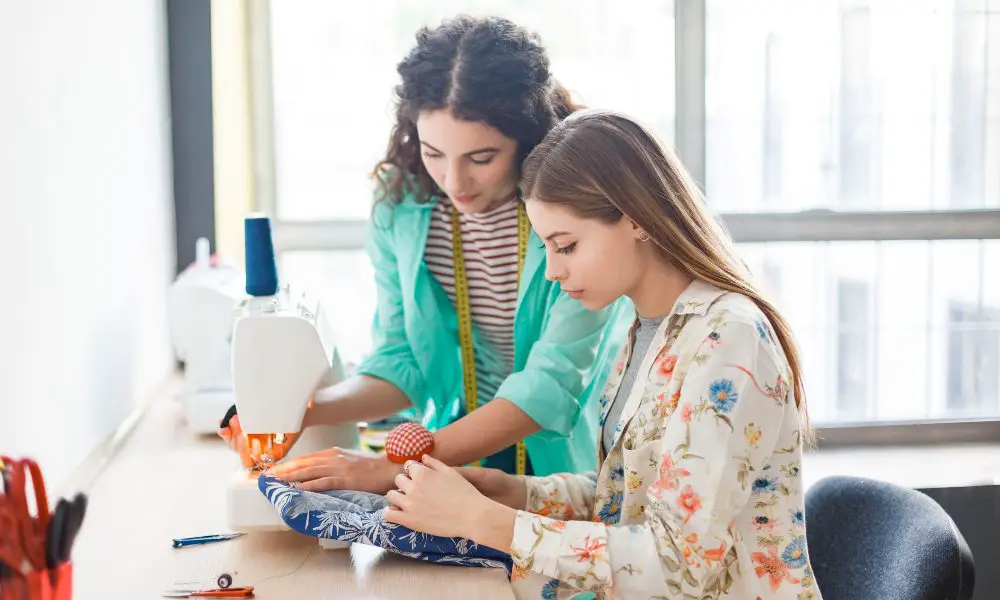
Tips for New Sewers
Sewing on a machine opens up infinite creative possibilities, from clothing to crafts and home decor. Here are some tips to get started as a beginner:
- Start with easy, woven fabrics like cotton prints. Avoid slippery materials for now.
- Find a simple pattern – like pillows or tote bags – to build confidence.
- Change sewing machine needles often and match the size to the fabric weight.
- Follow the manual to troubleshoot if the machine jams, skips, stitches, or breaks thread.
- Invest time getting comfortable controlling speed with the foot pedal.
- Don’t sew over pins! Remove each pin just before reaching it.
Learning any new skill requires patience with yourself. Soon enough, you’ll gain skill and be able to focus less on the mechanics and more on creativity.
Next Steps After Learning the Basics
Once you’ve mastered the fundamentals, an exciting new world of sewing possibilities opens up! Here are some next steps to expand your skills:
- Try different specialty presser feet like zipper, cording, and piping feet.
- Experiment with built-in stitches like stretch, blanket, and heirloom.
- Feel empowered to sew faster and run multiple projects through your machine quickly.
- Learn to read and follow commercial sewing patterns.
- Practice free-motion quilting if you have a quilting machine.
- Upgrade to an embroidery machine to add beautiful detail to your sewing projects.
- Learn to alter and mend existing clothes and linens.
As your experience grows, so will your enjoyment of machine sewing and your ability to complete more ambitious projects with professional results.
FAQs
What is the best beginner sewing machine?
Look for an entry-level mechanical machine that offers basic stitches. Computerized options often have too many features. Go for a quality brand like Singer, Brother, or Janome.
How do I thread a sewing machine?
Follow the threading guide, bringing thread through the top guide, tension discs, take-up lever, and needle. Insert bobbin case so the thread unrolls counterclockwise.
Why are my stitches skipping?
This is usually caused by improper threading, hitting pins, dull or improper needle size, or poor-quality thread. Re-thread carefully, change the needle and use higher quality all-purpose thread.
What sewing machine foot is best to start with?
A standard all-purpose presser foot will work for most basic sewing. It has a wide opening to accommodate various stitches.
What fabric is best to learn?
Choose woven fabrics like quilting cotton in a medium weight. Avoid slippery satin or delicate lace as you are learning.
Conclusion
Learning to sew on a machine allows you to fully tap into your creativity and make items exactly how you envision them. While the process may seem complicated to a beginner, taking the time to understand how a sewing machine operates will give you confidence and open unlimited doors for what you can craft.
What first sewing project do you want to try making? Have any tips for fellow beginners who are just learning to use a sewing machine? Share your experiences in the comments!
***
Main image: freepik