Have you ever marveled at the impeccable seams on high-end garments, smooth and flawless, without a single thread peeking out? The French seam is a sartorial secret that elevates any sewing project, from chic dresses to crisp table linens. This meticulous technique imparts a polished finish and encases raw edges, ensuring your masterpiece endures the test of time. Prepare to unlock the mysteries of this exquisite seam finish and elevate your sewing game to new heights.
The Beauty of French Seams
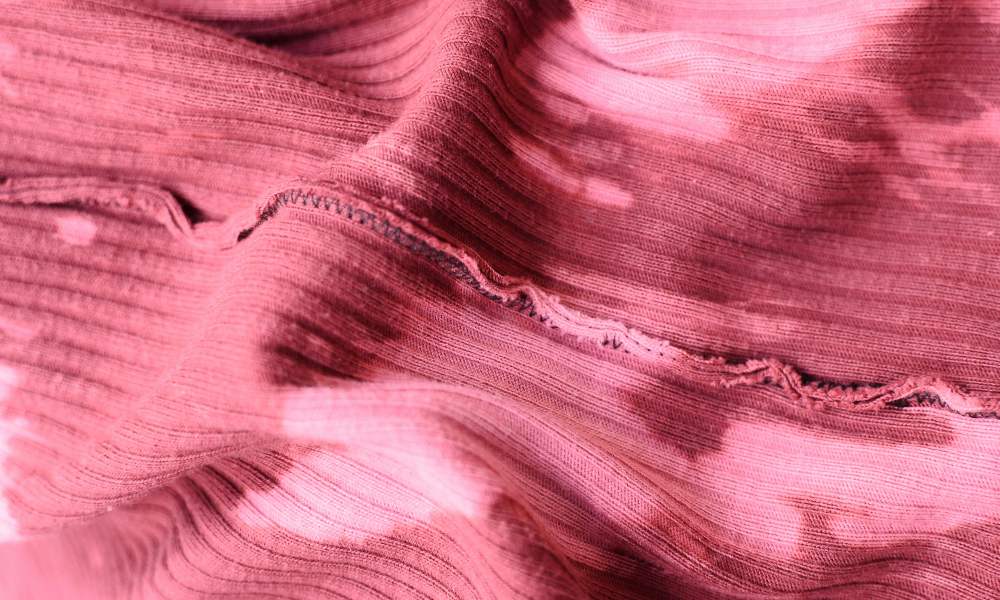
The French seam is a true testament to the marriage of elegance and durability. It’s a technique that whispers tales of couture craftsmanship tailored for precision and longevity. Unlike a regular seam that leaves raw edges exposed, this intricate method encases them within, creating a seamless, ultra-neat finish that will have you marveling at your handiwork.
Preparing the Stage
Gathering your materials is essential before you embark on your French seam journey. You’ll need your chosen fabric, a trusty thread that complements its hue, a pair of sharp scissors, and an iron—your faithful ally in achieving crisp, pristine folds. Prewashing is a wise precaution to ensure your finished seam maintains its impeccable shape if you’re working with cotton fabric or any fabric prone to shrinkage.
Pressing matters take center stage here. A well-pressed fabric is the canvas upon which your masterpiece will unfold. Take the time to push your fabric, banishing any wrinkles or creases that could impede your stitchery.
Step-by-Step: Sewing a French Seam

The Initial Seam
Begin by aligning the fabric pieces and wrong sides – a counterintuitive first step that will soon reveal its purpose. Stitch the first seam, leaving a generous allowance, typically 1cm or more. This seam line will serve as a guide for the subsequent steps.
With the initial seam in place, carefully trim away any excess seam allowance, being cautious not to snip too close to the stitching. This step ensures your final seam will lie flat and sleek.
The Reverent Fold
Now, press the initial seam to set the crease, creating a crisp fold. Next, fold the fabric pieces along this crease, enclosing the raw edges within. Align the folded edges and right sides together, preparing for the final seam.
The Finishing Touch
With precision and care, stitch the final seam, hugging the folded edge closely. This seam will secure the French seam in place and encase the raw edges within its folds, creating a flawless, finished seam.
After stitching, press the seam allowance to one side, marveling at the impeccable, encased finish you’ve created. There are no raw edges in sight, just a sleek, tailored seam that exudes sophistication.
Versatile Applications
The French seam is a versatile technique that lends itself to many sewing projects. It adds a couture touch in garment construction, lending a polished finish to everything from sheer to heavyweight. Embrace it for sewing patterns that demand precision, whether it’s a curved seam or a straight seam.
Beyond apparel, the French seam is a natural fit for home decor projects, such as tailored curtains and cushions, where a neat finish is paramount. This refined seam finish can also benefit accessories like bags, clutches, and more.
FAQs:
Can French seams be used on curves or only straight seams?
French seams can be used on curved and straight seams. The technique remains the same – sew the initial seam, trim, fold, and sew the final encasing seam. It may require more care and precision when working with tighter curves, but the result is a beautifully finished curved seam.
Are French seams suitable for all types of fabrics?
While French seams work well with most woven fabrics, they may not be the best choice for very bulky or heavyweight fabrics, as the multiple layers of fabric can create an overly thick seam. They are particularly well-suited for lightweight, sheer, and delicate fabrics with a desired clean finish.
How much seam allowance is needed for a French seam?
Generally, a seam allowance of 1cm or more is recommended for French seams. This provides enough fabric to neatly encase the raw edges. However, some patterns may call for a smaller or larger seam allowance, so always follow the specific instructions provided.
Can French seams be used on knit fabrics?
While French seams are primarily designed for woven fabrics, they can be used on stable knits with some modifications. It’s best to use a narrow seam allowance and a stretchy thread to prevent the seam from becoming too tight or restrictive.
Conclusion
Mastering the French seam is a journey into the realm of impeccable craftsmanship. With patience and precision, you’ll unlock a world of polished sewing projects that exude sophistication. Bid farewell to unsightly raw edges and bulky seams and embrace the elegance of this time-honored technique. So, embrace the challenge, and let your creations whisper tales of exquisite stitchery.
Question for the audience: Have you tried incorporating French seams into your sewing projects? Feel free to post your thoughts, suggestions, and techniques in the comment section! Let’s celebrate the art of the French seam together.
***
Main image: pexels


