Have you ever been tangled in threads, struggling to secure your stitches? Mastering the art of tying knots is an essential skill for any sewing enthusiast. Whether you’re a seasoned quilter or a budding embroidery artist, a secure knot can mean the difference between a flawless project and a frustrating unraveling mess.
The Importance of Proper Knotting
Proper knotting not only ensures seamless stitching but also contributes to the longevity of your projects. A well-tied knot prevents unraveling and fraying, saving you from the disappointment of undoing hours of hard work. The right knot can elevate your sewing game from intricate hand quilting to delicate embroidery.
Mastering the Art of Knotting
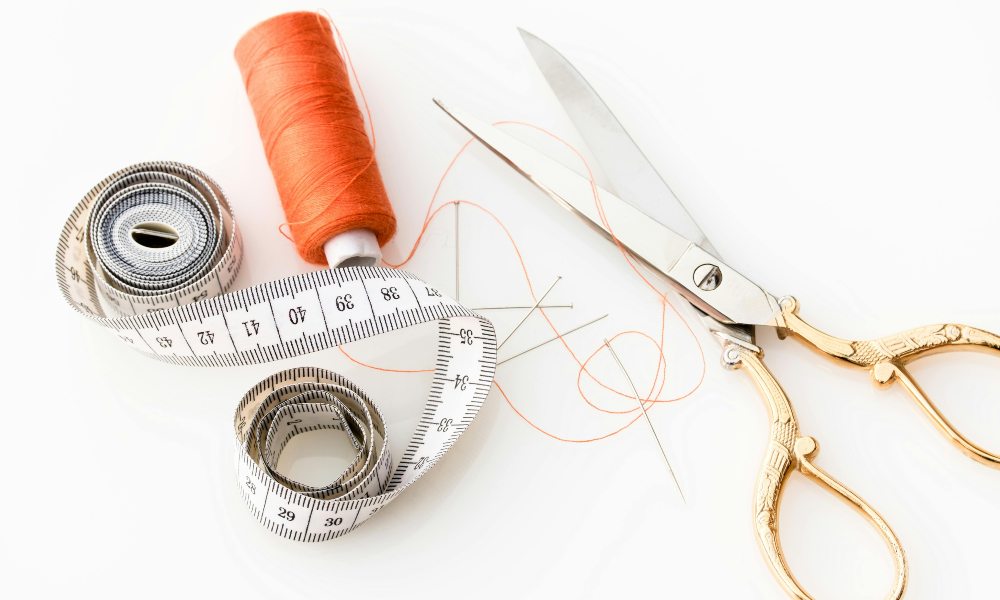
Materials Needed
Before we dive into the art of knotting, gather your essential materials:
- Thread/Yarn: Choose a high-quality thread or yarn suitable for your sewing project.
- Needle: Select a needle appropriate for the fabric and thread you’re working with.
- Fabric: Have your fabric or project ready to practice your knotting skills.
Step-by-Step Guide

The Quilters Knot
The quilter knot is a staple in hand quilting and embroidery. Its secure yet easy-to-tie nature makes it a go-to choice for many seasoned stitchers.
Effortlessly Tying the Quilter Knot
- Thread your needle, leaving a thread tail of about 6-8 inches.
- Wrap the thread twice around your index finger to create a small loop.
- Insert the needle through the loop, catching the wrapped thread.
- Gently pull the thread, tightening the knot against the eye of the needle.
- The Double Knot
Suitable for most sewing projects, the double knot is a simple yet effective way to secure your stitches.
Securing Your Stitches with a Double Knot
- Leave a thread tail of about 4-6 inches.
- Wrap the thread around the needle twice, creating two loops.
- Insert the needle through both loops and gently pull tight.
- Repeat the process, creating a second knot for extra security.
- The French Knot
The French knot is versatile and decorative, often used in embroidery and needlework projects.
Embellishing with the Elegant French Knot
- After inserting the needle into the fabric, bring it up while keeping a small loop.
- Wrap the thread around the needle twice, keeping the wraps close to the fabric.
- Insert the needle back into the fabric right next to where it emerged.
- Gently pull the thread, tightening the knot against the fabric’s surface.
Tips and Tricks
- If you want to speed up the process of threading a needle, you can use a needle threader to help guide the thread into the eye of the needle.
- Waxing the thread can help prevent tangling and add strength to your stitches.
- Adjust the knot size by varying the number of wraps around your finger or needle.
Knot-tying for Different Sewing Techniques
Hand Sewing
Regarding hand sewing, knotting plays a crucial role in securing basting and gathering stitches, as well as attaching appliqués and embellishments.
A simple double knot or overhand knot at the thread end can suffice for tasks like basting or gathering. However, for intricate embellishments, a decorative loop knot or French knot can add a touch of elegance.
Machine Sewing
While sewing machines automate much of the stitching process, knotting is still necessary to secure thread tails at the beginning and end of your projects.
Instead of tying knots, many sewists prefer backstitching or using a lockstitch function to secure the threads. However, sometimes, a small knot at the thread end can provide additional security.
Embroidery and Needlework
Knot-tying is an art form in the realm of embroidery and needlework. From the delicate French knot to the versatile bullion knot, mastering various knot types can elevate your designs.
When working with embroidery floss or specialty threads, it’s essential to tie knots that won’t show on the right side of the fabric. Techniques like burying knots beneath stitches or using thread conditioners can help conceal knots for a flawless finish.
FAQs:
What is the best knot for hand sewing?
The quilter knot and the double knot are excellent choices for hand-sewing projects. The quilter knot is handy for hand quilting and embroidery, while the double knot is versatile and suitable for most sewing tasks.
How do I prevent knots from showing on the right side of my fabric?
When working with embroidery or needlework projects, try burying the knots beneath the stitches or using thread conditioners to help conceal them. Techniques like the loop knot or the French knot can also be used to create decorative knots that enhance the design.
Can I use the same knotting methods for different types of thread?
Most knotting techniques, including embroidery floss, yarn, and specialty threads, can be used with thread types. However, you may need to adjust the knot size or the number of wraps to accommodate thicker or thinner threads.
How do I keep my knots from coming undone?
Try waxing the thread before knotting, or use a thread conditioner to ensure your knots stay secure. Consider tying a second knot or using a square knot for added security.
Conclusion
Whether a novice or a seasoned pro, mastering the art of tying knots can take your sewing projects to the next level, from the classic quilter knot to the decorative French knot, each technique offers a unique solution for securing stitches and adding flair to your creations.
It’s important to remember that trying out different knot types and techniques is a great way to improve your skills. Don’t be afraid to experiment and practice – it’s the best way to achieve perfection! Embrace discovering what works best for your sewing style and projects.
Now, it’s your turn to share: What’s your go-to knot for sewing projects? Do you have a favorite technique or secret tip for tying the perfect knot? Share your insights in the comments below!
***
Main image: pexels


