Have you ever gotten a screen-printed t-shirt or other garment only to realize later that you want the screen-print design gone? Removing screen printing ink from fabric can be challenging as it adheres firmly to the material and may cause damage if not done correctly. But with the right supplies and techniques, you can successfully strip the screen printing and return the garment to its original state.
Overview of Screen Printing
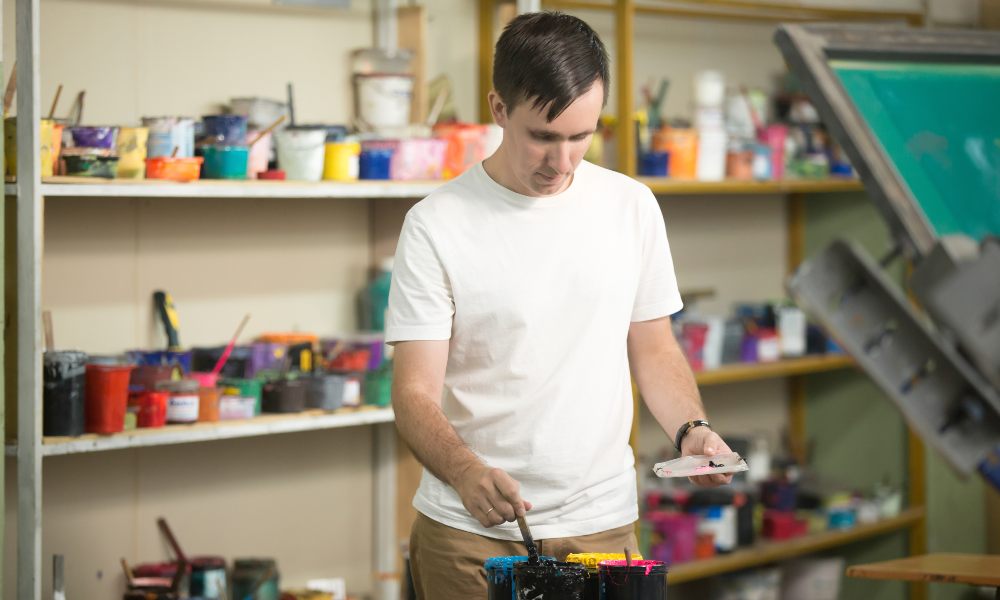
Before jumping into ink removal methods, let’s first go over the screen printing process so you understand what you’ll be working with when trying to remove screen printing. Screen printing involves creating a stencil design known as a photo emulsion on a taut mesh screen printing screen. Ink is then forced through the open areas of the screen, transferring the image onto the garment positioned below.
Typical fabrics used for screen printing include cotton, polyester, blended fabrics, jersey knits, and even leather and vinyl. There are a variety of screen printing inks to work with these different materials, the most popular being plastisol and water-based inks. Plastisol ink is commonly used on cotton, while water-based works well on natural and synthetic blends. Discharge ink is another type that permanently removes dye from the garment, leaving a vibrant screen-printed design behind.
Challenges of Removing Screen-Printed Designs
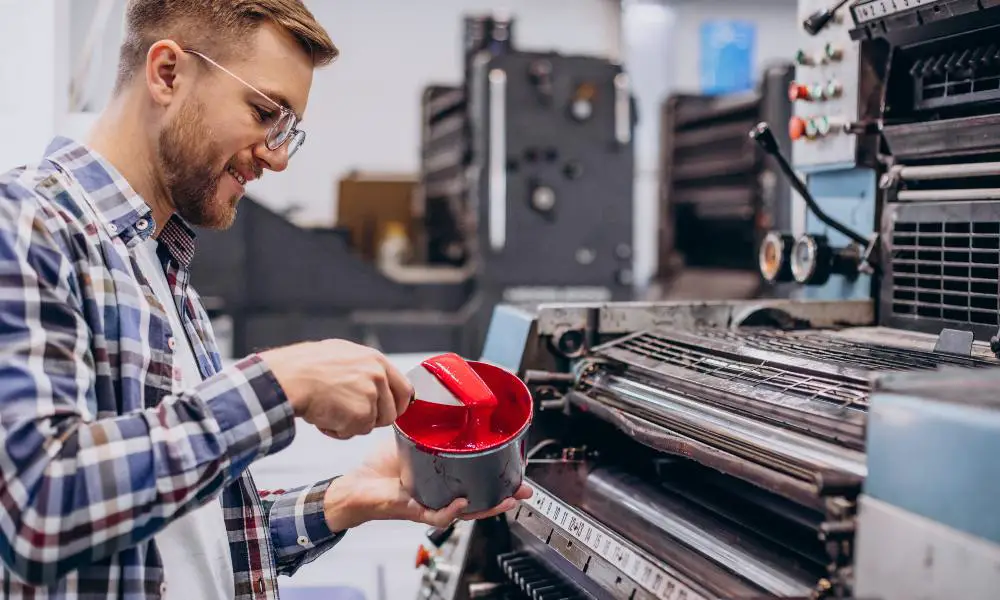
When it comes to removing screen printing, the ink itself presents the biggest challenge. Screen printing inks are specially formulated to create a durable and vivid rubber print that adheres firmly to fabrics. This bond makes washing the screen prints with soap and water difficult. The removal process also depends heavily on the ink type used. What works to strip plastisol will be less effective on discharge or water-based inks.
It would help if you were also cautious not to damage the underlying fabric during removal. Harsh chemicals and aggressive scrubbing can ruin delicate materials like silk or cause color loss. Testing products and techniques in an inconspicuous area first is critical to avoiding unwanted damage. Patience is also essential, as complete ink removal often requires repeated processes.
Necessary Supplies for Removing Screen Printing

Before you attempt to remove a screen-printed design, make sure you have the right supplies on hand:
- Solvents: Chemical solvents like acetone or nail polish remover help break down ink and weaken its grip on the fabric. Plastisol remover also works well, depending on the ink type.
- Heat source: Heat is often needed to soften plastisol ink for easier removal. You can use an iron, a heat press, or a hair dryer.
- Absorbent materials: Paper towels, cotton balls, microfiber cloths, and soft-bristle brushes help lift and absorb freed ink and ink residues.
- Soft cloths: Gentle cleaning cloths without abrasive textures help lightly rub excess ink after applying solvent.
- Ventilated workspace: When using chemical solvents, work in a well-ventilated area.
Techniques for Removing Different Ink Types
With your supplies gathered, it’s time to focus on techniques tailored to each ink variety.
Removing Plastisol Ink
Plastisol ink requires a chemical remover to break the bonds it forms with fabric. Start by liberally applying a plastisol remover over the printed area, ensuring complete coverage. Let it soak in for a full minute. Then, place a sheet of parchment paper or wax paper over the area and press with an iron on high heat, or use a heat press if you have one. The plastic ink becomes more malleable due to the increased temperature, making it easier to remove by scraping.
After heating:
- Carefully use a plastic scraper or an old credit card to remove the ink from the fabric once it has been softened.
- Repeat the soaking and heating process until no more ink residue remains.
- For stubborn spots, rub with a cotton ball soaked in nail polish remover.
- Rinse the garment thoroughly with warm water when finished removing all ink.
Removing Water-Based Ink
Water-based inks can often be removed with just hot water. Run the garment under the hottest tap water possible until you see the printed areas begin to break down. Then, rub and agitate the fabric to release the loosened ink particles fully. For more stubborn areas, apply dish soap to help dissolve the ink and rinse thoroughly until no more color emerges. Repeat the hot water soaking and rubbing as needed to remove all traces of the print.
Removing Discharge Ink
Discharge ink removes dye from the garment, requiring more dye. Warm up some water and mix in a few tablespoons of dish soap until it becomes frothy. Add a small amount of fabric dye that matches the original shirt color. Soak the garment until the discharge ink saturates with water, and you see dye releasing into the mixture. Agitate the shirt to discharge any leftover ink fully. Make sure to rinse thoroughly until the water runs clear. Repeat as needed until no evidence of the print remains.
Tips for Problem Areas
You may need to use some additional techniques if ink remains in hard-to-reach areas:
- Use a dab of nail polish remover with a cotton ball using a circular polishing motion for small stubborn spots of excess ink. The acetone will help break bonds.
- Avoid over-scrubbing areas on delicate materials like silk where abrasion can damage the fabric.
- If discharge ink leaves behind a faint outline, recharge the area with matching fabric dye using an applicator brush.
- Check the inside seams and edges of hems for any wicking of ink residue and carefully blot these areas.
Maintaining Garment Integrity
To safely restore your screen-printed garment after removing the ink, there are a few extra steps:
- Always test removal products and procedures on an inconspicuous interior area first to check for potential damage.
- When the ink removal is complete, launder the garment gently and dry thoroughly before wearing it to avoid the transfer of any remaining solvent or ink residue.
- Inspect closely under bright light for any evidence of damage like holes, discoloration, or fraying at seams. Make repairs if needed.
- For a garment with a fully intact and aligned original screen-printed design, consider making a new screen and carefully reprinting the design after ink removal.
FAQs
What is the easiest way to remove plastisol ink?
The easiest method is to use a chemical plastisol remover, let it soak into the ink, heat the area to soften it, and gently scrape it off.
How do I get rid of ink stains on a finished garment?
For minor ink stains, dab with nail polish remover and rinse. For larger areas, apply plastisol remover, heat set, and scrape away ink residues.
Can I put a garment in the washing machine after removing screen printing?
Yes, after entirely removing the ink, you can launder the garment on a gentle cycle and dry it thoroughly before wearing it again.
Is it possible to use everyday household items to remove screen printing?
Nail polish remover, rubbing alcohol, dish soap, heat from an iron or hair dryer, and absorbent items like paper towels or cotton balls can be used as potential solutions.
How do I avoid damaging the garment when removing ink?
Work slowly and gently, test on an inconspicuous area first, follow the proper techniques for each ink variety, and avoid over-scrubbing delicate fabrics.
Conclusion
Removing screen-printed designs takes some work, but with suitable chemical solvents and techniques for each ink type, it can be accomplished without compromising the integrity of the garment underneath. Always exercise patience and caution to avoid over-processing delicate fabrics. You can reclaim and start garments fresh with a systematic approach and proper supplies!
Have you tried removing screen-printed designs before? What methods worked or didn’t work for you? Let me know in the comments!
***
Main image:


