Are you ready to take your sewing skills to the next level? Buttonholes may seem small, but they can make or break your garments’ overall look and functionality. You can achieve professional-looking buttonholes that elevate your sewing game with a few simple steps.
- Determine the perfect buttonhole placement
- Mark the buttonhole size and style
- Prepare your sewing machine or hand-sewing tools
- Sew the buttonhole with precision
- Secure the stitches for lasting durability
- Finish with reinforcement for a polished look
Mastering the art of sewing buttonholes can be a game-changer for your sewing projects. Are you up for the challenge?
Understanding Buttonholes
Before diving into the sewing process, it’s essential to understand what a buttonhole is and why it’s crucial for your sewing projects. A buttonhole is a small slit or hole cut into a garment or fabric, allowing a button to pass through and secure the item in place. Properly sewn buttonholes not only enhance the appearance of your projects but also ensure functionality and durability.
Types of Buttonholes
Buttonholes come in various styles, each serving a different purpose and suiting specific fabrics or projects. Here are some common types:
- Horizontal Buttonhole: This classic style is commonly used on shirts, blouses, and jackets. It features a straight, horizontal slit that accommodates standard buttons.
- Vertical Buttonhole: Often found on pants, skirts, and dresses, vertical buttonholes provide a sleek, tailored look and are well-suited for thicker fabrics.
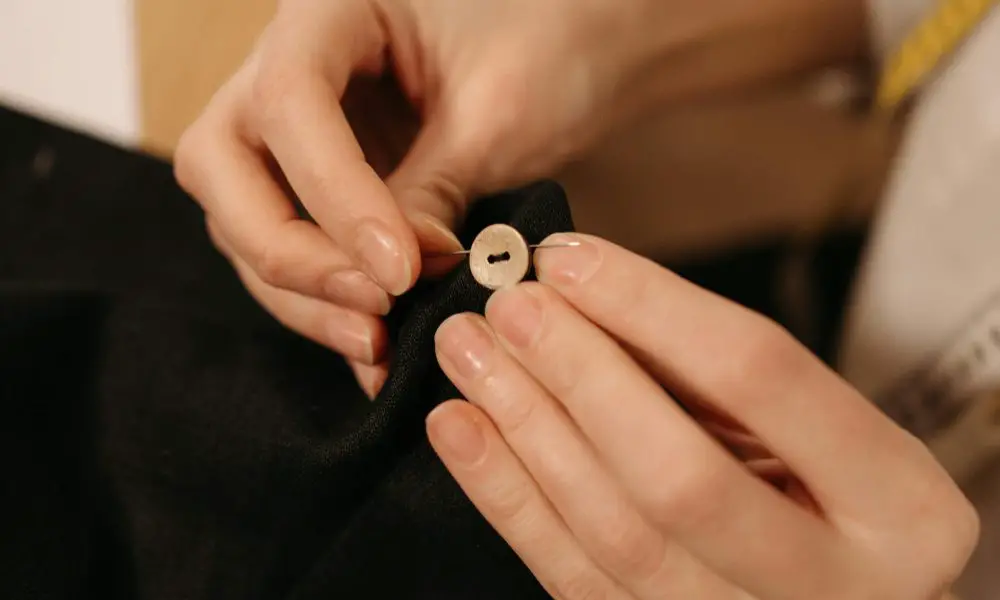
- Keyhole Buttonhole: This style features a circular end, resembling a keyhole shape. This is perfect for larger or ornamental buttons, bringing a hint of sophistication to your projects.
- Bound Buttonhole: This technique involves wrapping the buttonhole with a strip of fabric, creating a raised, reinforced edge. It’s perfect for tailored garments and enhances durability.
Choosing the Right Buttonhole Style
When selecting a buttonhole style, consider the fabric type, the garment’s weight and thickness, and the overall design aesthetic. For example, vertical buttonholes work well on sturdy fabrics like denim or wool, while horizontal buttonholes are better suited for lighter fabrics like cotton or silk.
Preparing for the Buttonhole
Before you start sewing, gathering the right materials and preparing your workspace is crucial. Here’s what you’ll need:
- Fabric or garment
- Sewing machine or hand-sewing needles
- Thread that matches your fabric
- Buttonhole foot or attachment (for machine sewing)
- Seam ripper
- Marking tools (chalk or pencil)
- Buttons
Determining Buttonhole Placement

Proper buttonhole placement is essential for a polished, professional look. Consider the following factors:
- Garment Type: The placement will vary depending on whether you work on a shirt, pants, jacket, or other garment.
- Button Size: Measure the diameter of your buttons and adjust the buttonhole length accordingly.
- Design Aesthetic: Pay attention to your project’s overall design and balance when marking buttonhole placements.
Testing and Adjusting
This allows you to adjust the size, stitch length, and tension settings for the perfect buttonhole. It’s better to make mistakes on a test swatch than on your project.
Machine-Sewn Buttonholes
Using a sewing machine to create buttonholes is the quickest and most efficient method for most sewing projects. Follow these steps for flawless machine-sewn buttonholes:
- Attach the Buttonhole Foot: Most modern sewing machines have a unique buttonhole foot or attachment. Consult your machine’s manual for instructions on adequately attaching and adjusting this foot.
- Select the Appropriate Stitch: Many machines have a dedicated buttonhole stitch setting. If not, typically, you can fashion a buttonhole by employing a blend of straight and zigzag stitching.
- Mark and Position: Use chalk or a fabric marker to mark the buttonhole placement and size. Carefully position the fabric under the buttonhole foot, aligning the markings with the foot’s guidelines.
- Sew the Buttonhole: With the machine set to the appropriate stitch and settings, slowly and carefully sew the buttonhole, following the markings as a guide. Some machines have an automatic buttonhole feature that completes the process with the push of a button.
- Secure and Trim: Once the buttonhole is sewn, secure the stitches at the beginning and end. Employ a seam ripper or sharp scissors to cautiously open the buttonhole slit, ensuring no damage to any stitches.
Automatic Buttonhole Features
Many modern sewing machines have automatic buttonhole features, making the process even easier. These features may include:
- Automatic Buttonhole Foot: This specialized foot measures the button size and automatically adjusts the buttonhole length.
- Buttonhole Lever or Sensor: Some machines have a lever or sensor that determines the buttonhole size and sews the entire buttonhole with a single step.
- Buttonhole Memory: This feature allows you to save your preferred buttonhole settings for future use, ensuring consistent results.
Hand-Sewn Buttonholes
Although machine-sewn buttonholes are prevalent, hand-sewing them can offer a fulfilling and gratifying experience, particularly for intricate or cherished projects. Here’s how to create beautiful hand-sewn buttonholes:
- Mark and Cut the Opening: A marking tool outlines the desired buttonhole size and shape. Carefully cut a small opening within the marked lines using scissors or a seam ripper.
- Work the Buttonhole Stitch:Work the buttonhole stitch around the cut opening using a hand-sewing needle and thread. This stitch creates a dense, closely spaced row of stitches that reinforce and define the buttonhole.
- Secure the Edges: Once you’ve completed the buttonhole stitch, secure the edges by working a blanket stitch, whipstitch, or other reinforcing stitch along the perimeter of the buttonhole.
Hand-sewn buttonholes require patience and practice, but the results are stunning and add a touch of craftsmanship to your sewing projects.
Finishing Touches
After successfully sewing your buttonholes, it’s essential to take a few final steps to ensure a polished, professional look:
- Insert the Button: Carefully insert the corresponding button through the buttonhole to check for a proper fit. Make any necessary adjustments to the buttonhole size or shape.
- Reinforce if Needed: If the buttonhole appears loose or unstable, reinforce it with a few additional stitches or a fray-check solution.
- Press the Garment: After completing the buttonholes, press your project well. This will help set the stitches and ensure a crisp, polished finish.
FAQs
How do I determine the correct buttonhole size?
The buttonhole should be marginally more significant than the button’s diameter, which it’s meant to fit. As a general rule, add 1/8 to 1/4 inch to the button’s diameter to determine the ideal buttonhole length.
Can I sew buttonholes on knit fabrics?
Yes, you can sew buttonholes on knit fabrics, but a unique technique called a stretch buttonhole is required. This involves using a zigzag or a dedicated stretch buttonhole stitch for fabric stretching and recovery.
How do I fix a buttonhole that is too small or too large?
If a buttonhole is too tiny, carefully enlarge it using a seam ripper or sharp scissors. For a buttonhole that is too large, you can reinforce it with additional stitches or consider adding a decorative button loop or bar tack.
Can I sew a corded buttonhole?
Corded buttonholes are a beautiful and durable option, especially for tailored garments. This technique involves sewing over a thin cord or strand of pearl cotton, creating a raised, reinforced edge around the buttonhole.
How do I mark buttonholes on dark or patterned fabrics?
When working with dark or patterned fabrics, use a fabric marking pen or chalk designed for that specific fabric type. Try out the marking tool on a spare piece beforehand to verify that it doesn’t smudge or create lasting stains.
***
Are you prepared to enhance your sewing skills with expertly crafted buttonholes? With the proper techniques and a little practice, you’ll be
***
Main image: pexels


